My Robot
My niece and nephew were both talking about building a robot and it made me realize that I wanted to build a robot as well. After looking around, I had intended to buy the new Arduino robot, but it wasn’t in stock. Instead I found a hexapod robot called Hexy, which looked even more fun. So I ordered it and it arrived today.
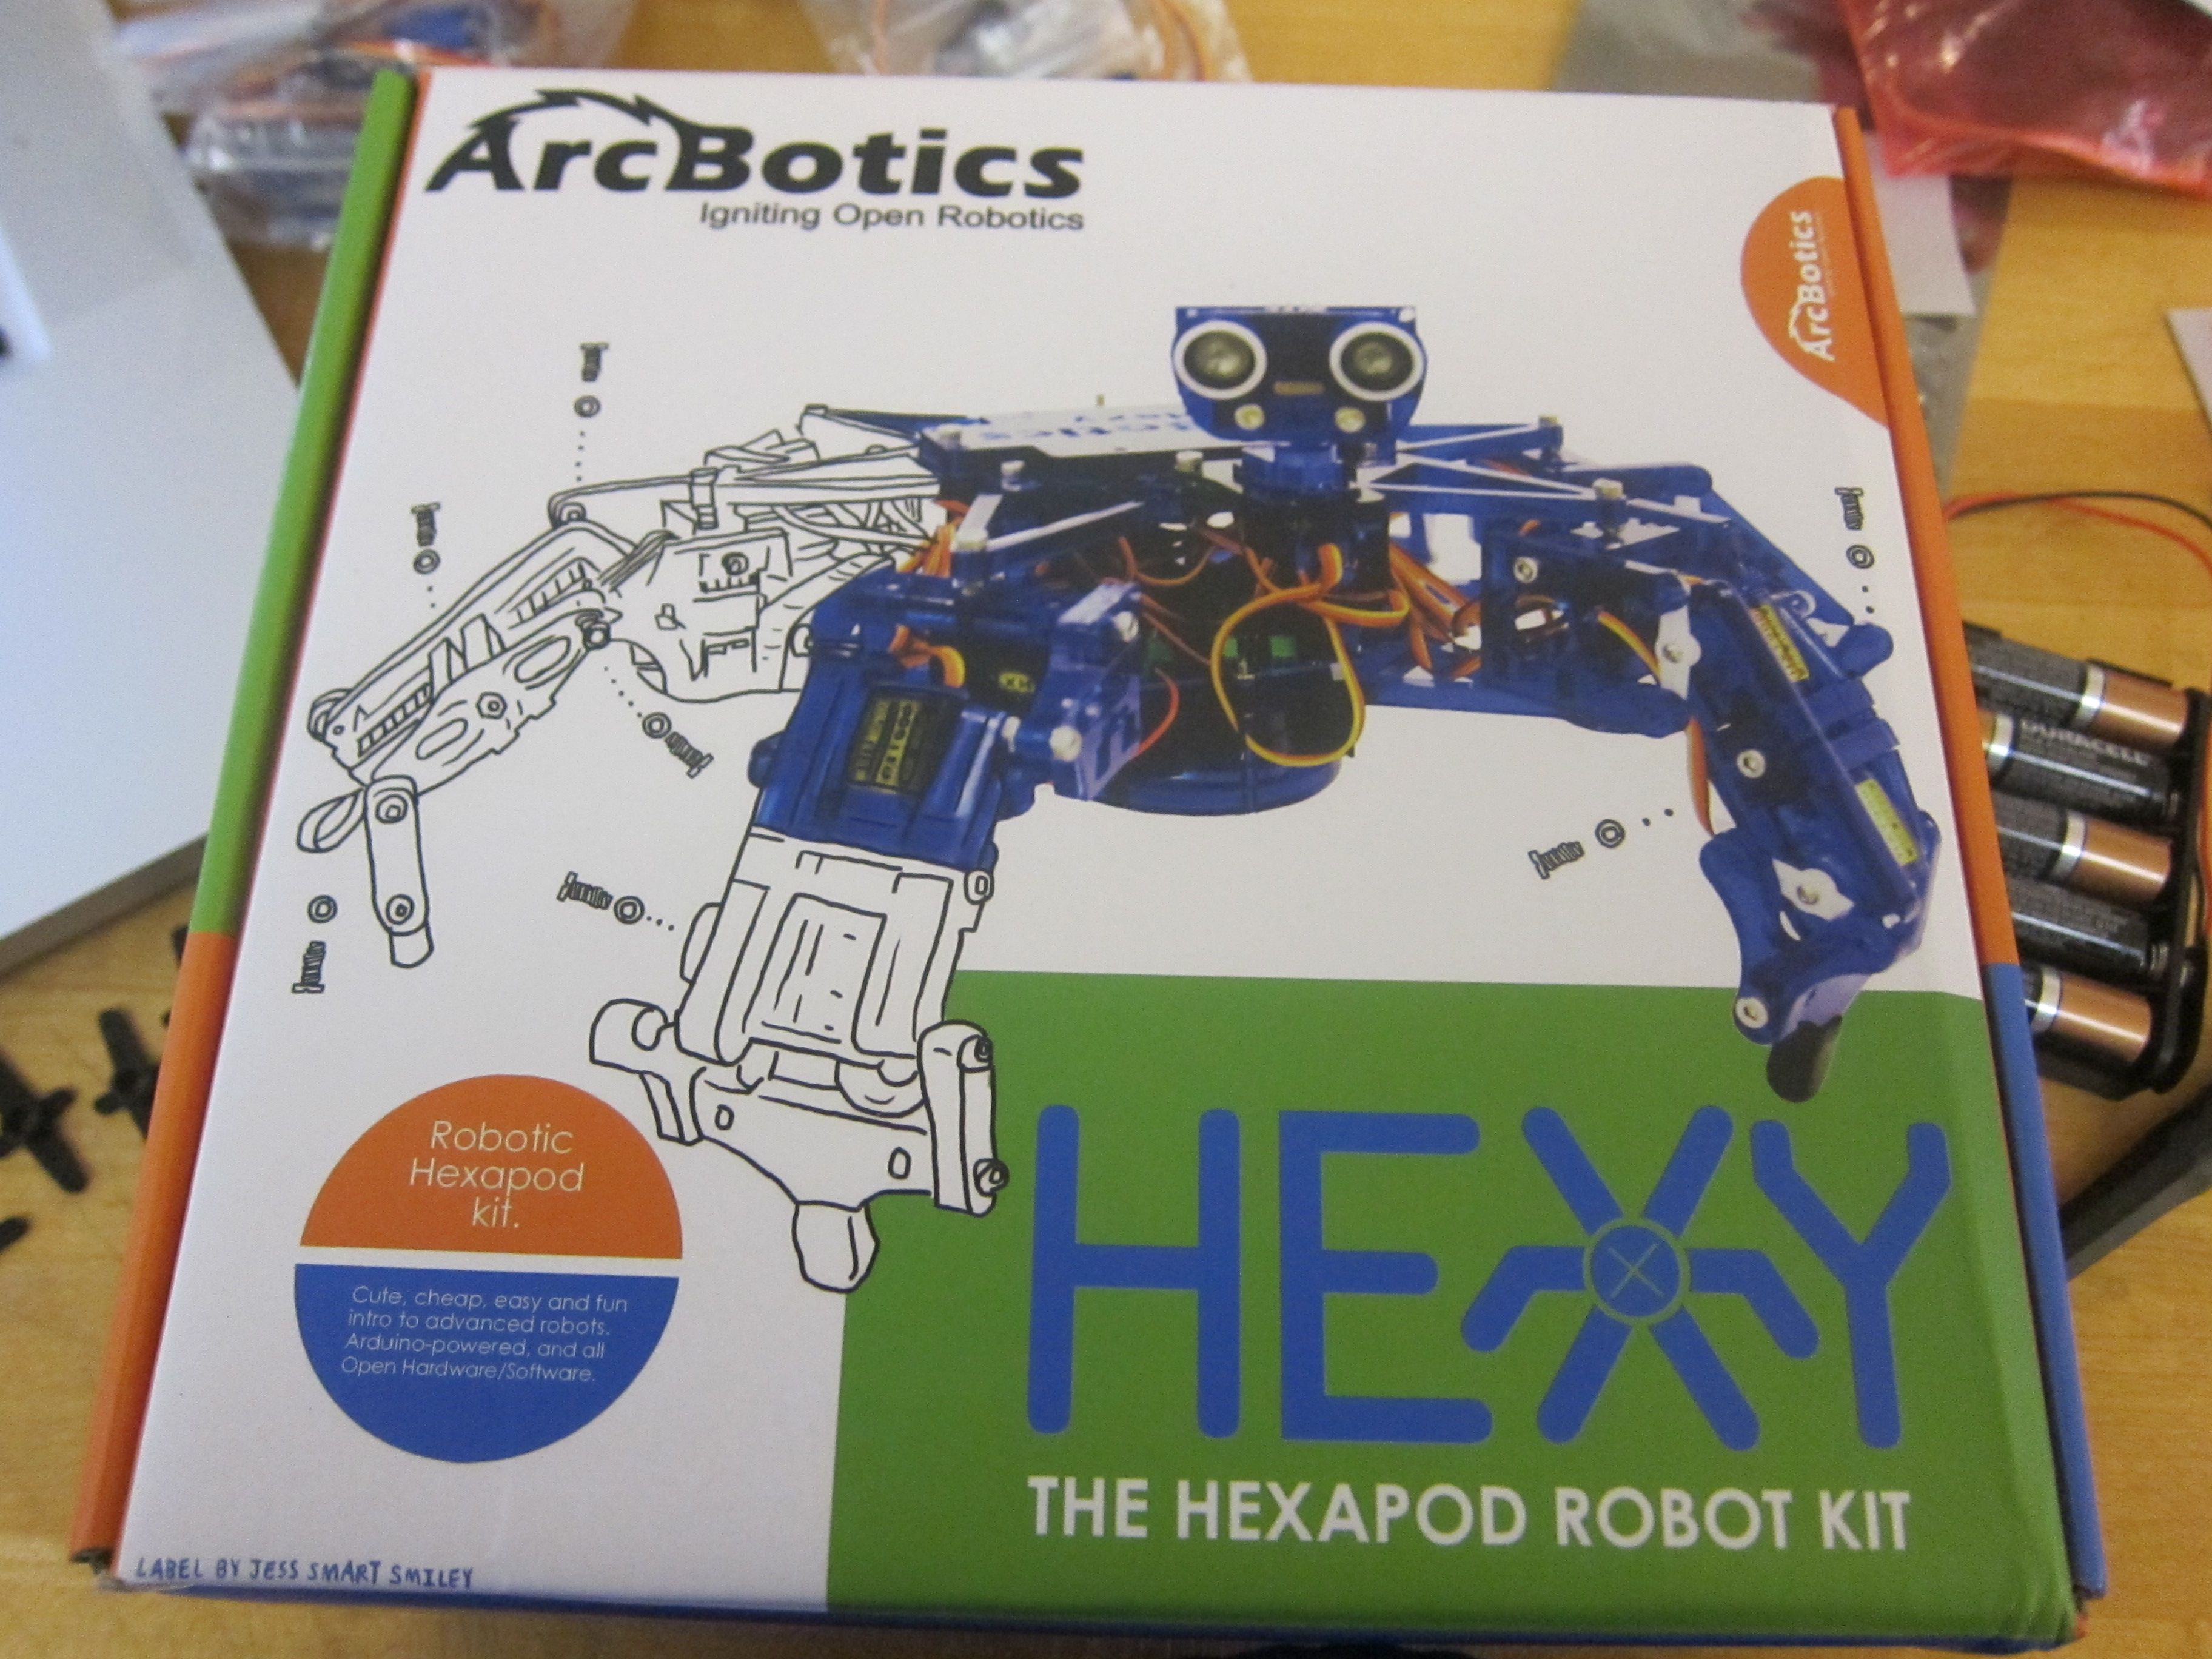
The instructions for how to assemble the robot are all online. They are here (http://arcbotics.com/products/hexy/start/.
The first step is to check that you have all the parts. I laid all mine out and labelled them.
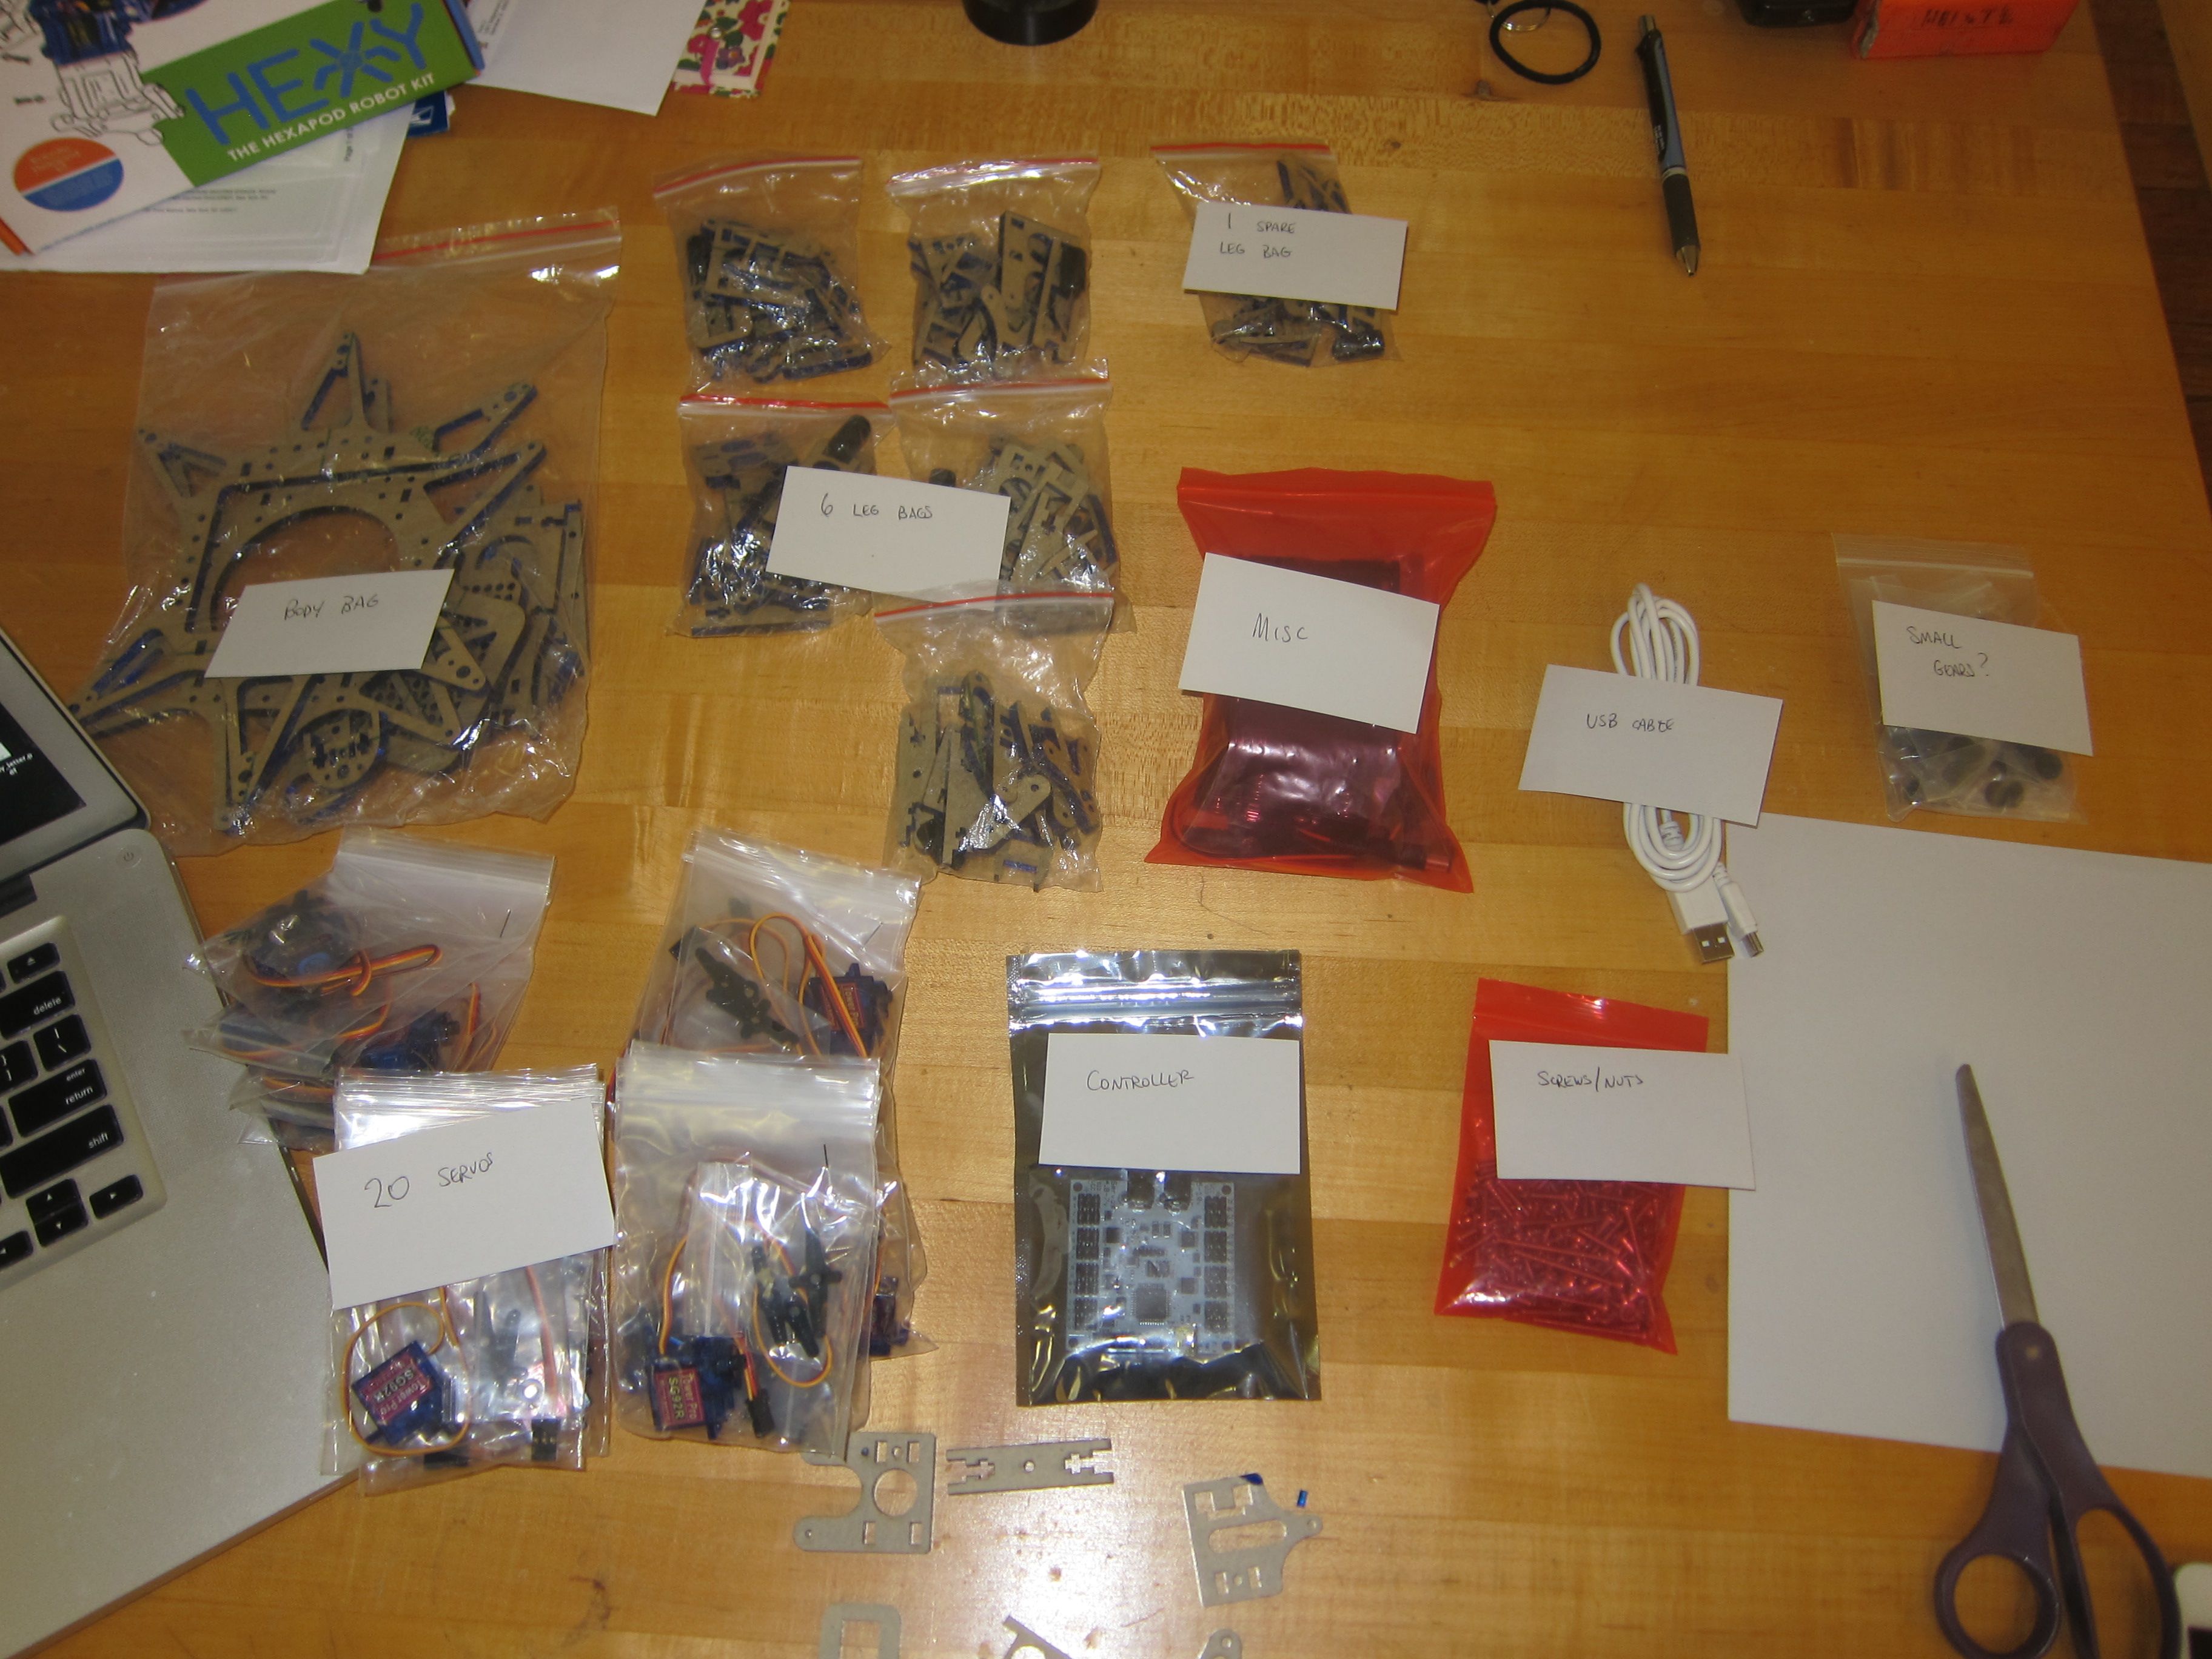
I had all the parts and an additional bag (of what looked like gears) that isn’t in the picture on the website. I guess I’ll see later if these are required or if I just got a random bag in my kit.
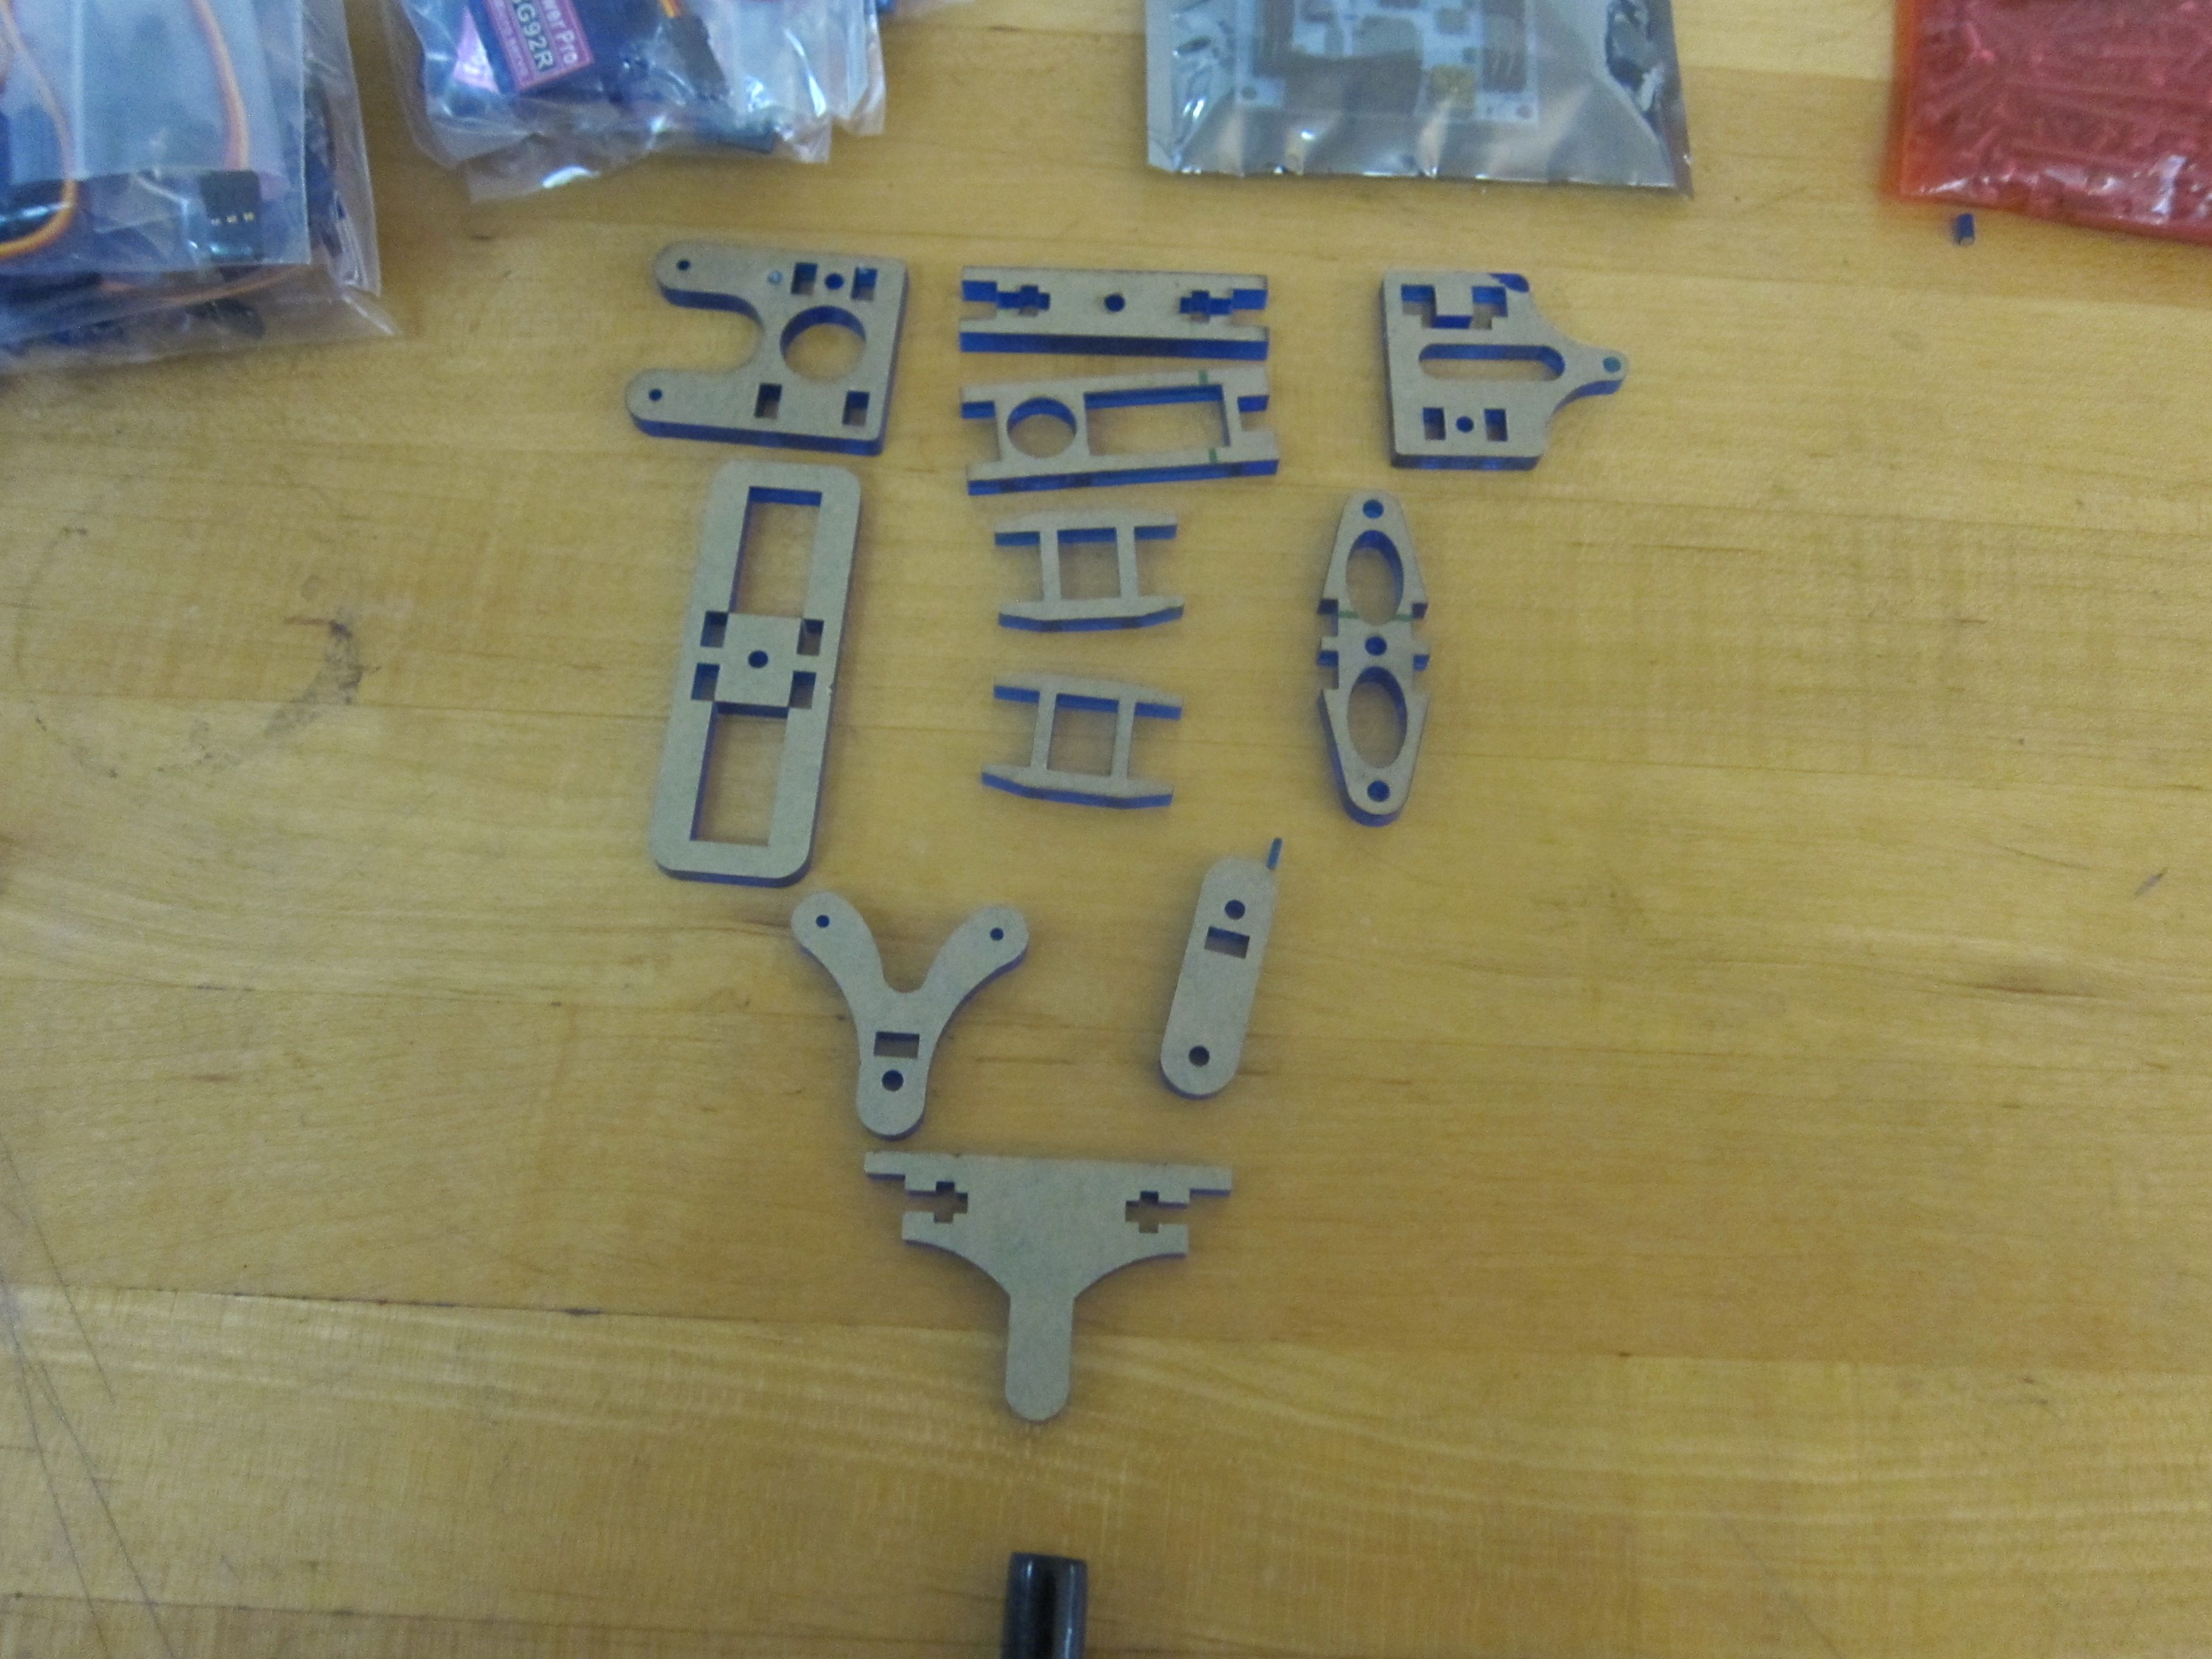
In the assembly, the first step is to build a leg and then repeat that step five times for a total of six legs. Again, I laid out all the parts of the leg like the picture on the website.
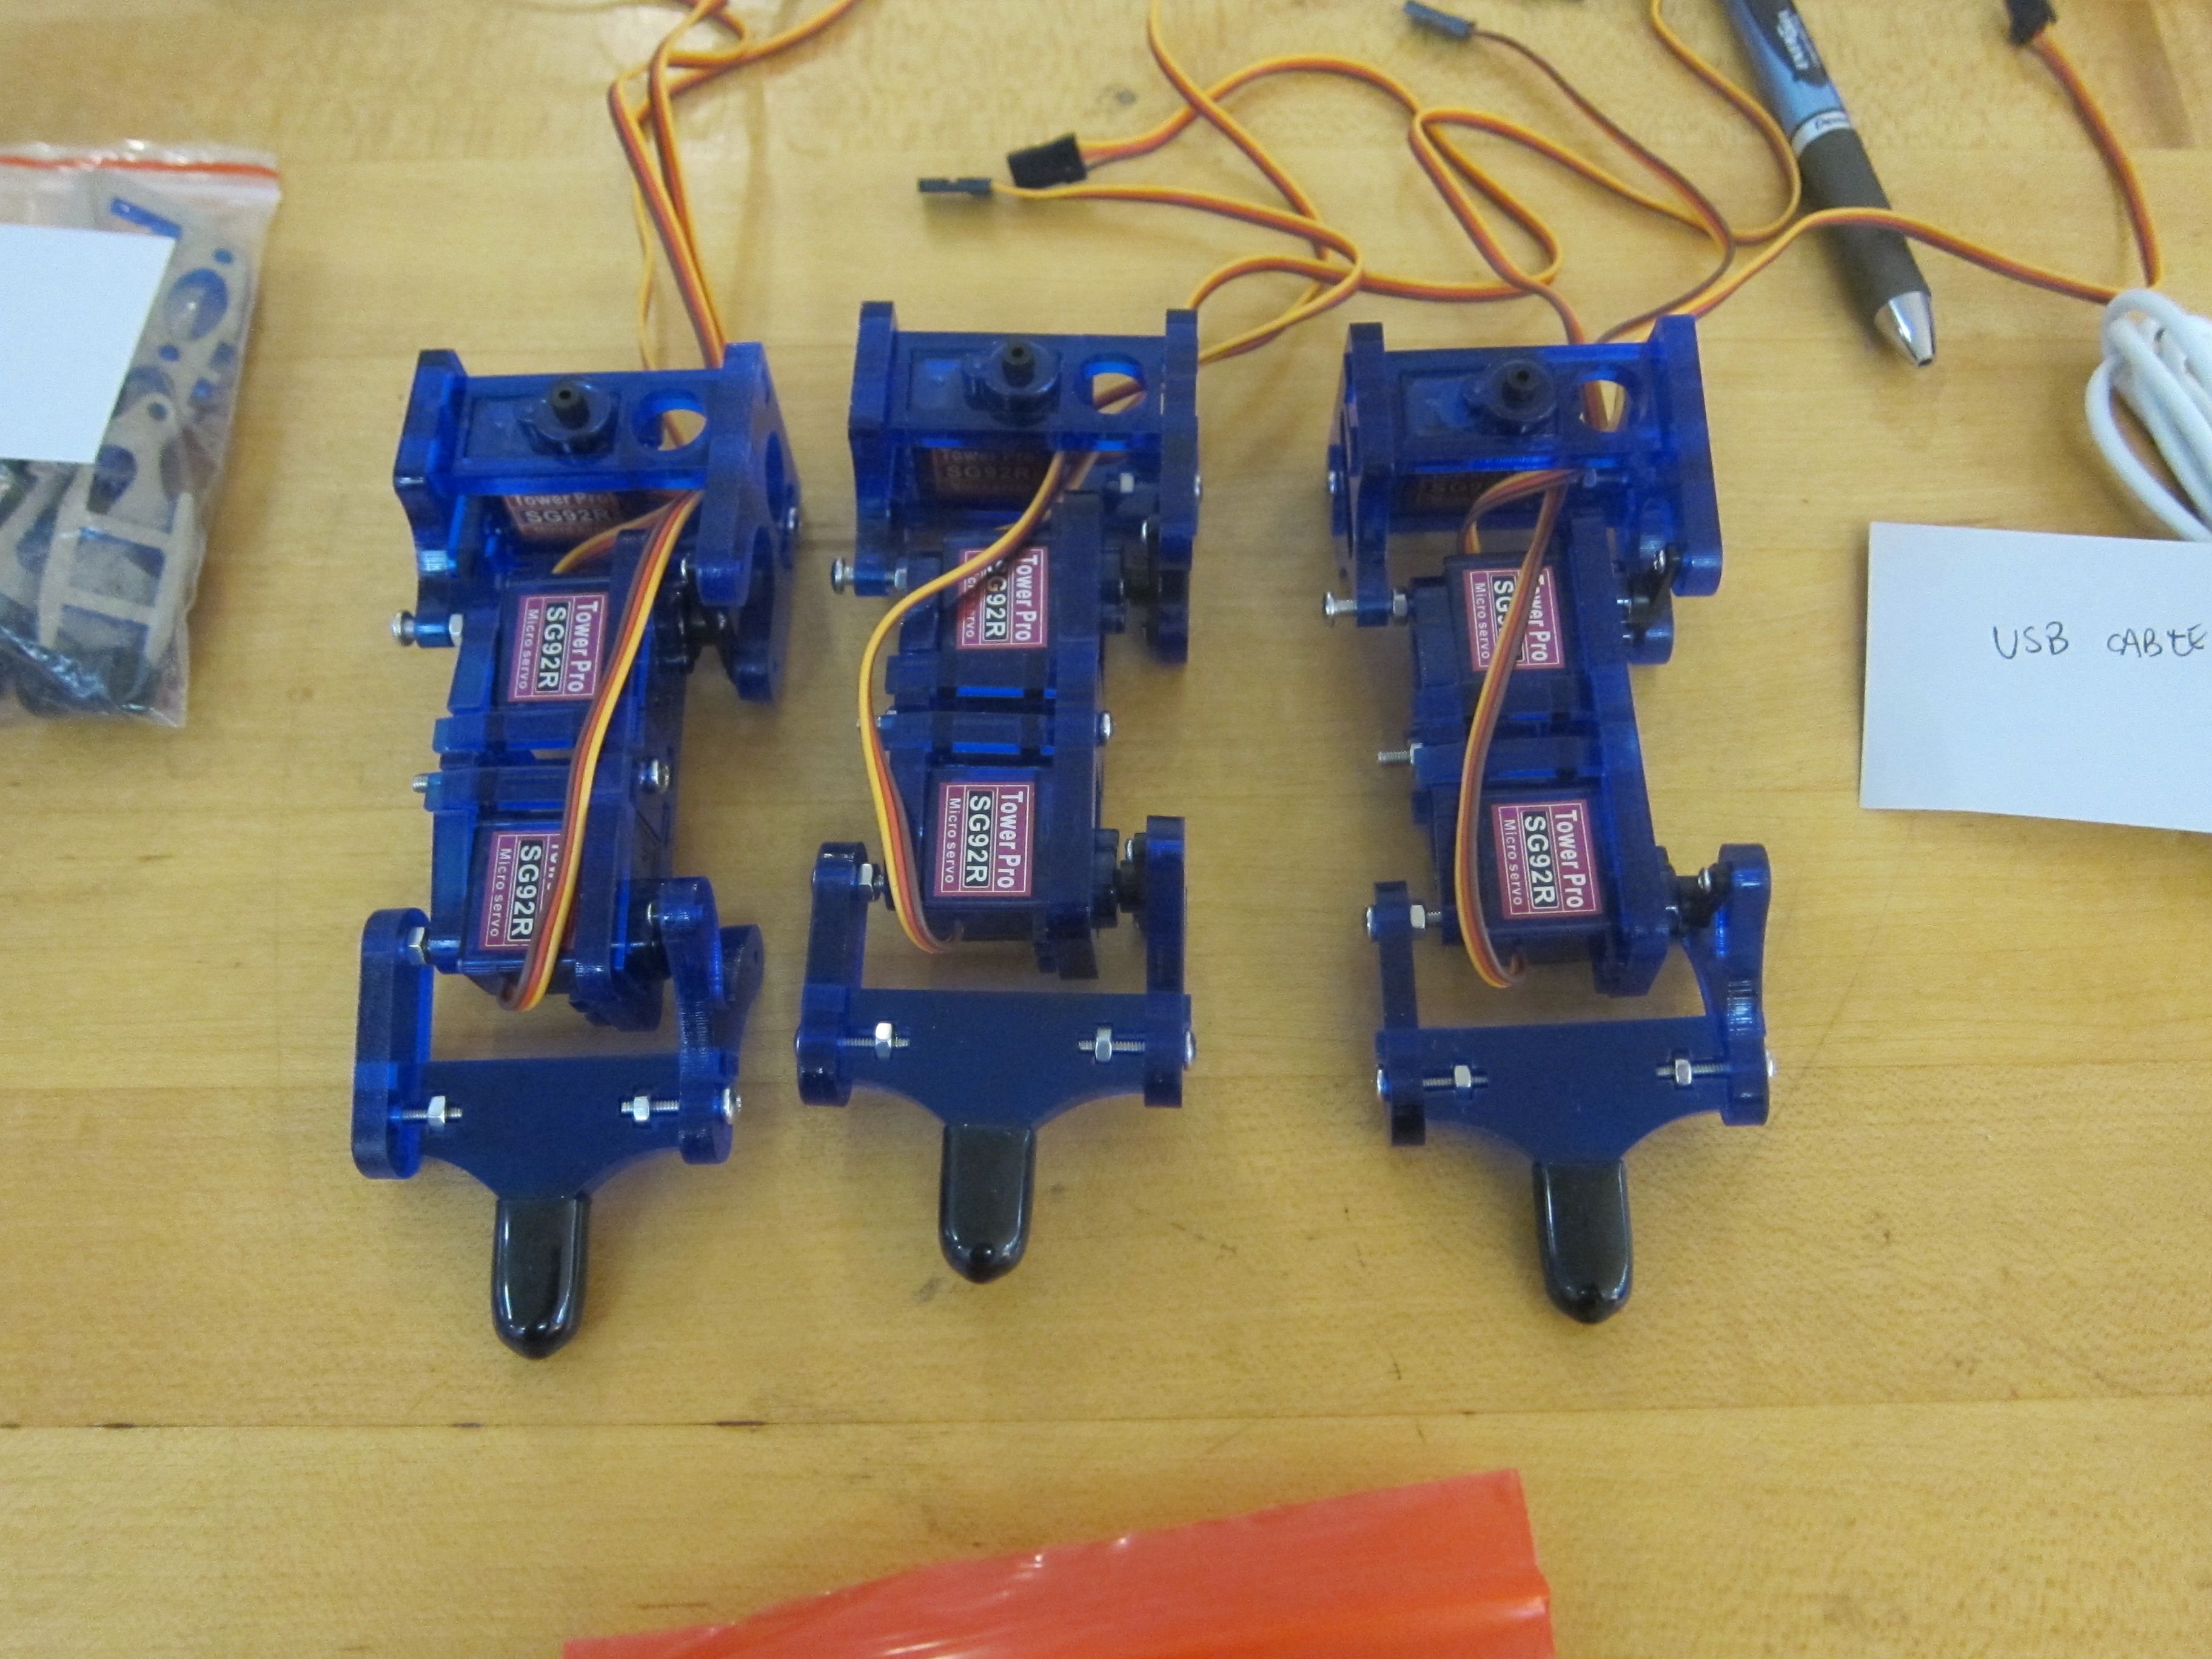
I spent a couple of hours on this tonight and made three legs.
Some observations:
-
The included screwdriver is a piece of junk. It’s too small for most of the screws. I switched to using one of my own and things went a lot better.
-
All those pieces in the legs are covered with protective paper that needs to be peeled off. This is by far, the most time-consuming step. Fortunately, my fingernails are a bit long which helped immensely in getting this paper off.
-
The text on the website was very confusing to me. I basically just followed the pictures. Interestingly, the pictures used an orange plastic and black screws to make the robot. My kit has blue plastic and silver screws, so on the first leg it took me a while to get used to what went where.
I figured I’d stop after three legs so I could do a little work tomorrow. And I’m also going to leave one leg for my nephew to assemble later in the week. After that, we’ll see how the rest of the robot comes together.