Birthday Project Part 2
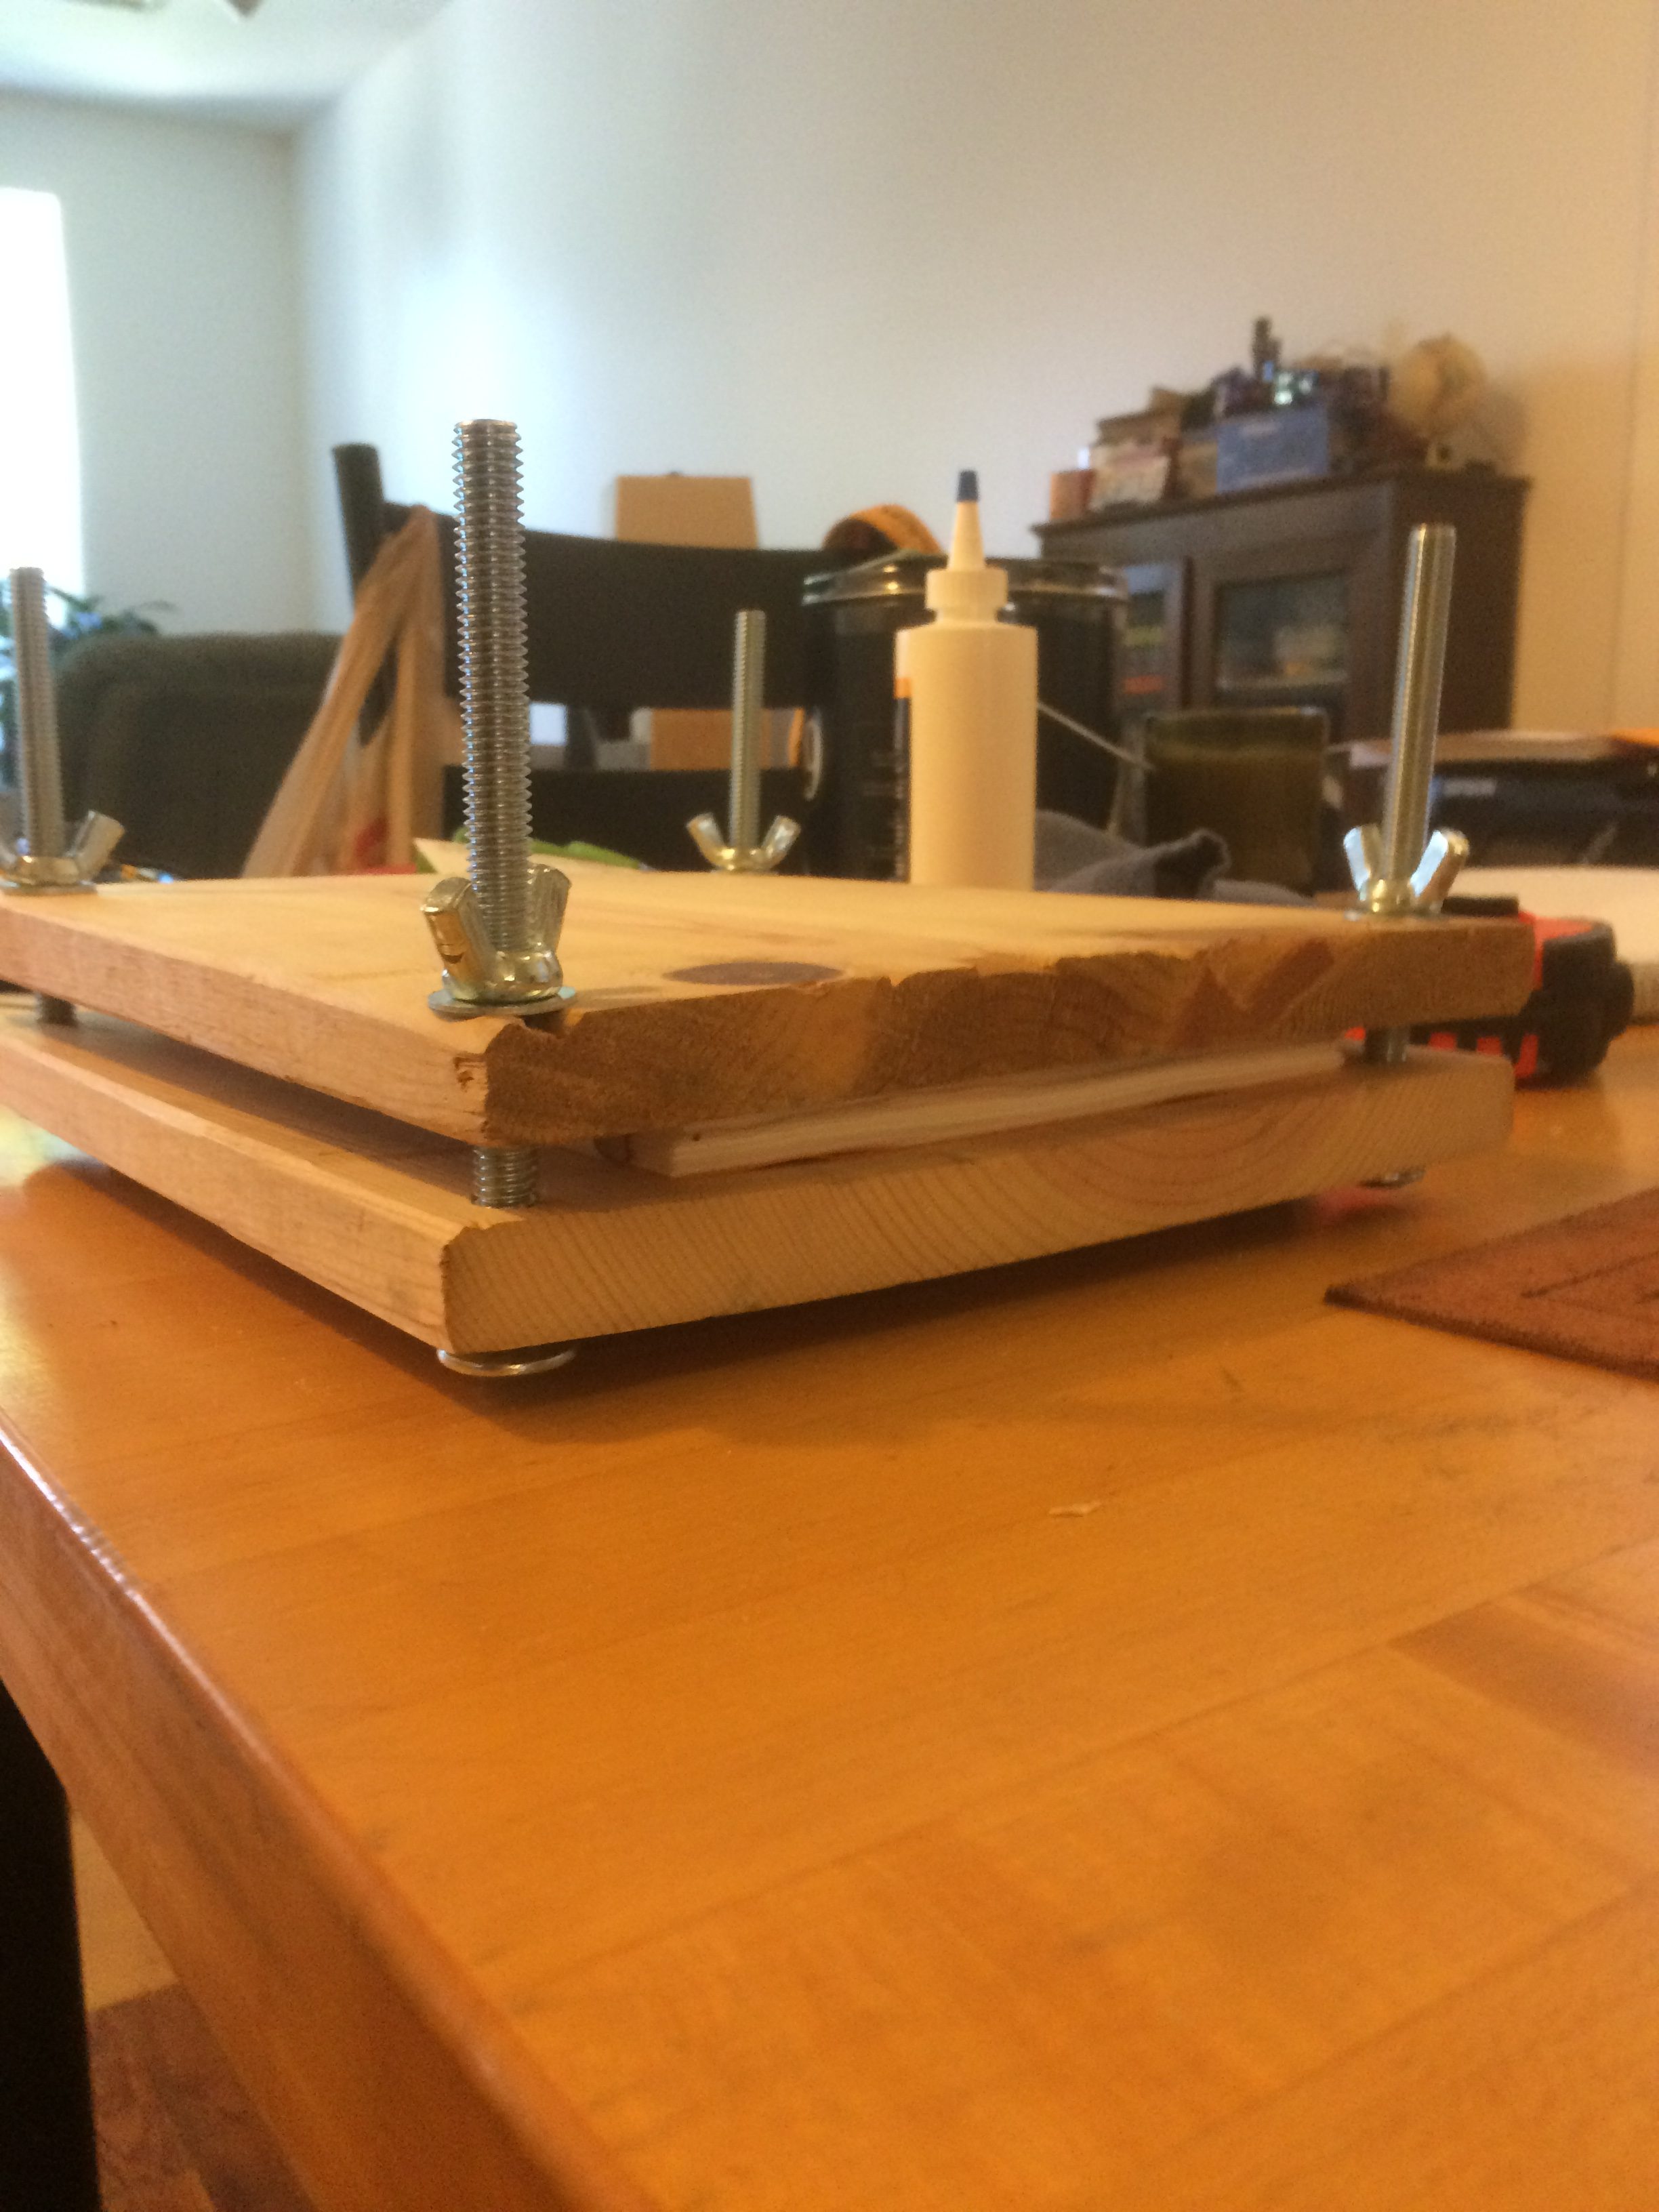
My post yesterday wasn’t accurate. I hadn’t yet finished my text block. I still had to put the cover pages on it and the reinforcing paper. Before that though, I had to glue the binding. I made a book press out of a couple of pieces of wood and some clamps.
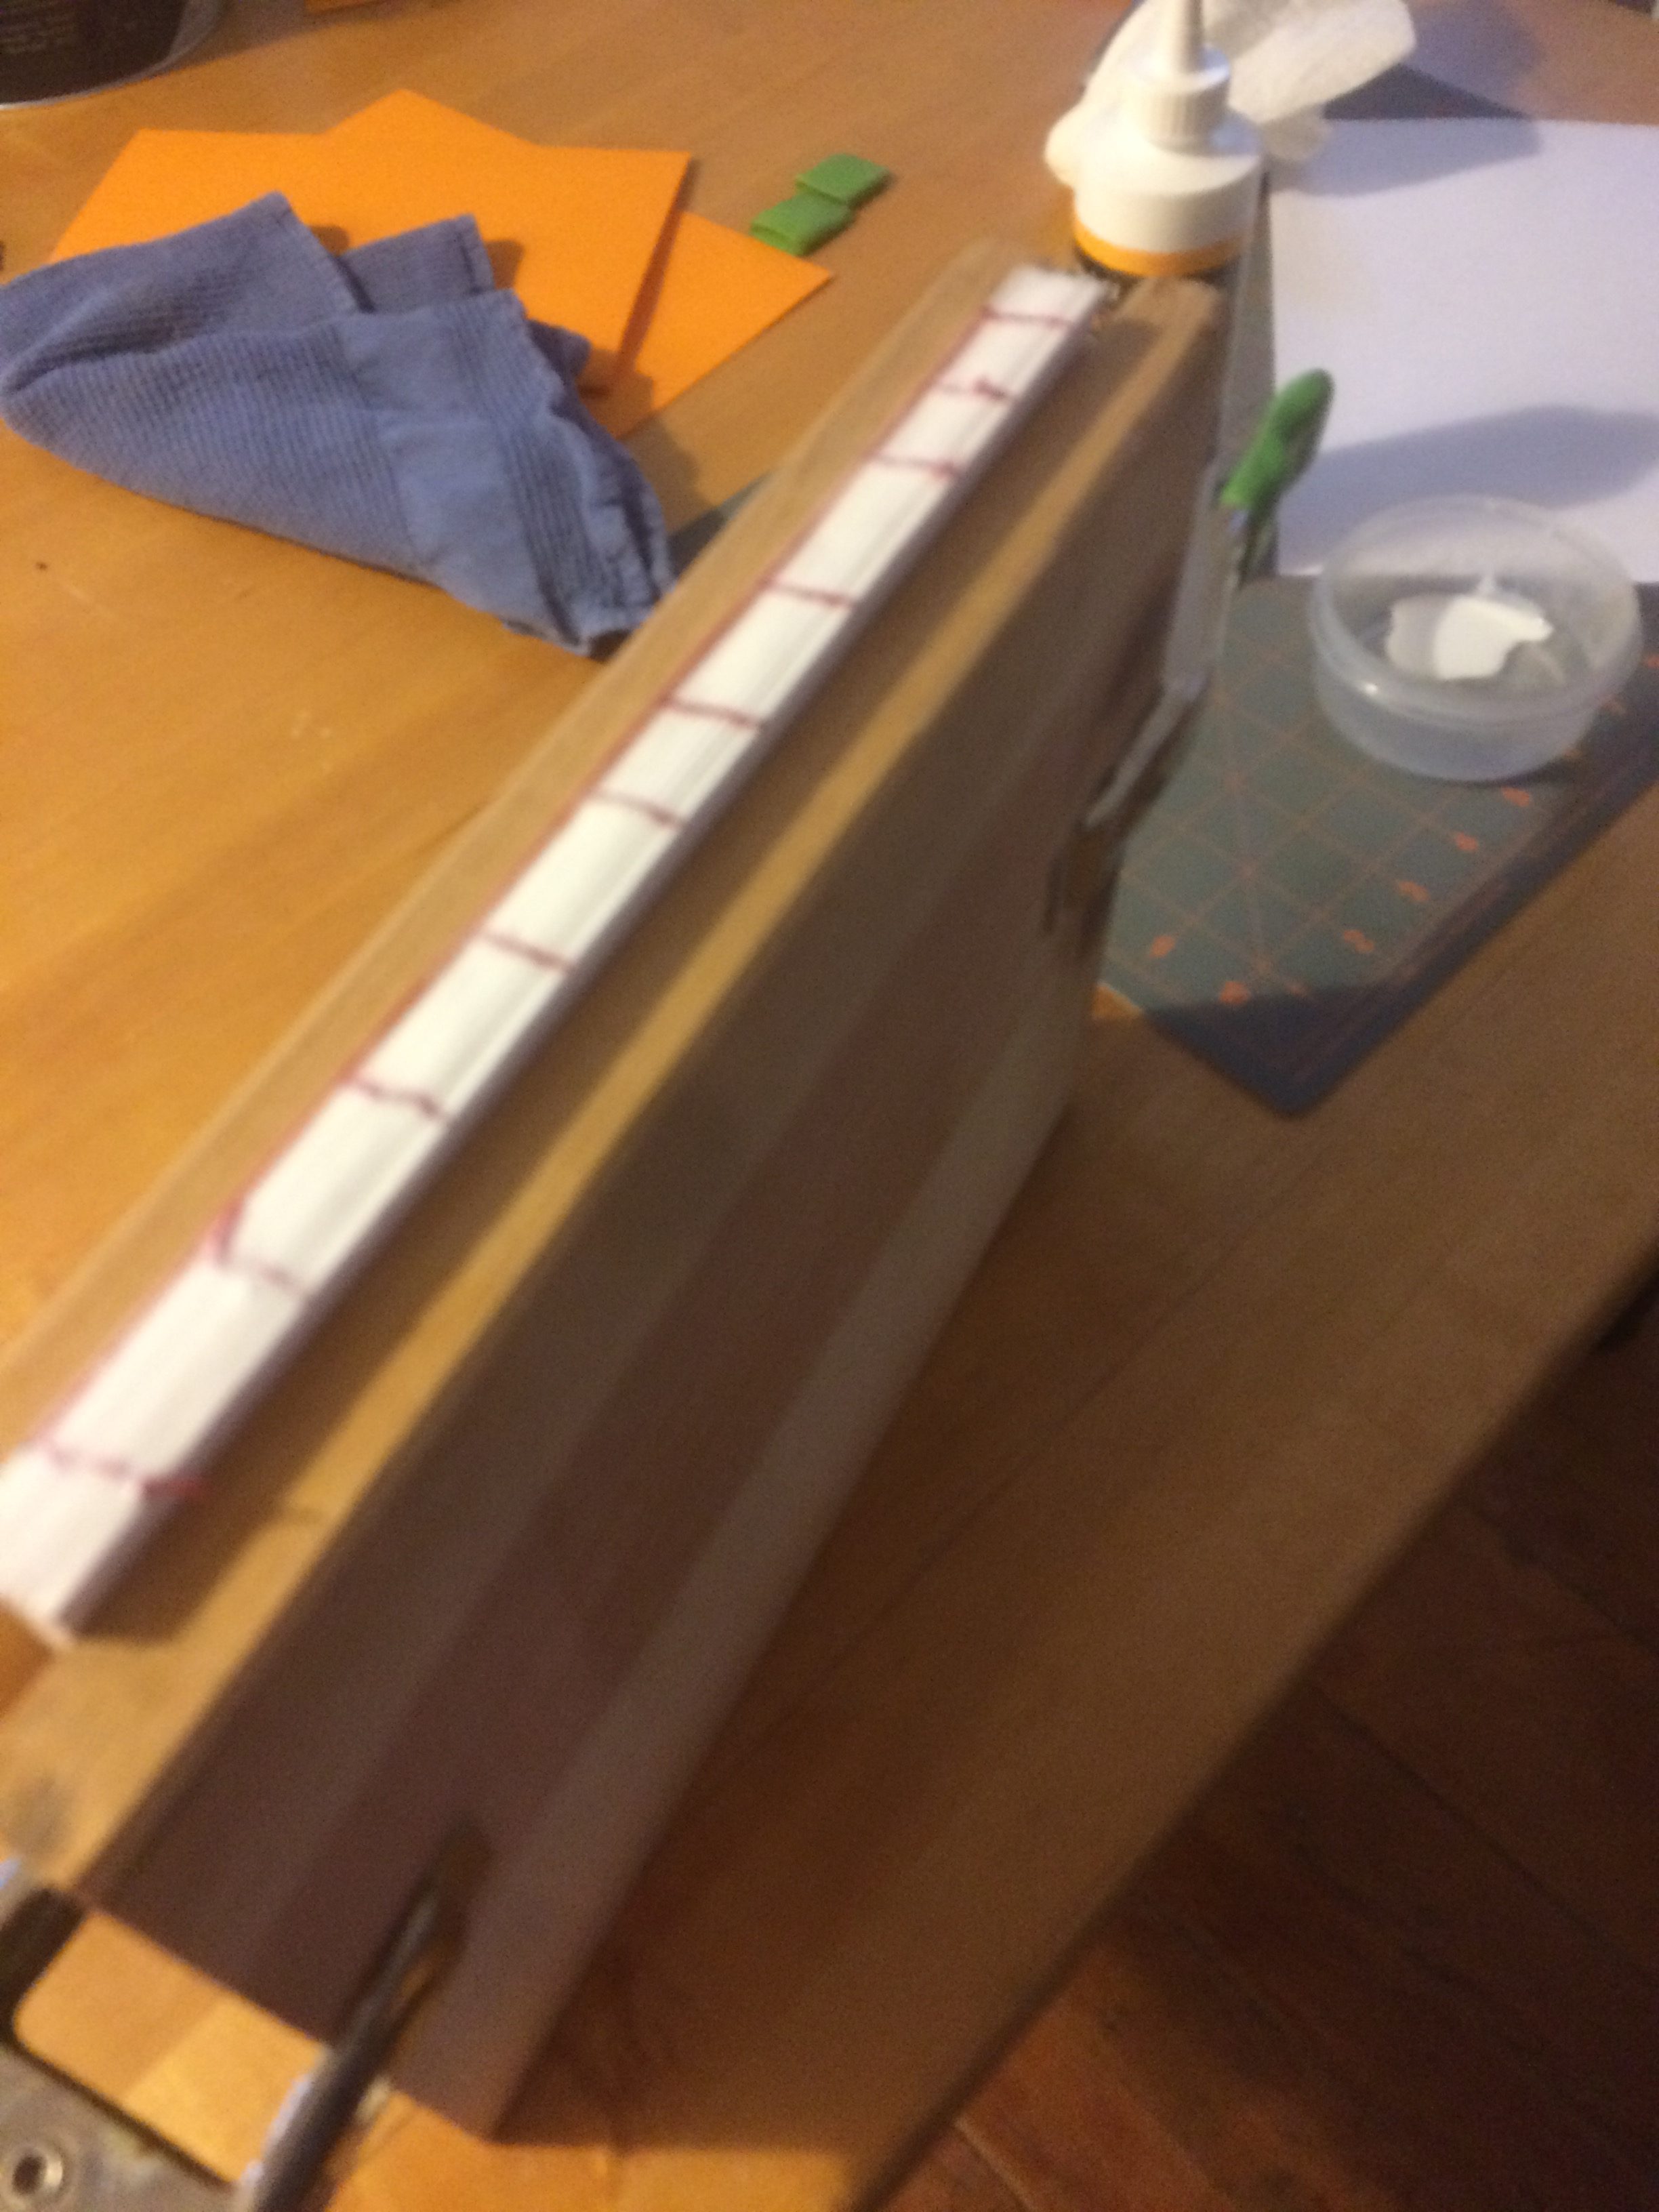
I put two coats of glue on the binding. Then I pressed the book. I just put it back between the wood and put some weights on it. In the picture below, this is not nearly enough weight. The pages were a little wrinkly.
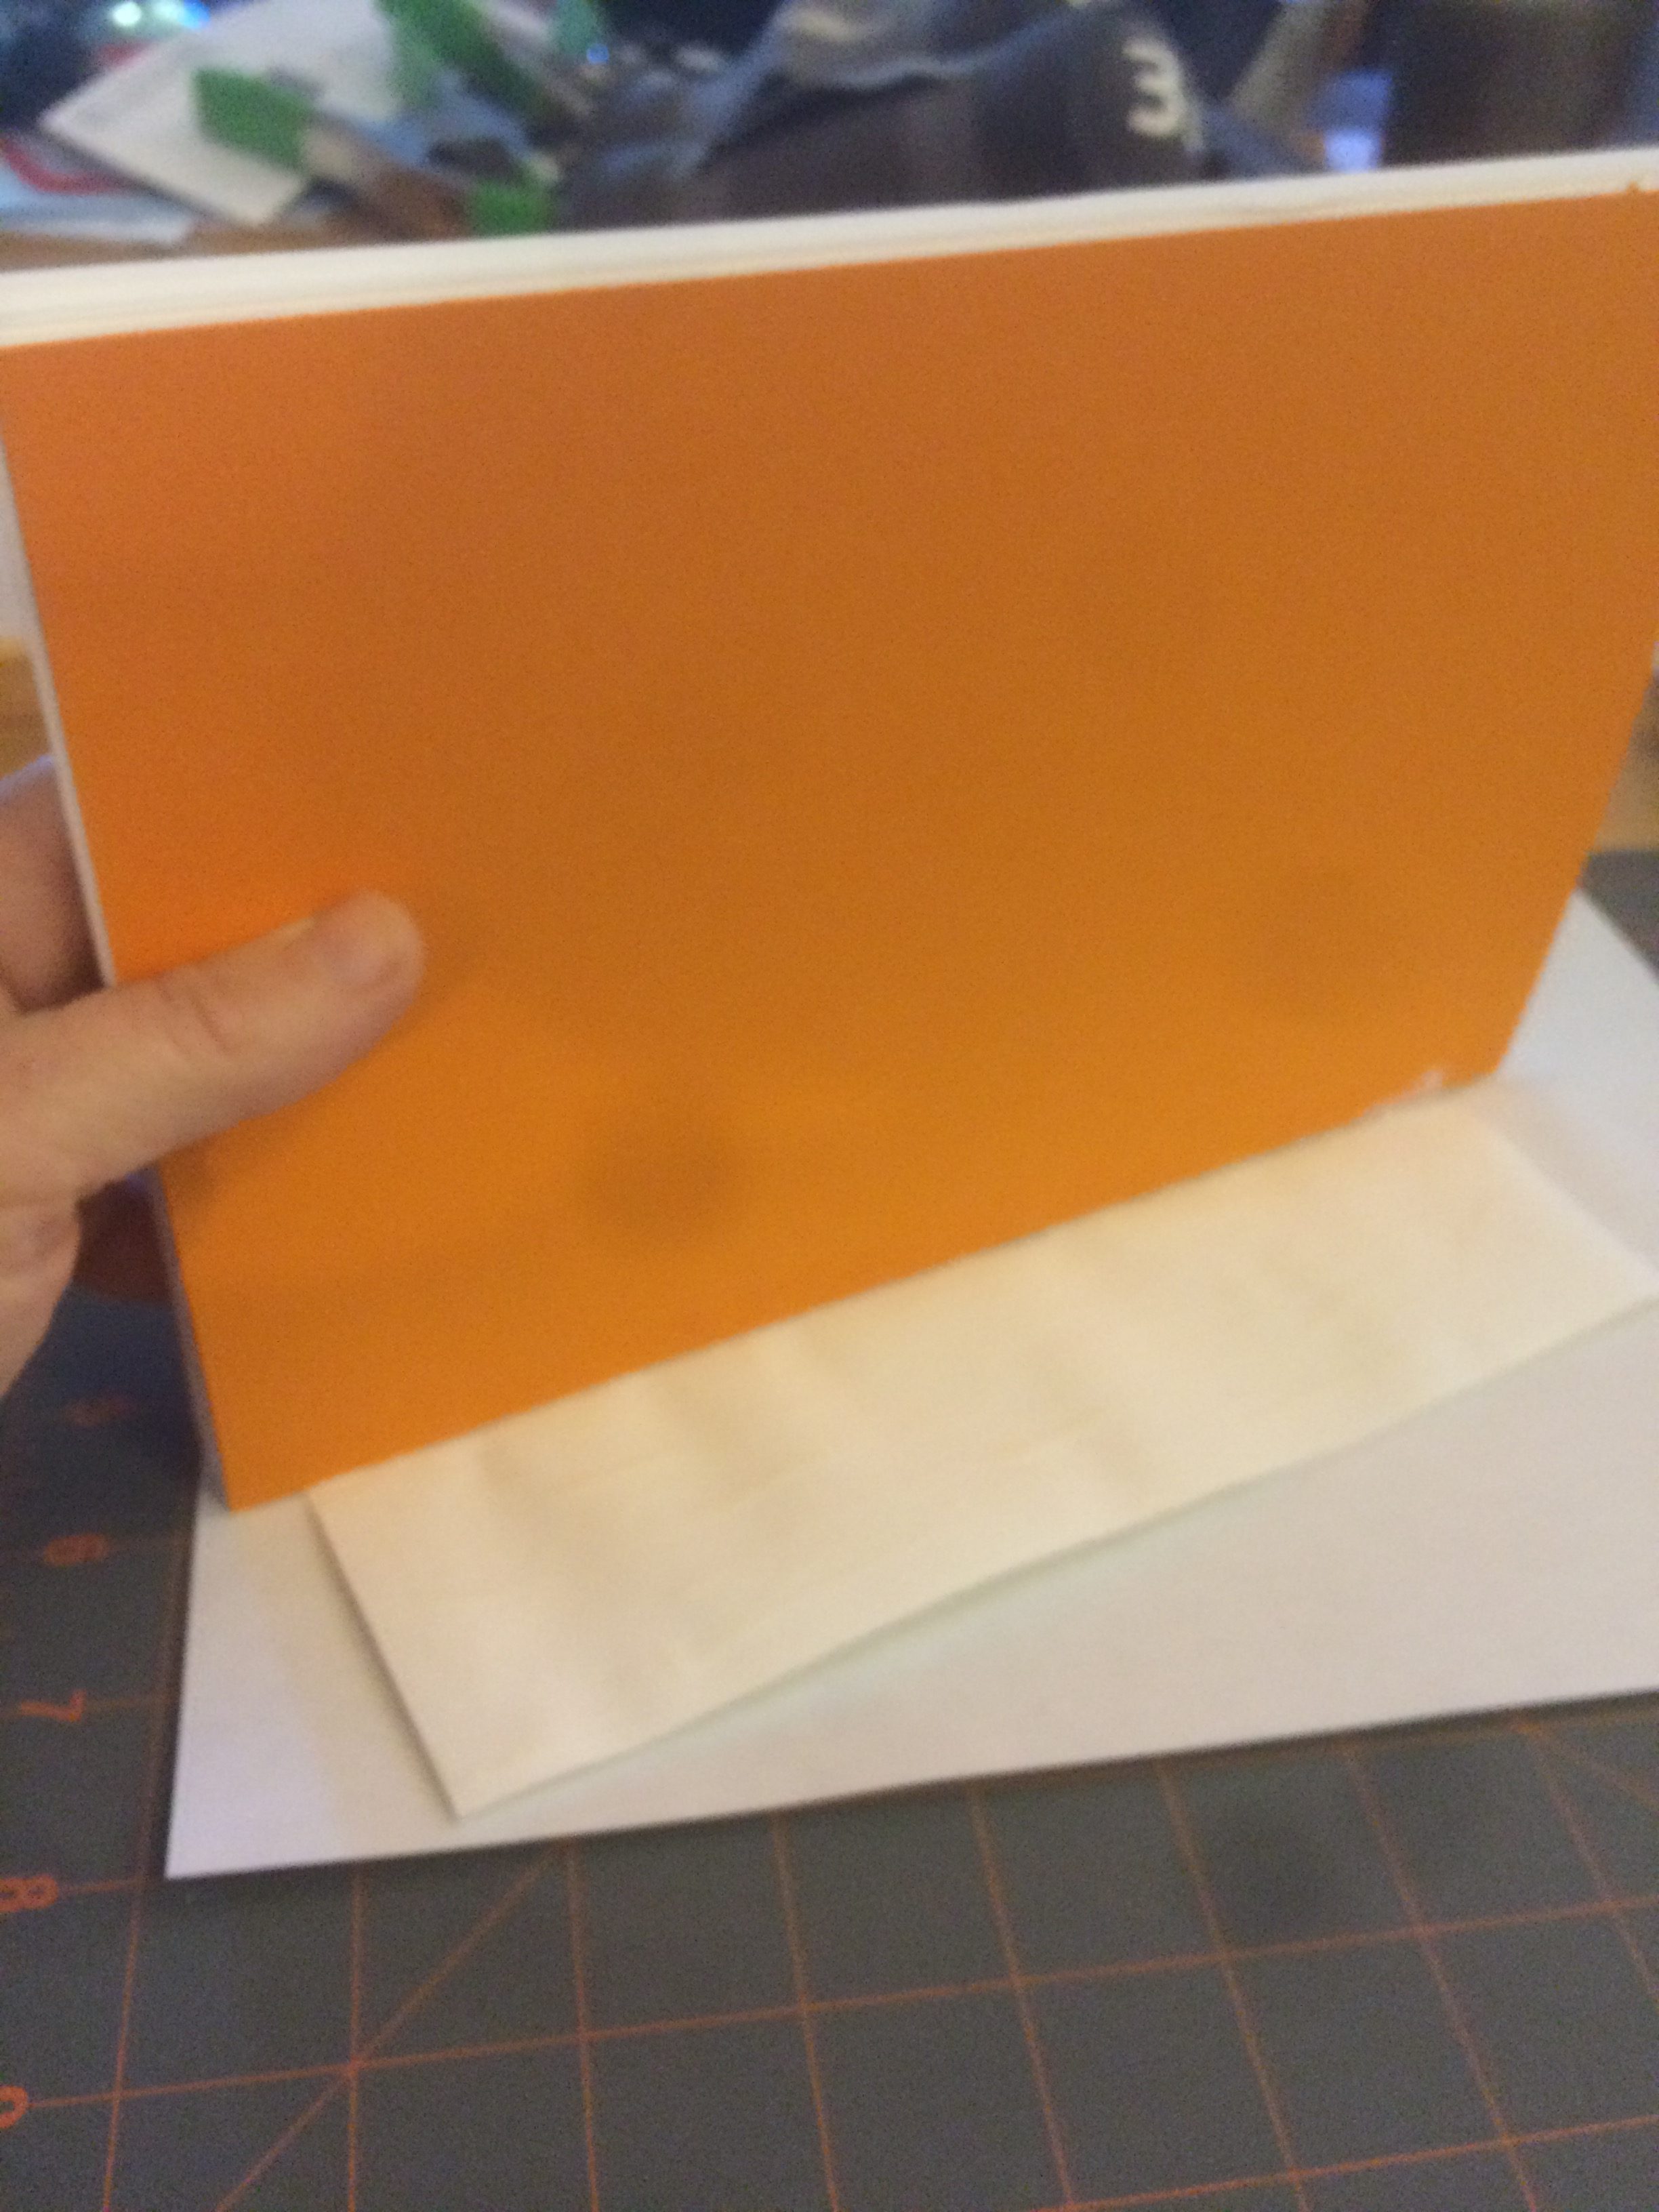
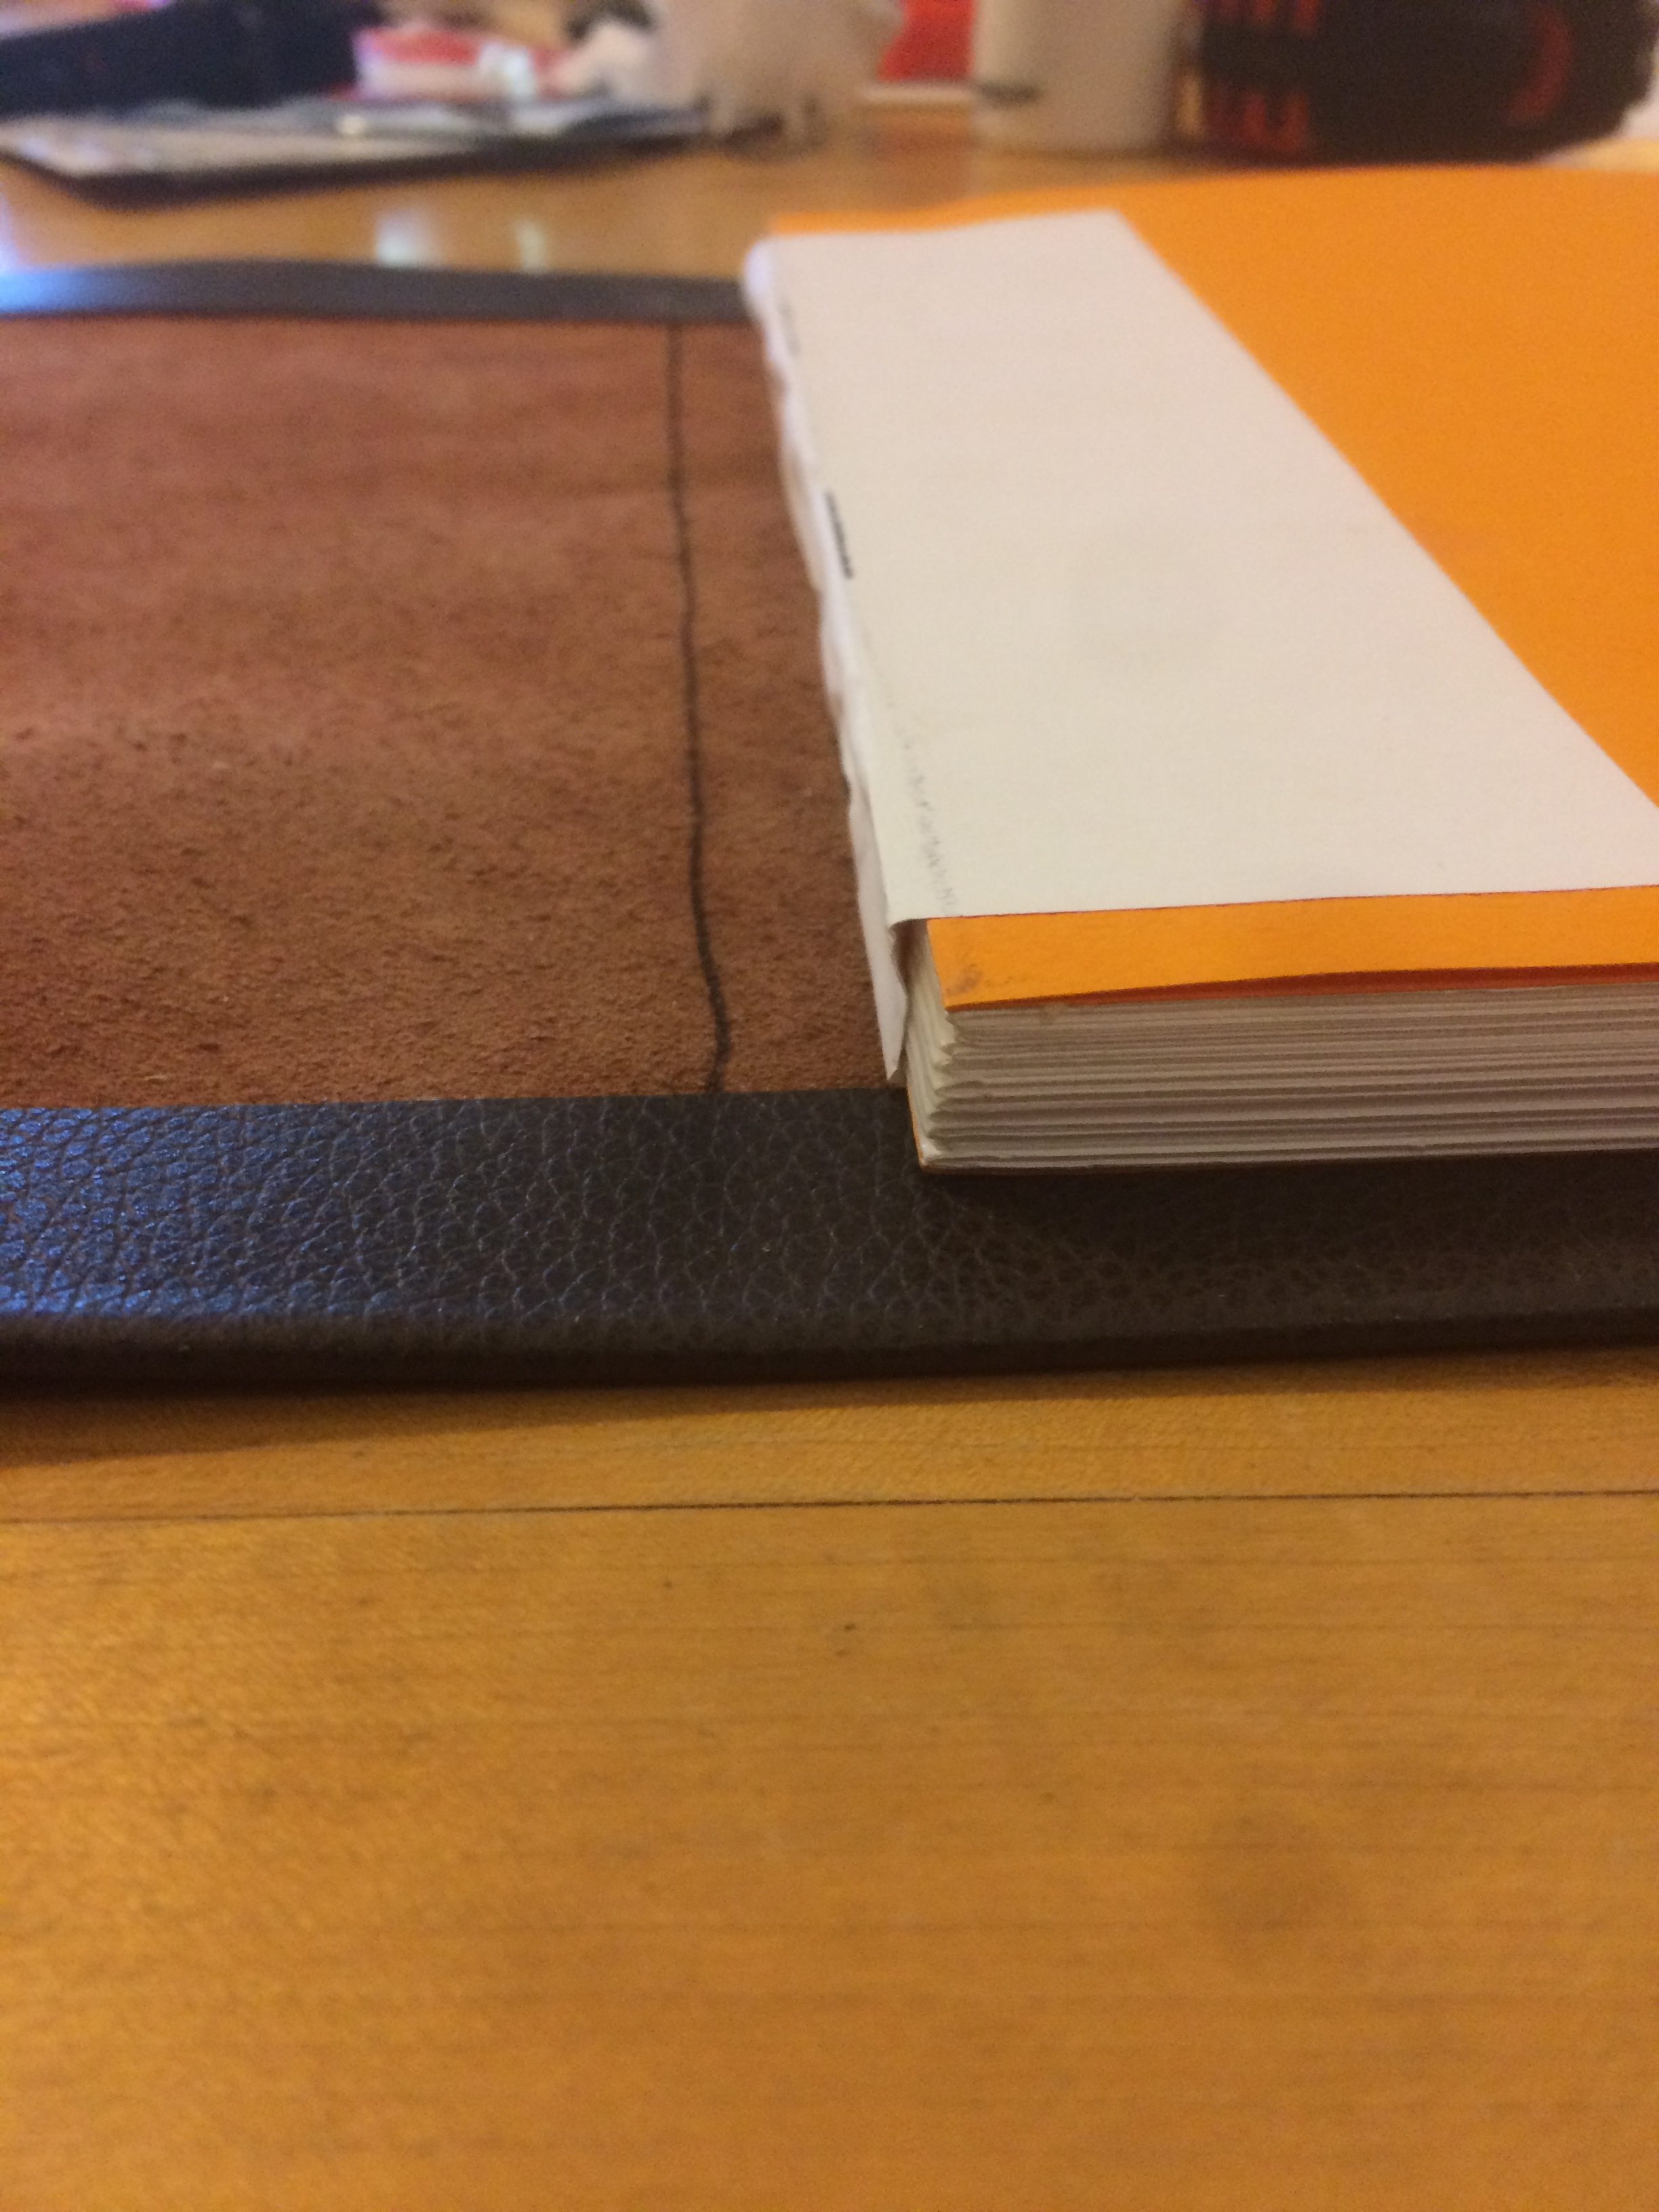
Next, I glued my orange cover pieces on. This is a little heavier paper.
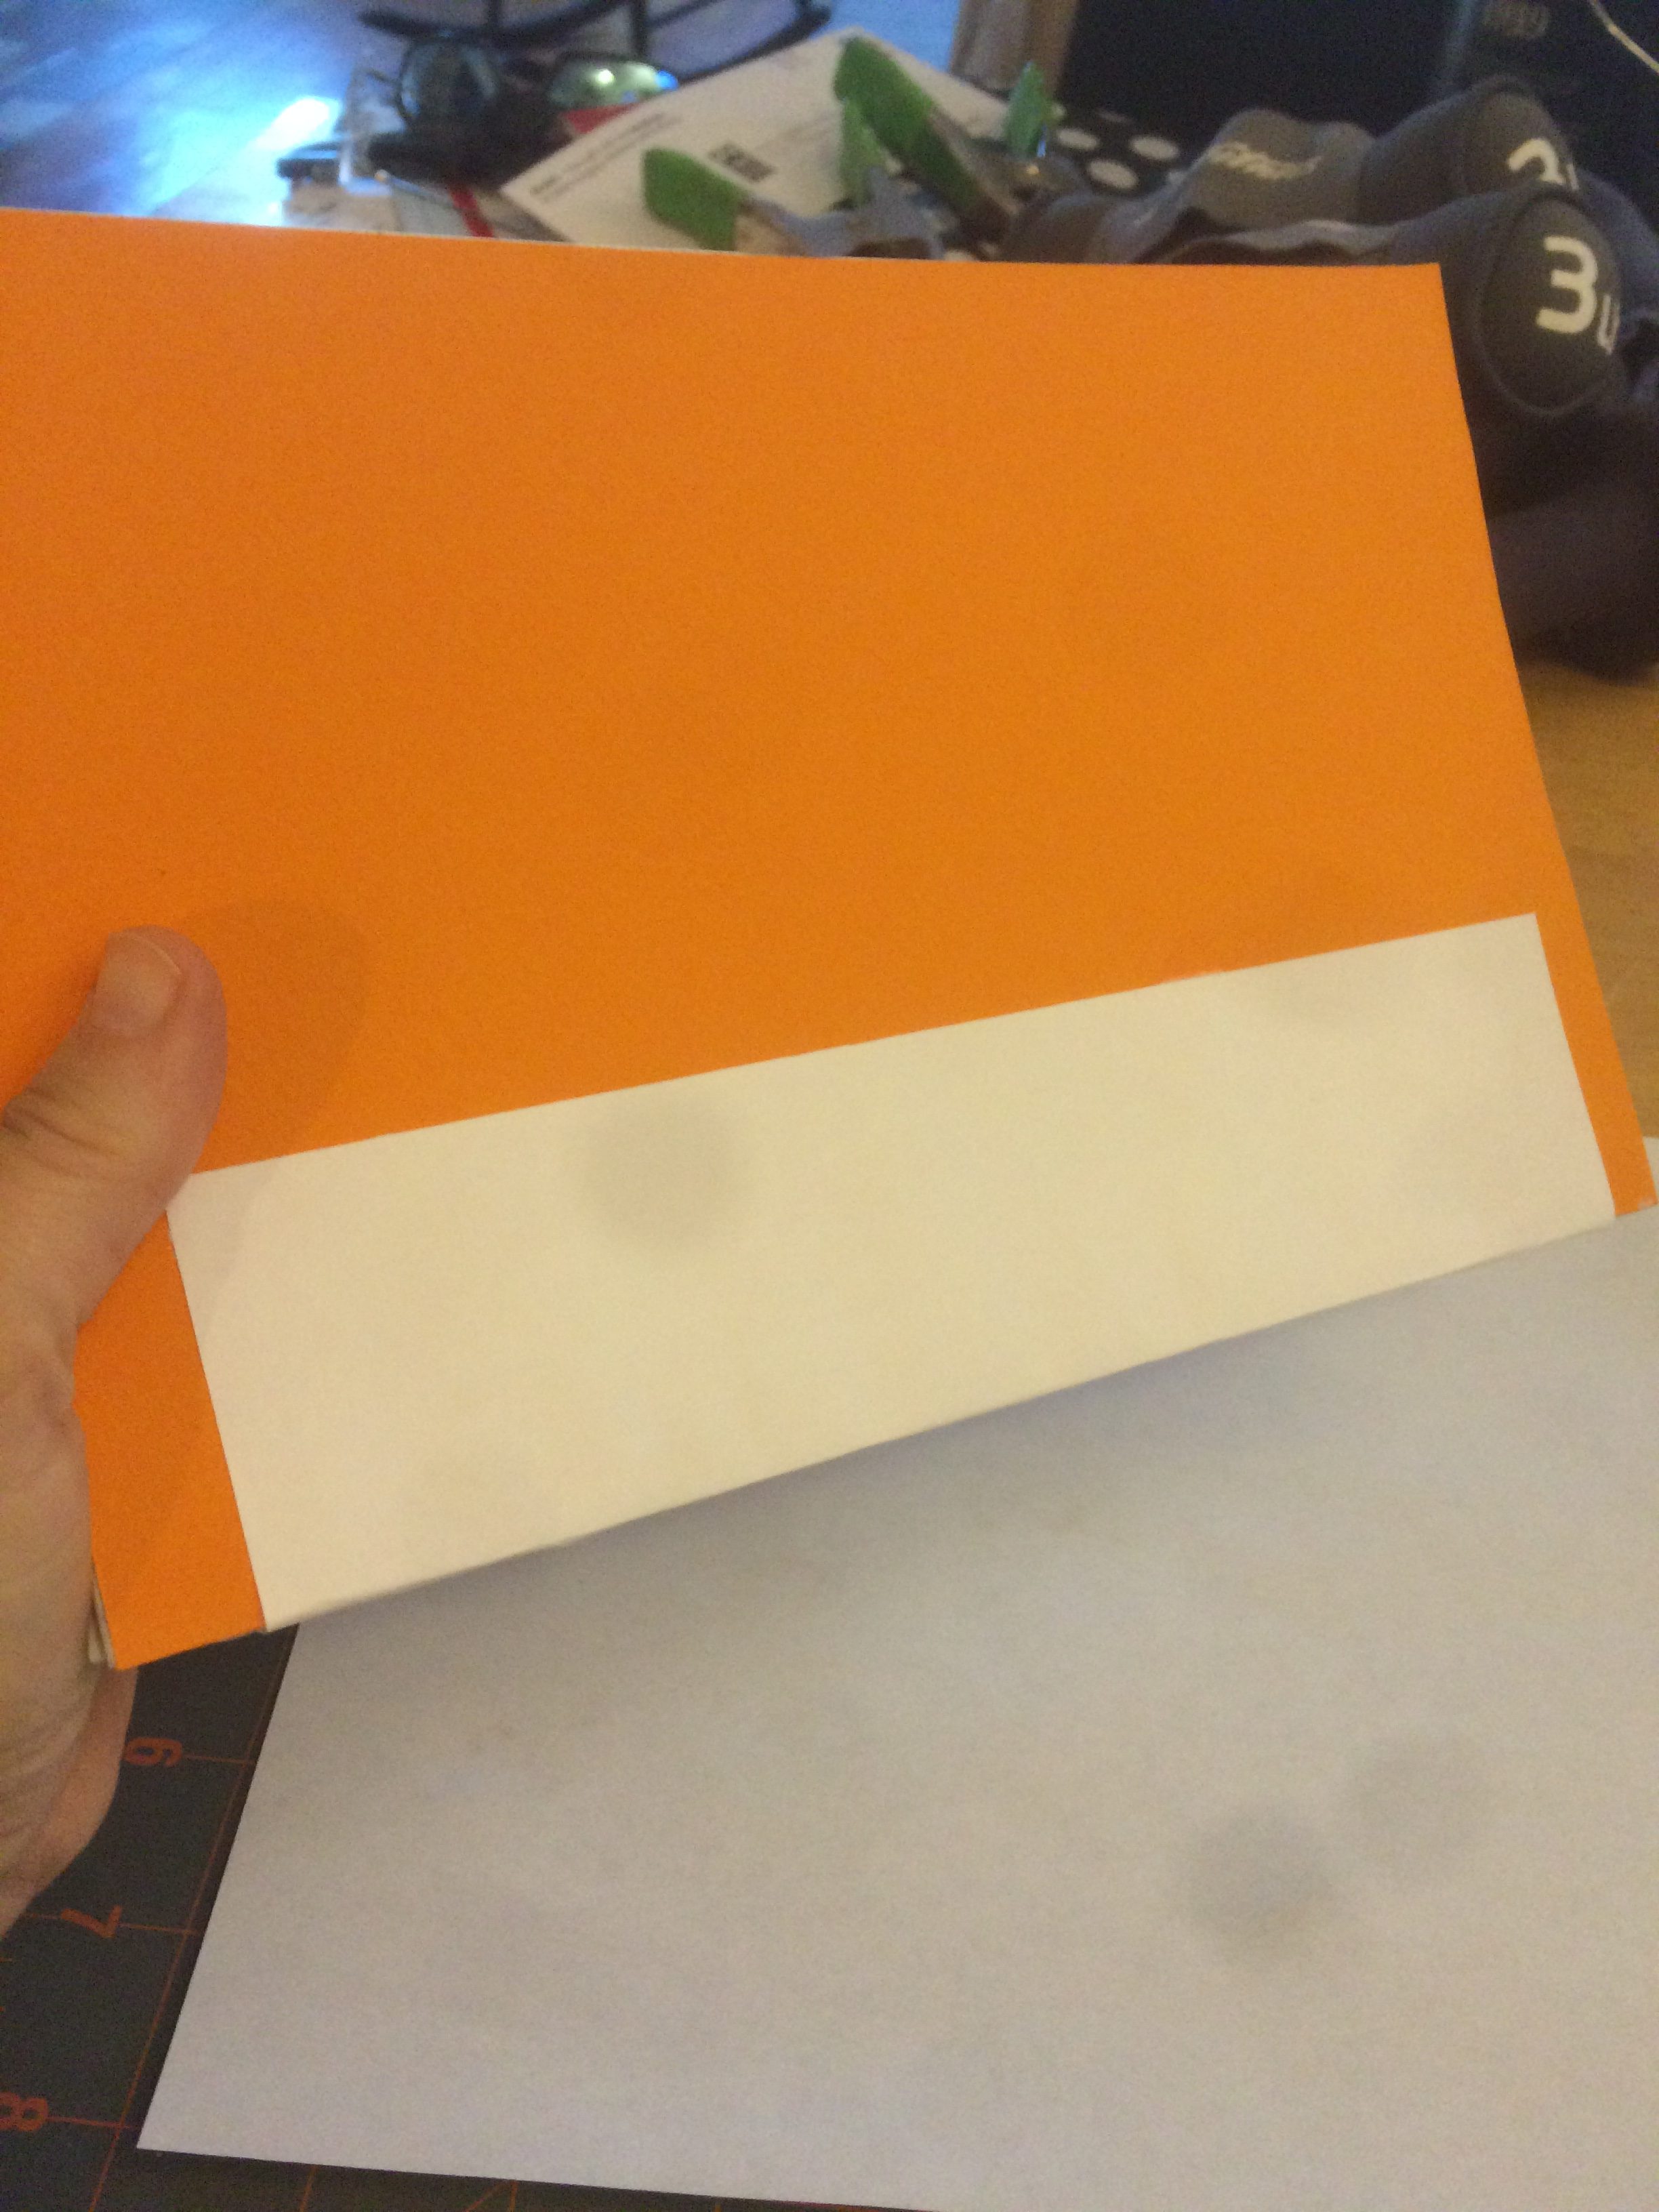
After that, another piece of paper is added for extra support.
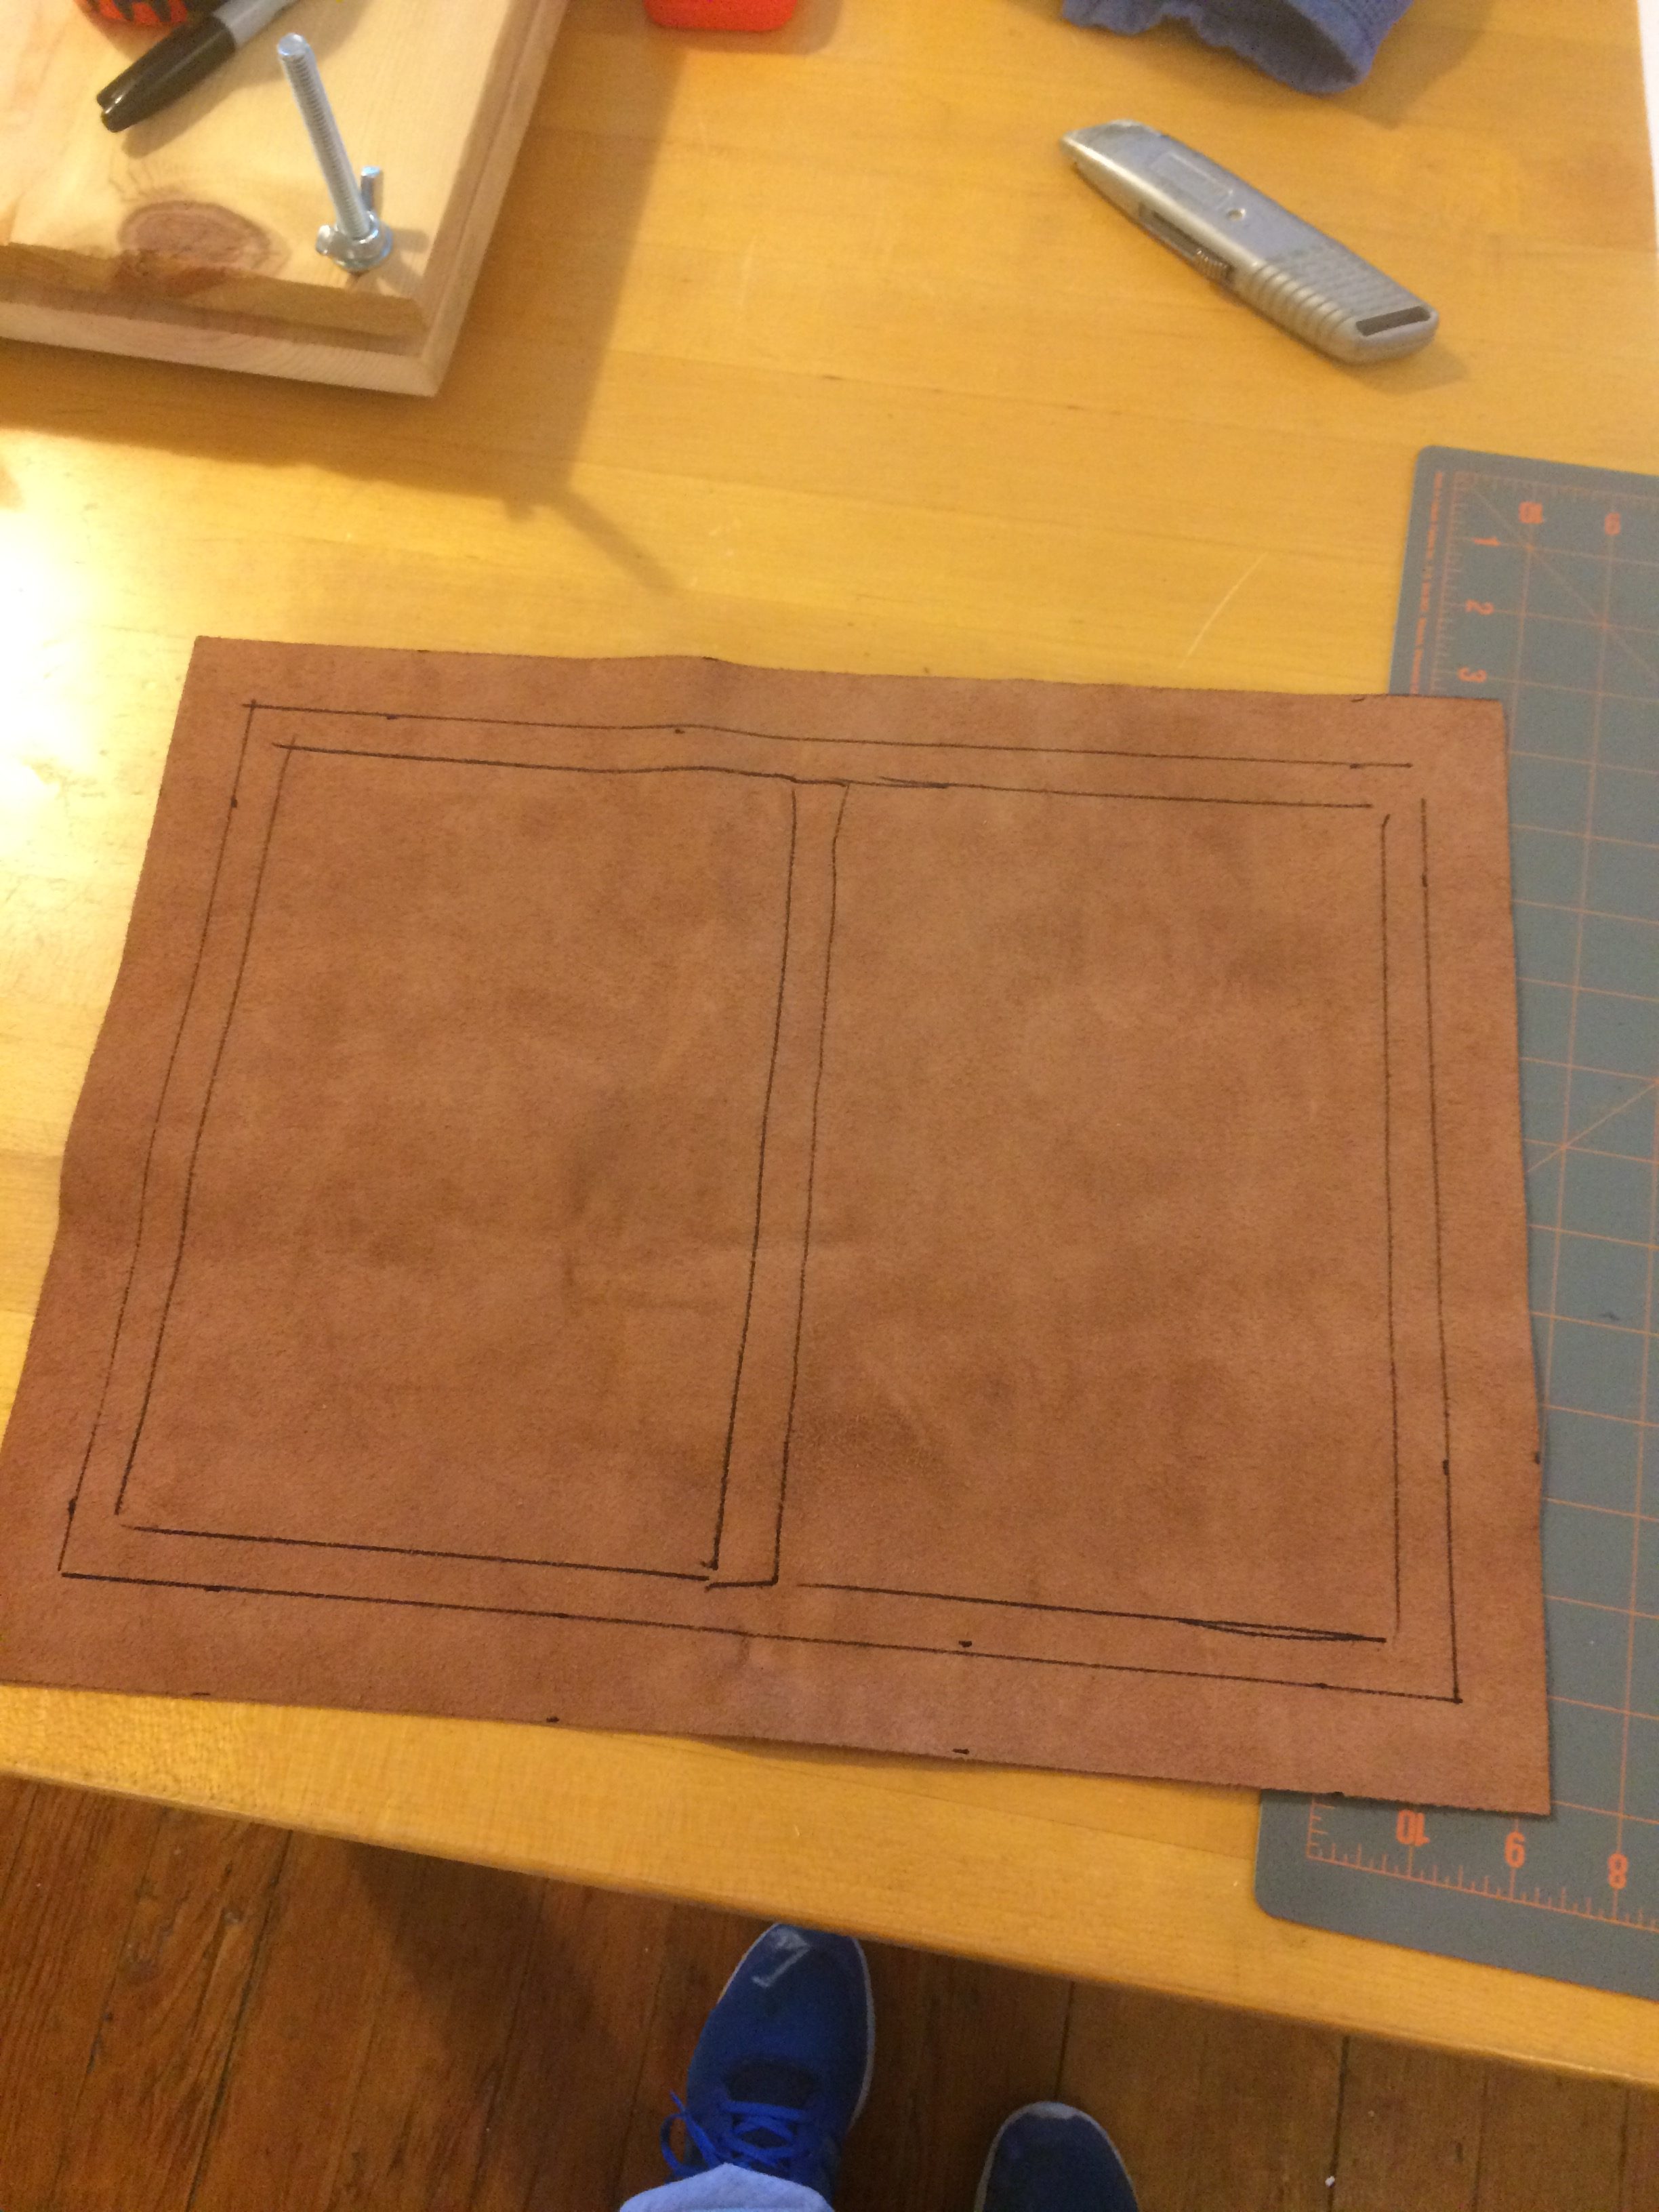
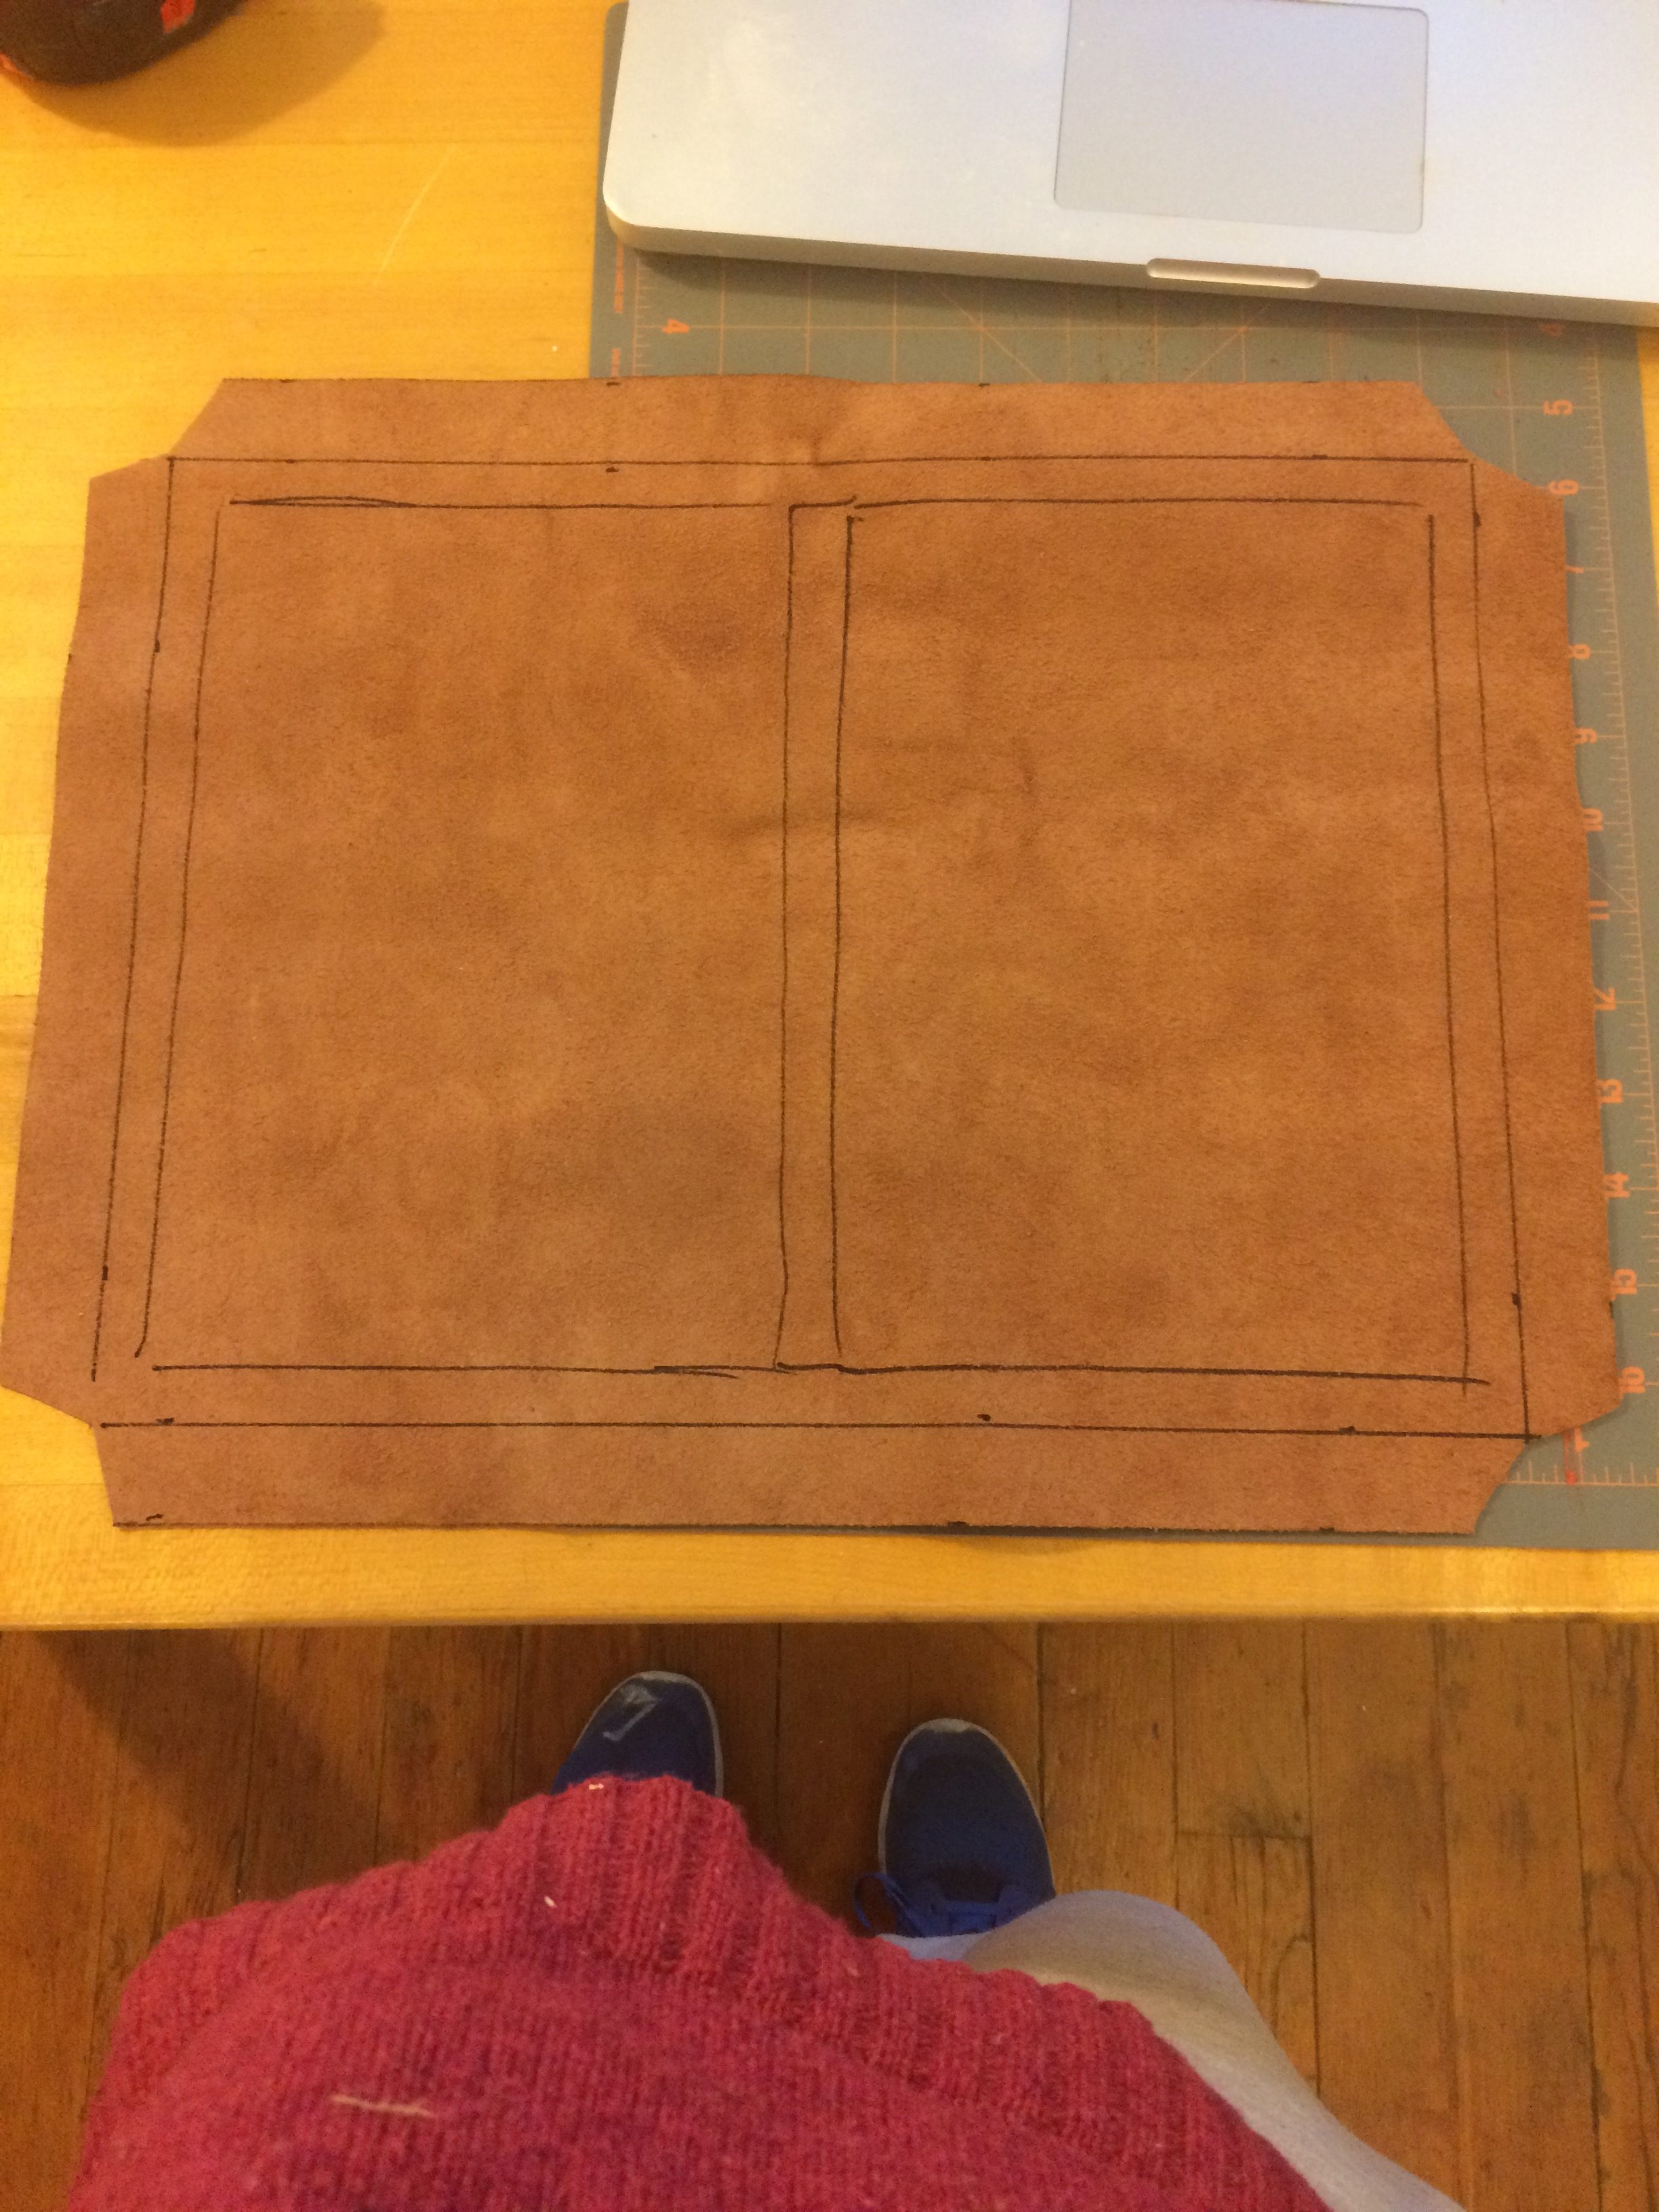
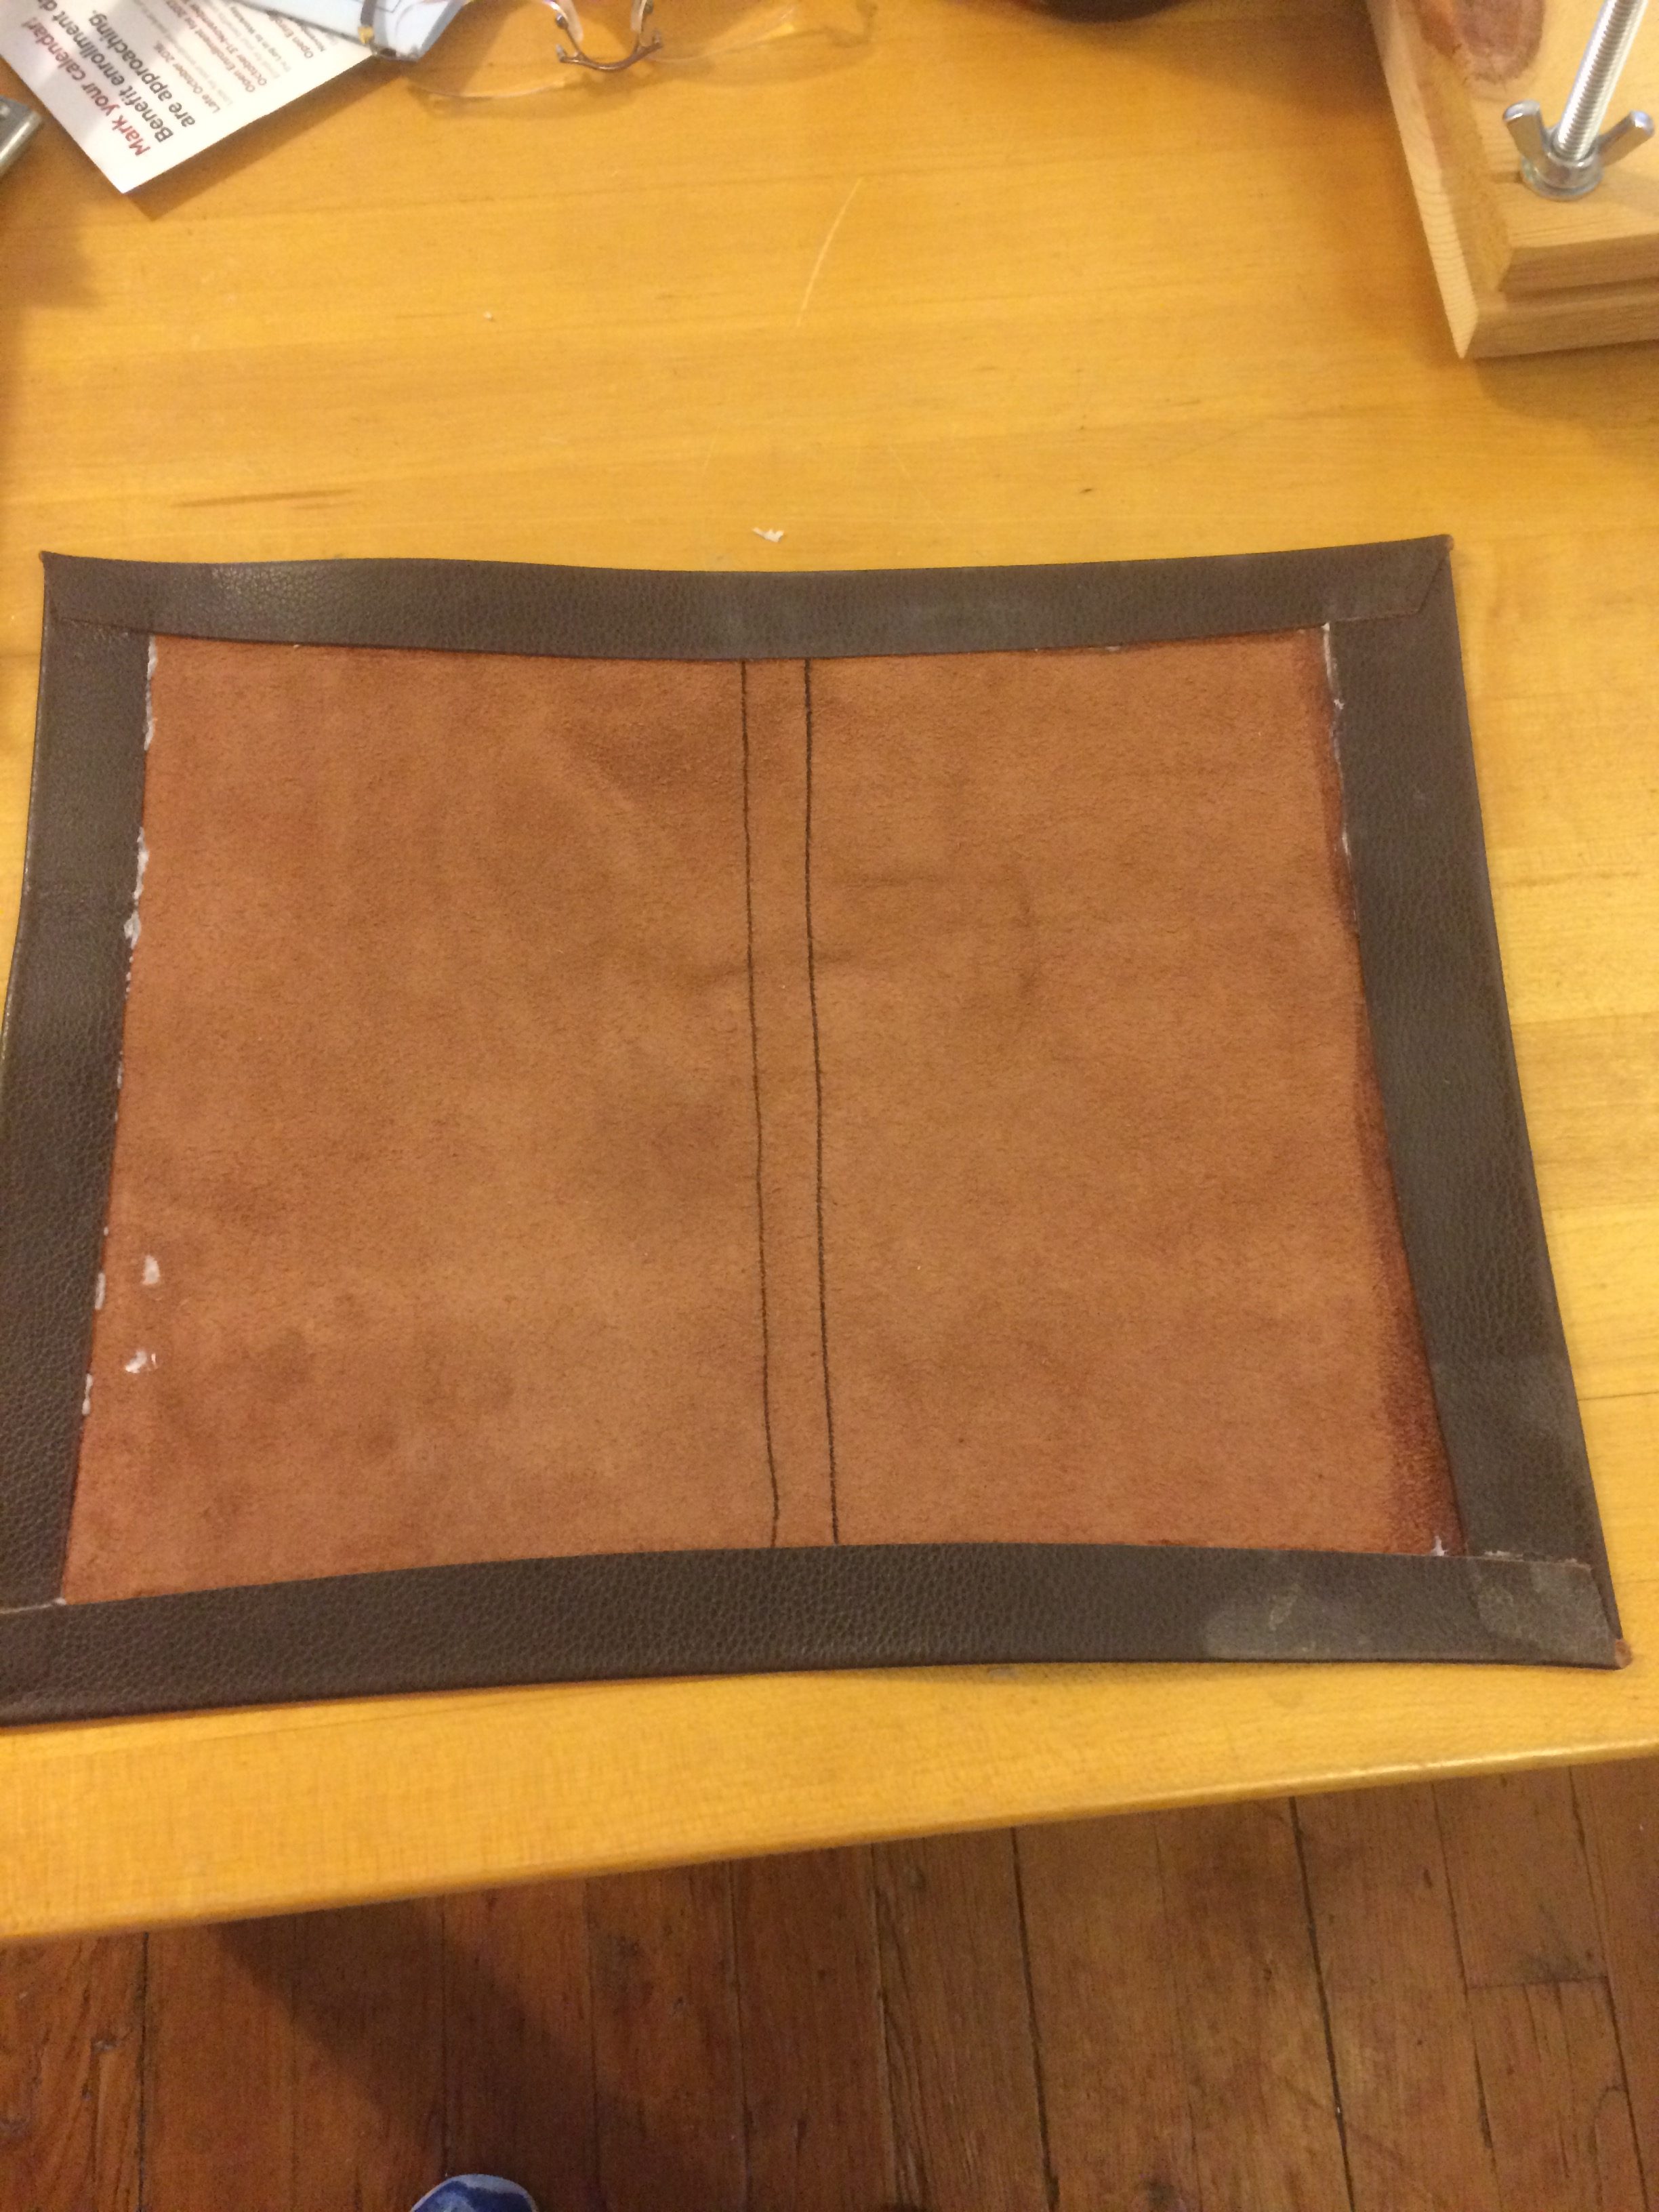
At this point, my text block was done. Now I just had to figure out how to make a cover. I didn’t really want this to have a thick, hard cover, but something thinner. Then I remembered that I bought a piece of leather to play around with, so why not use that. I traced the book outline, then added 1/2 inch extra for the cover to go beyond the paper and then another 1″ to fold over. And I cut it out.
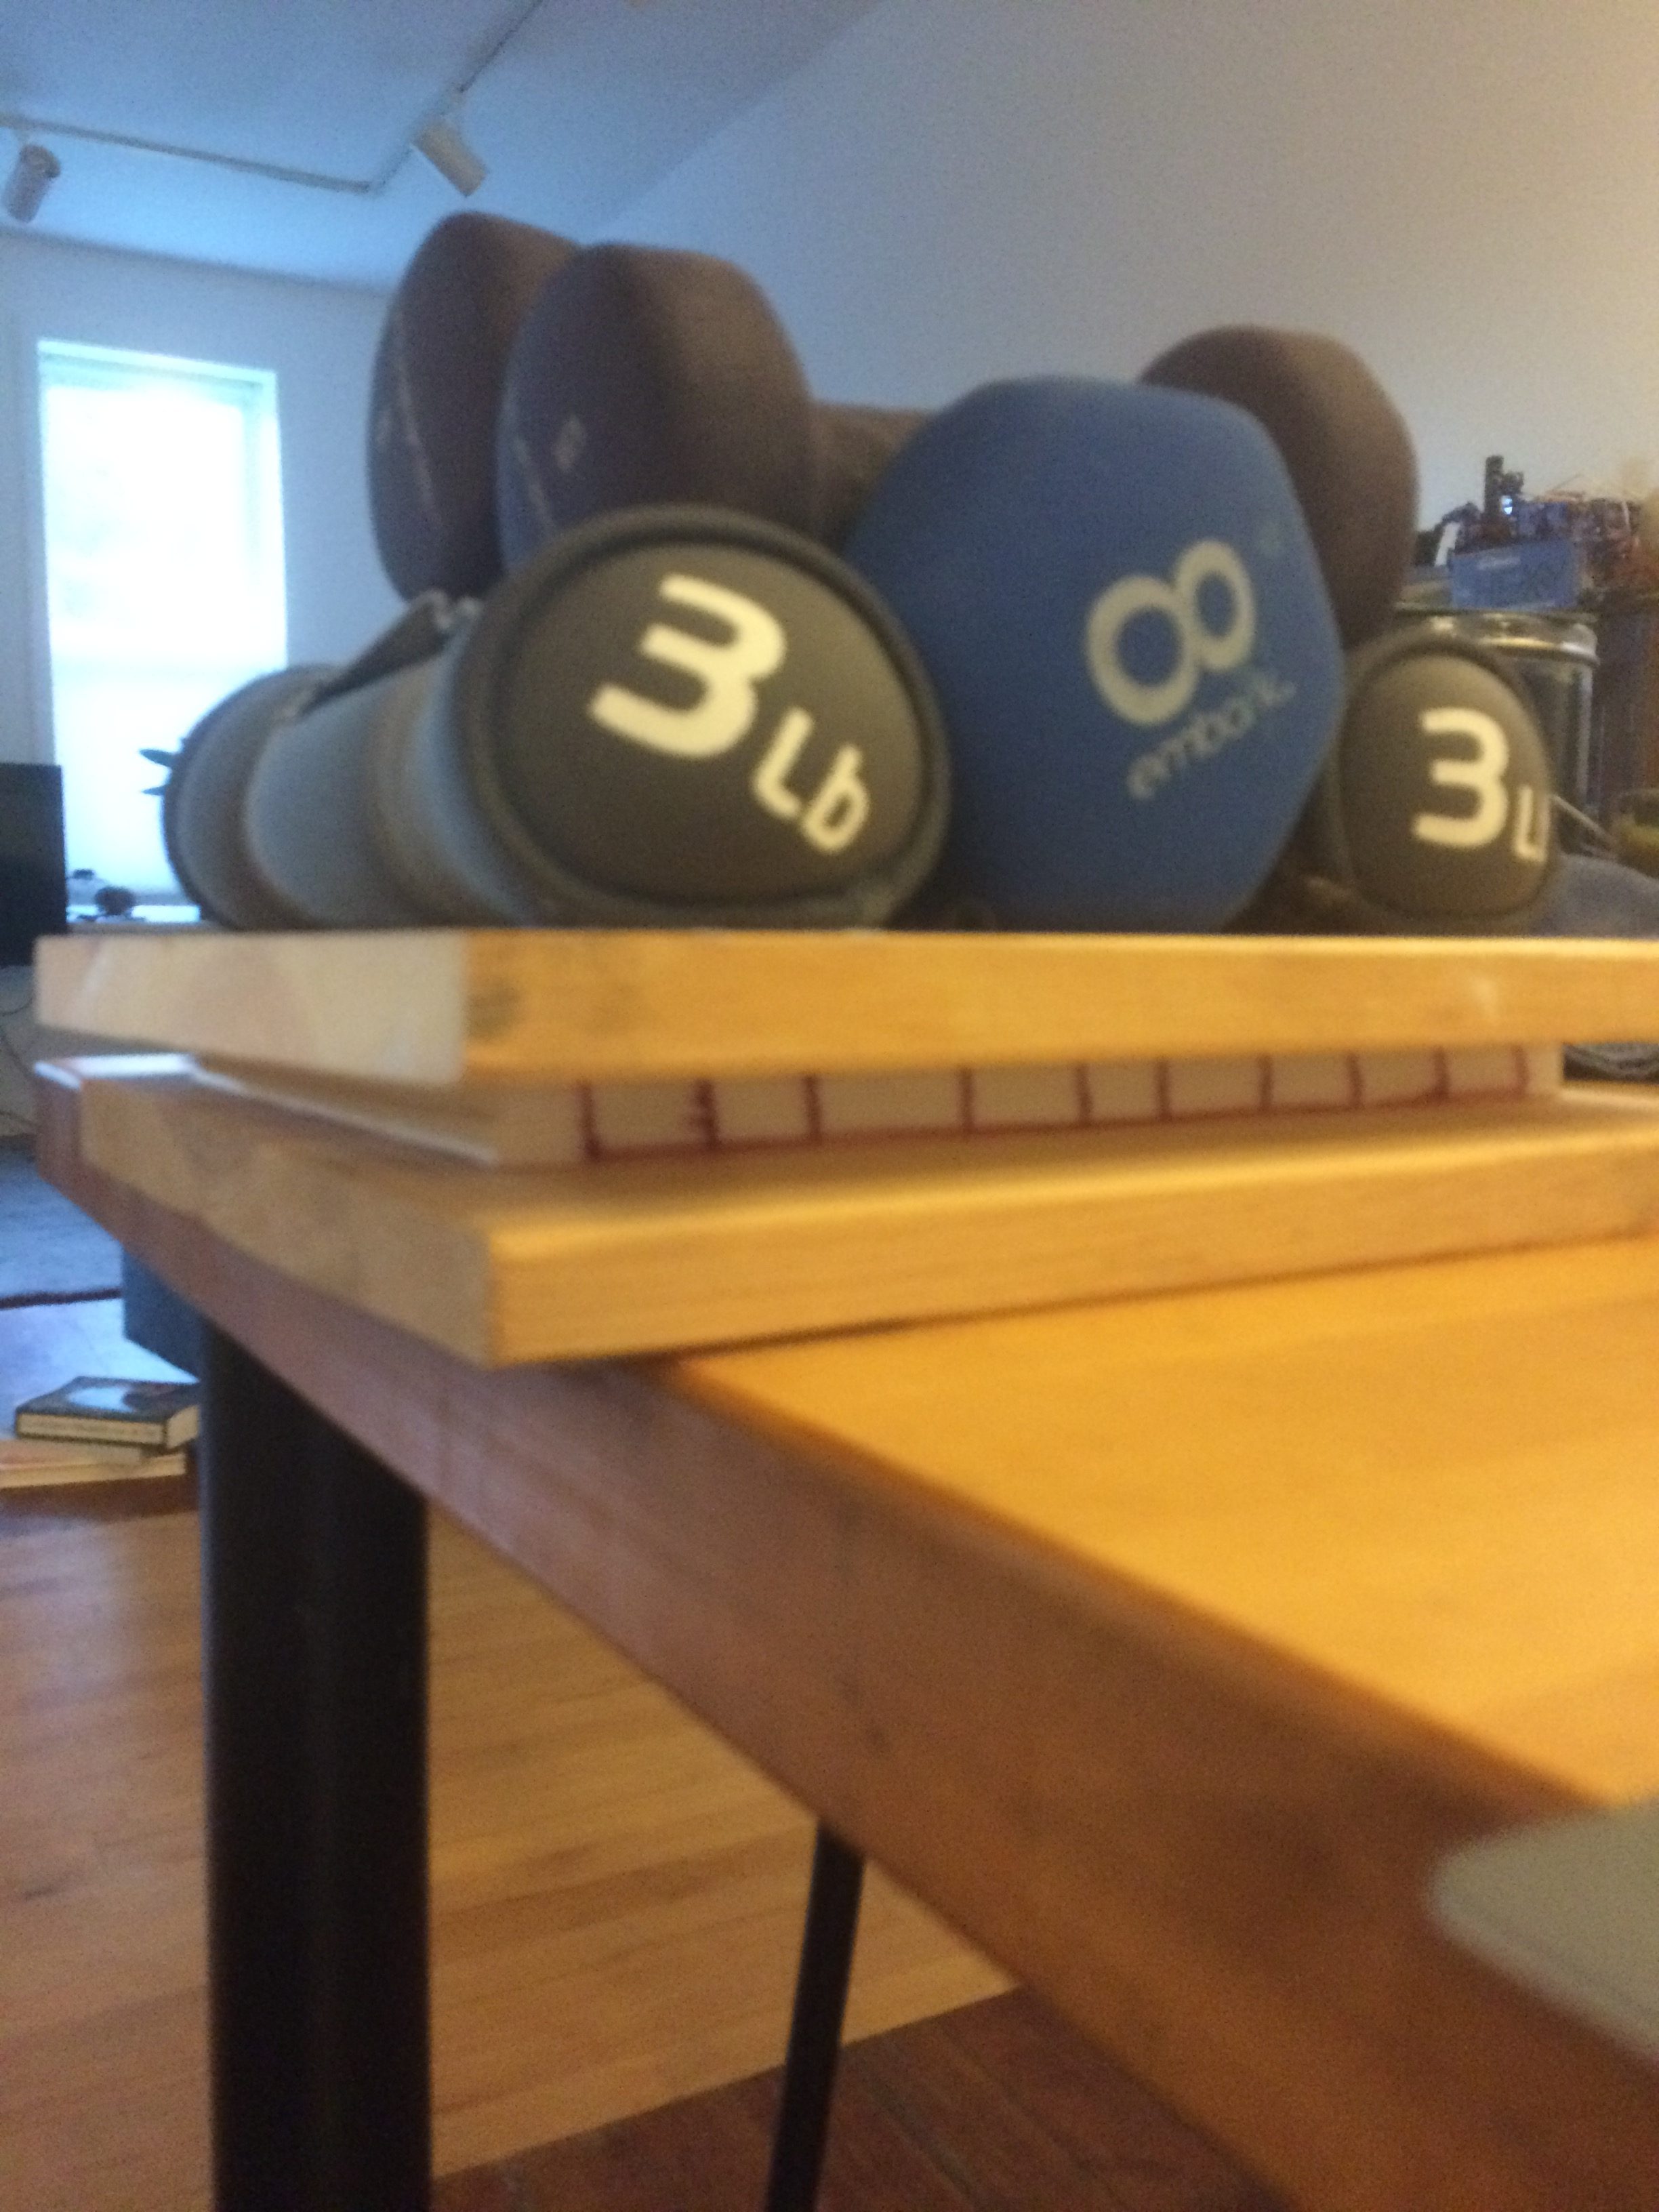
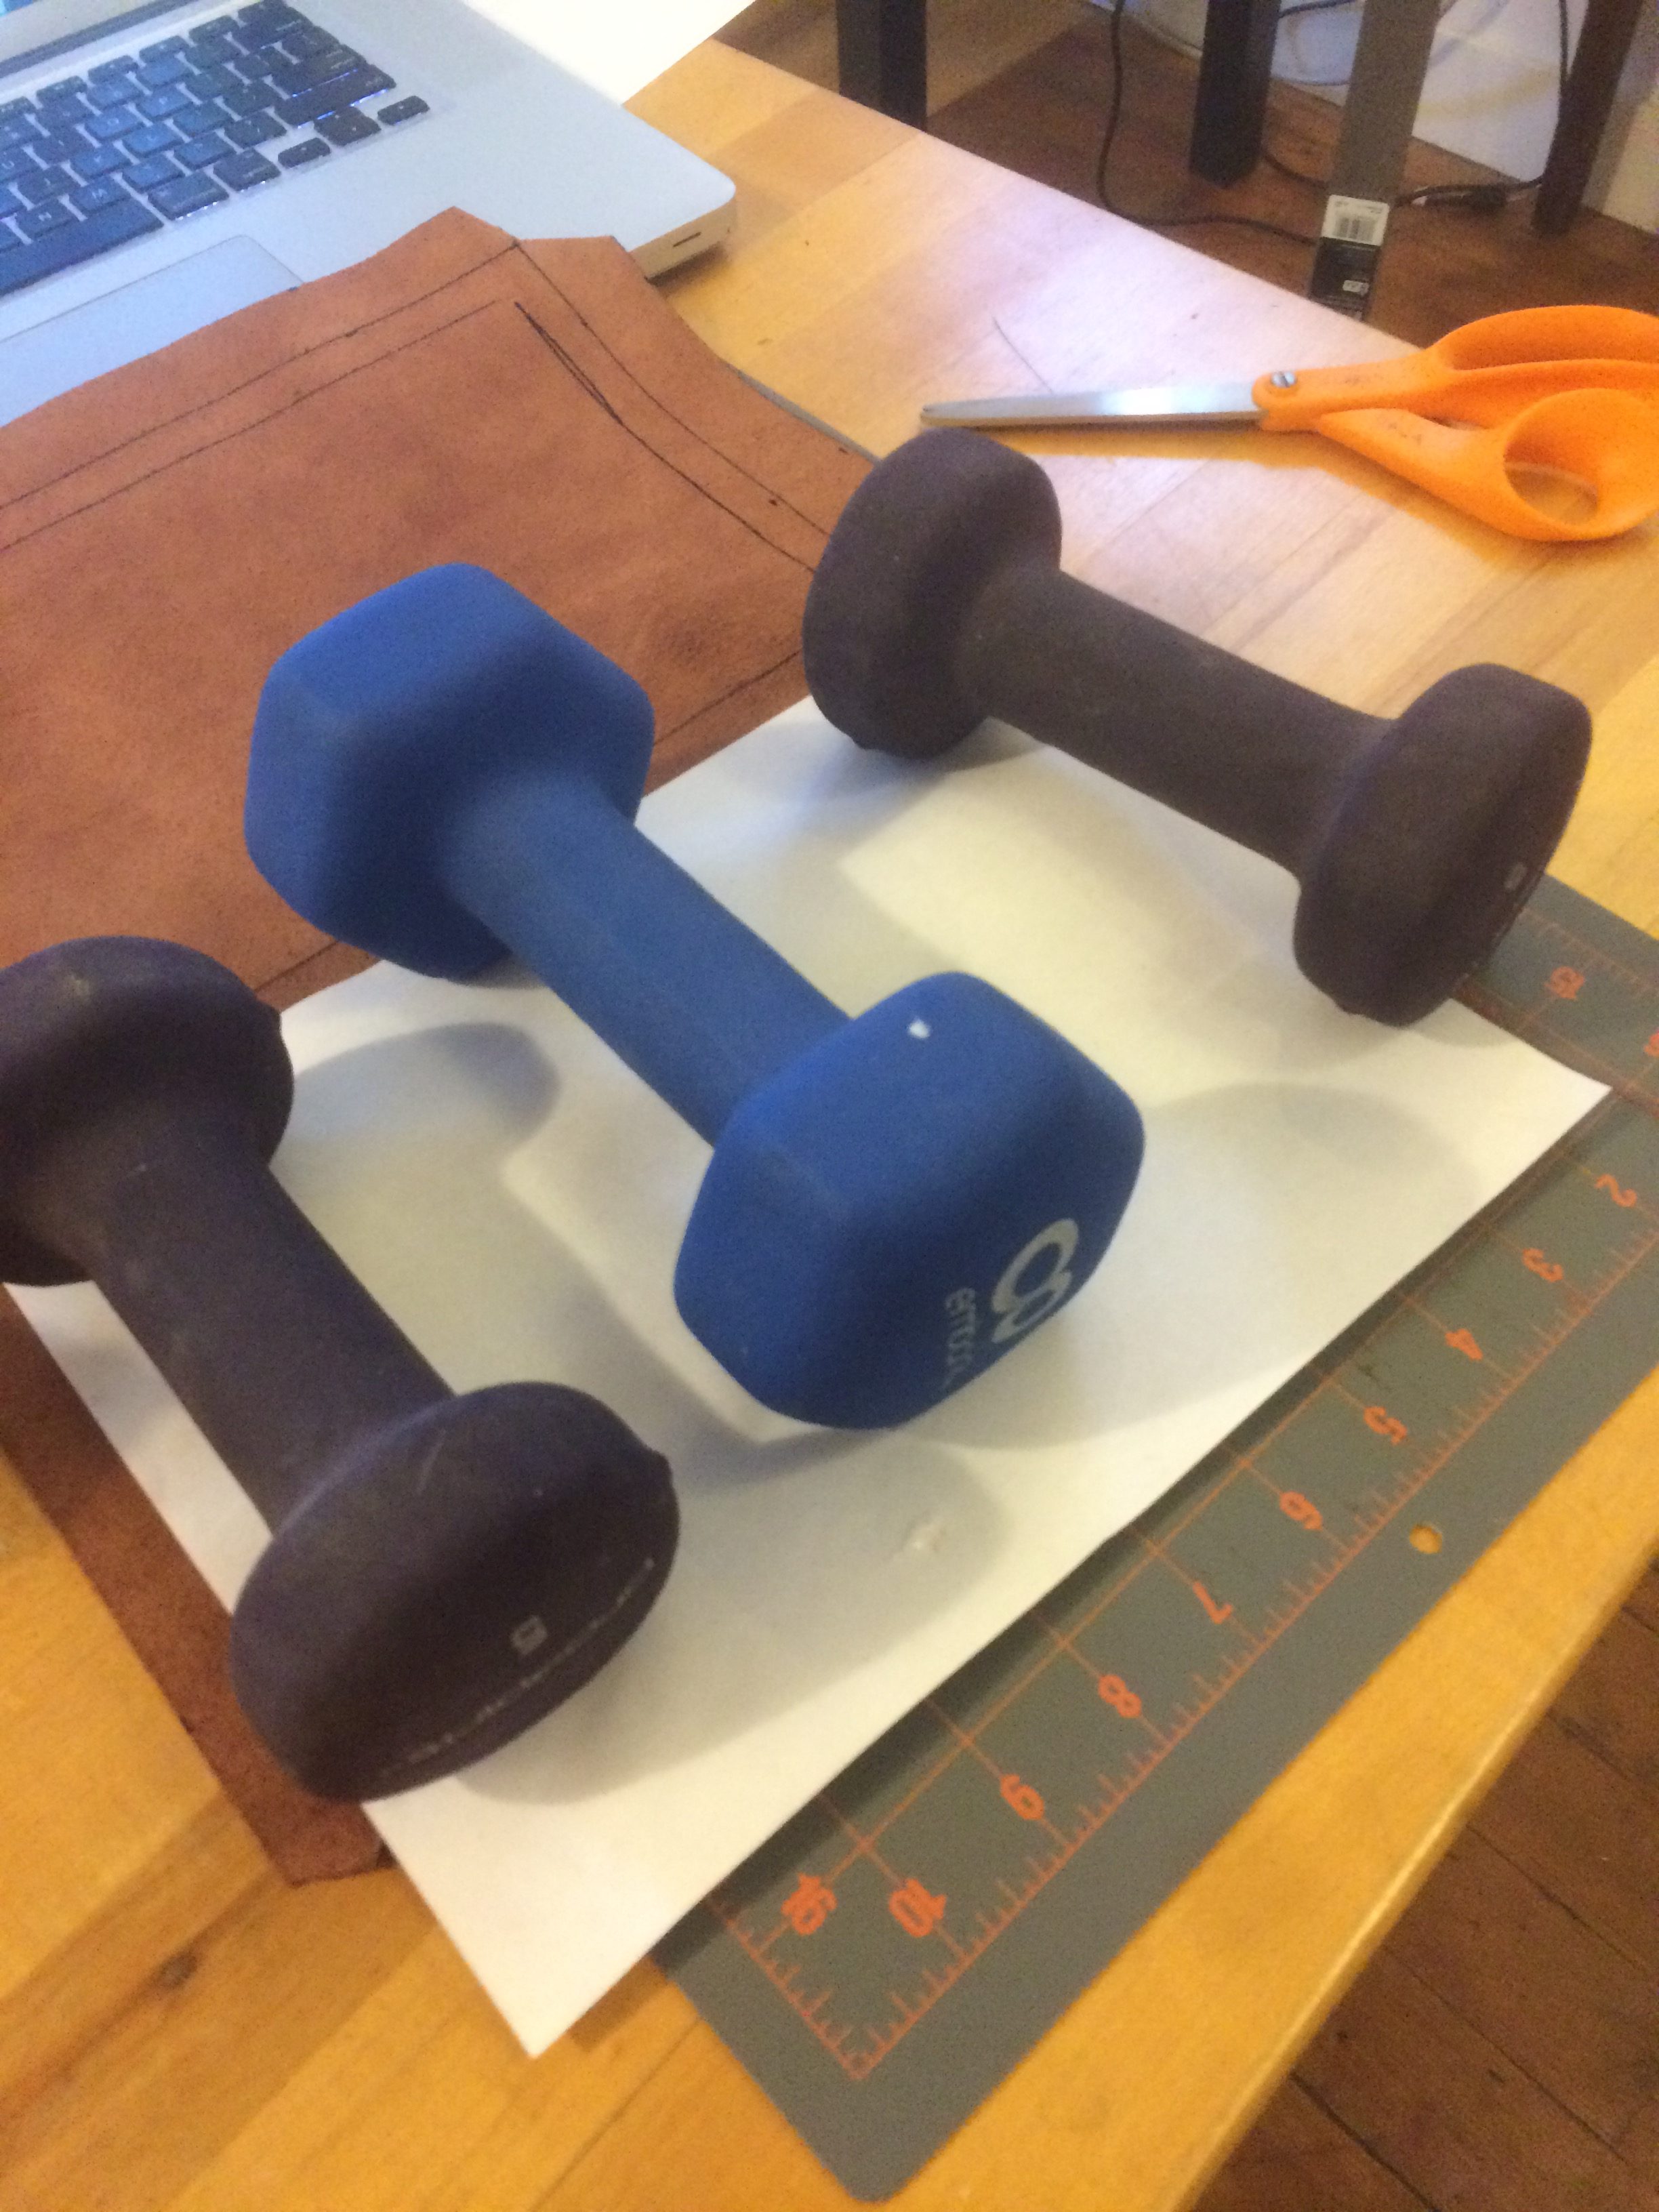
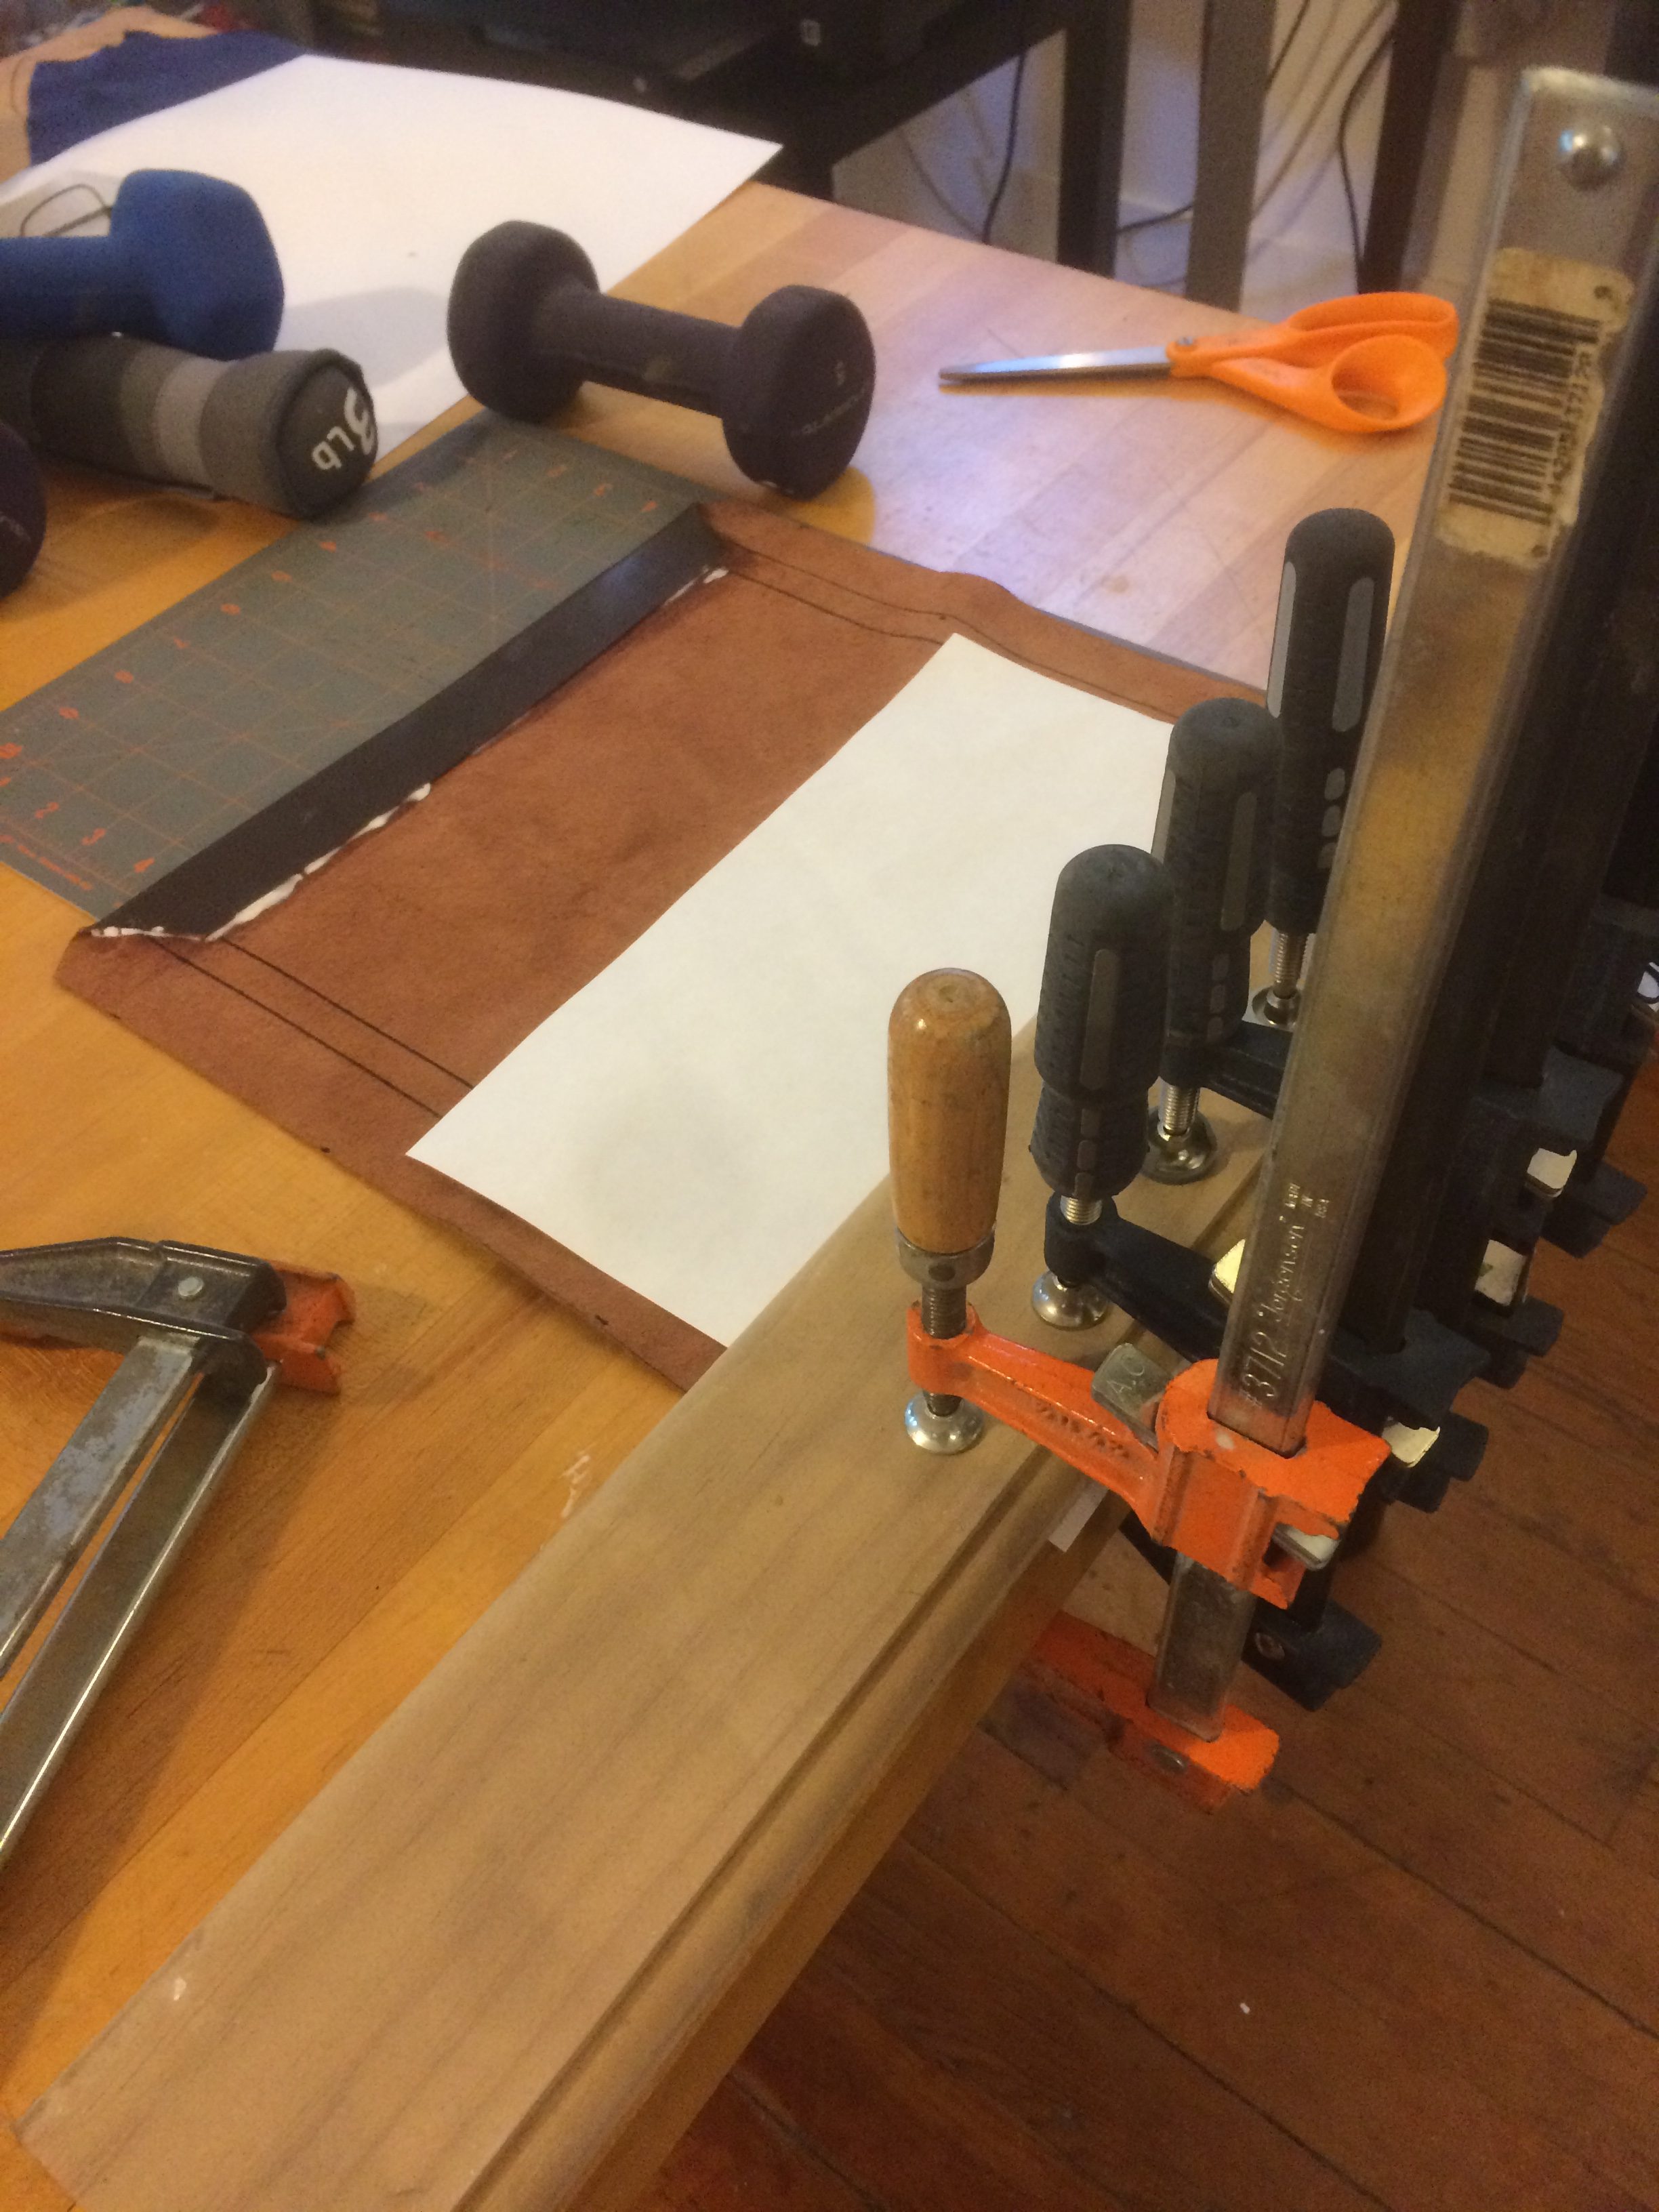
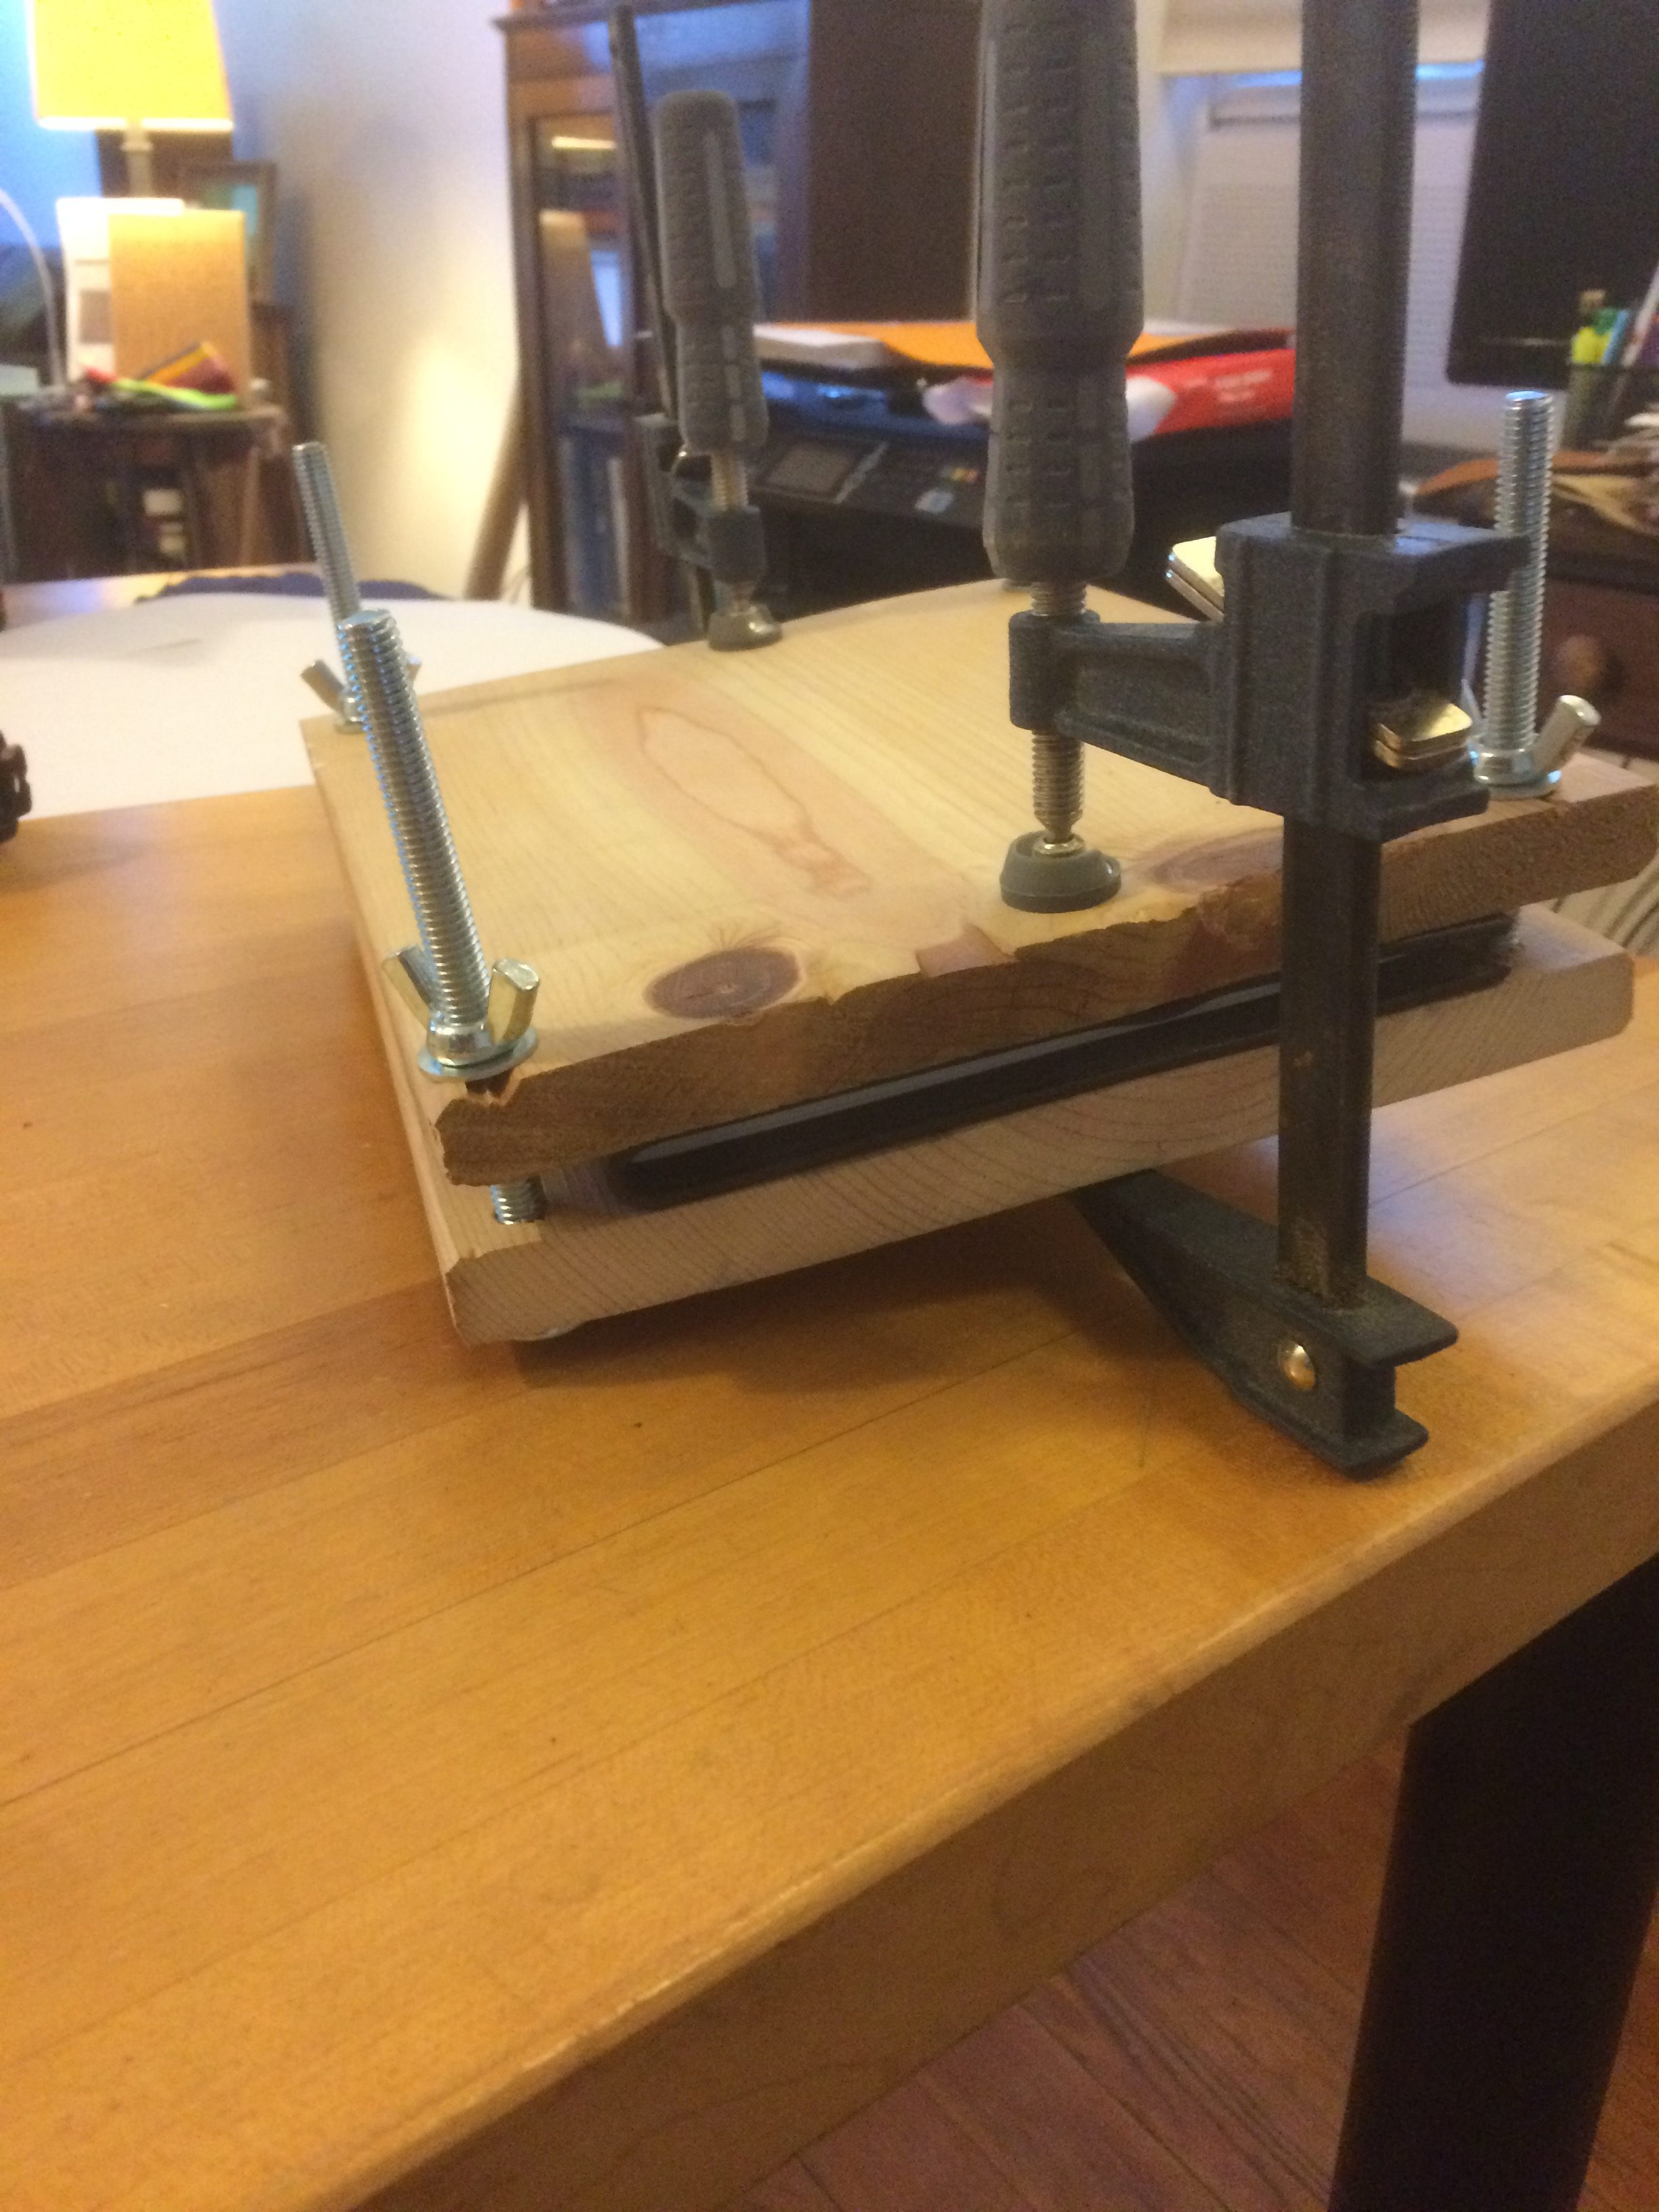
This is the point where I actually realized that my weights on wood wasn’t going to work. So I ran to Ace Hardware and bought some bolts, washers and wingnuts and built a sort of press. I then put the text block in there to try to flatten all the pages.

Back to the cover. I was supposed to trim the corners sort of like below for folding. I’m not exactly sure how they were supposed to be cut, but I was close. (Though in the end not close enough.)
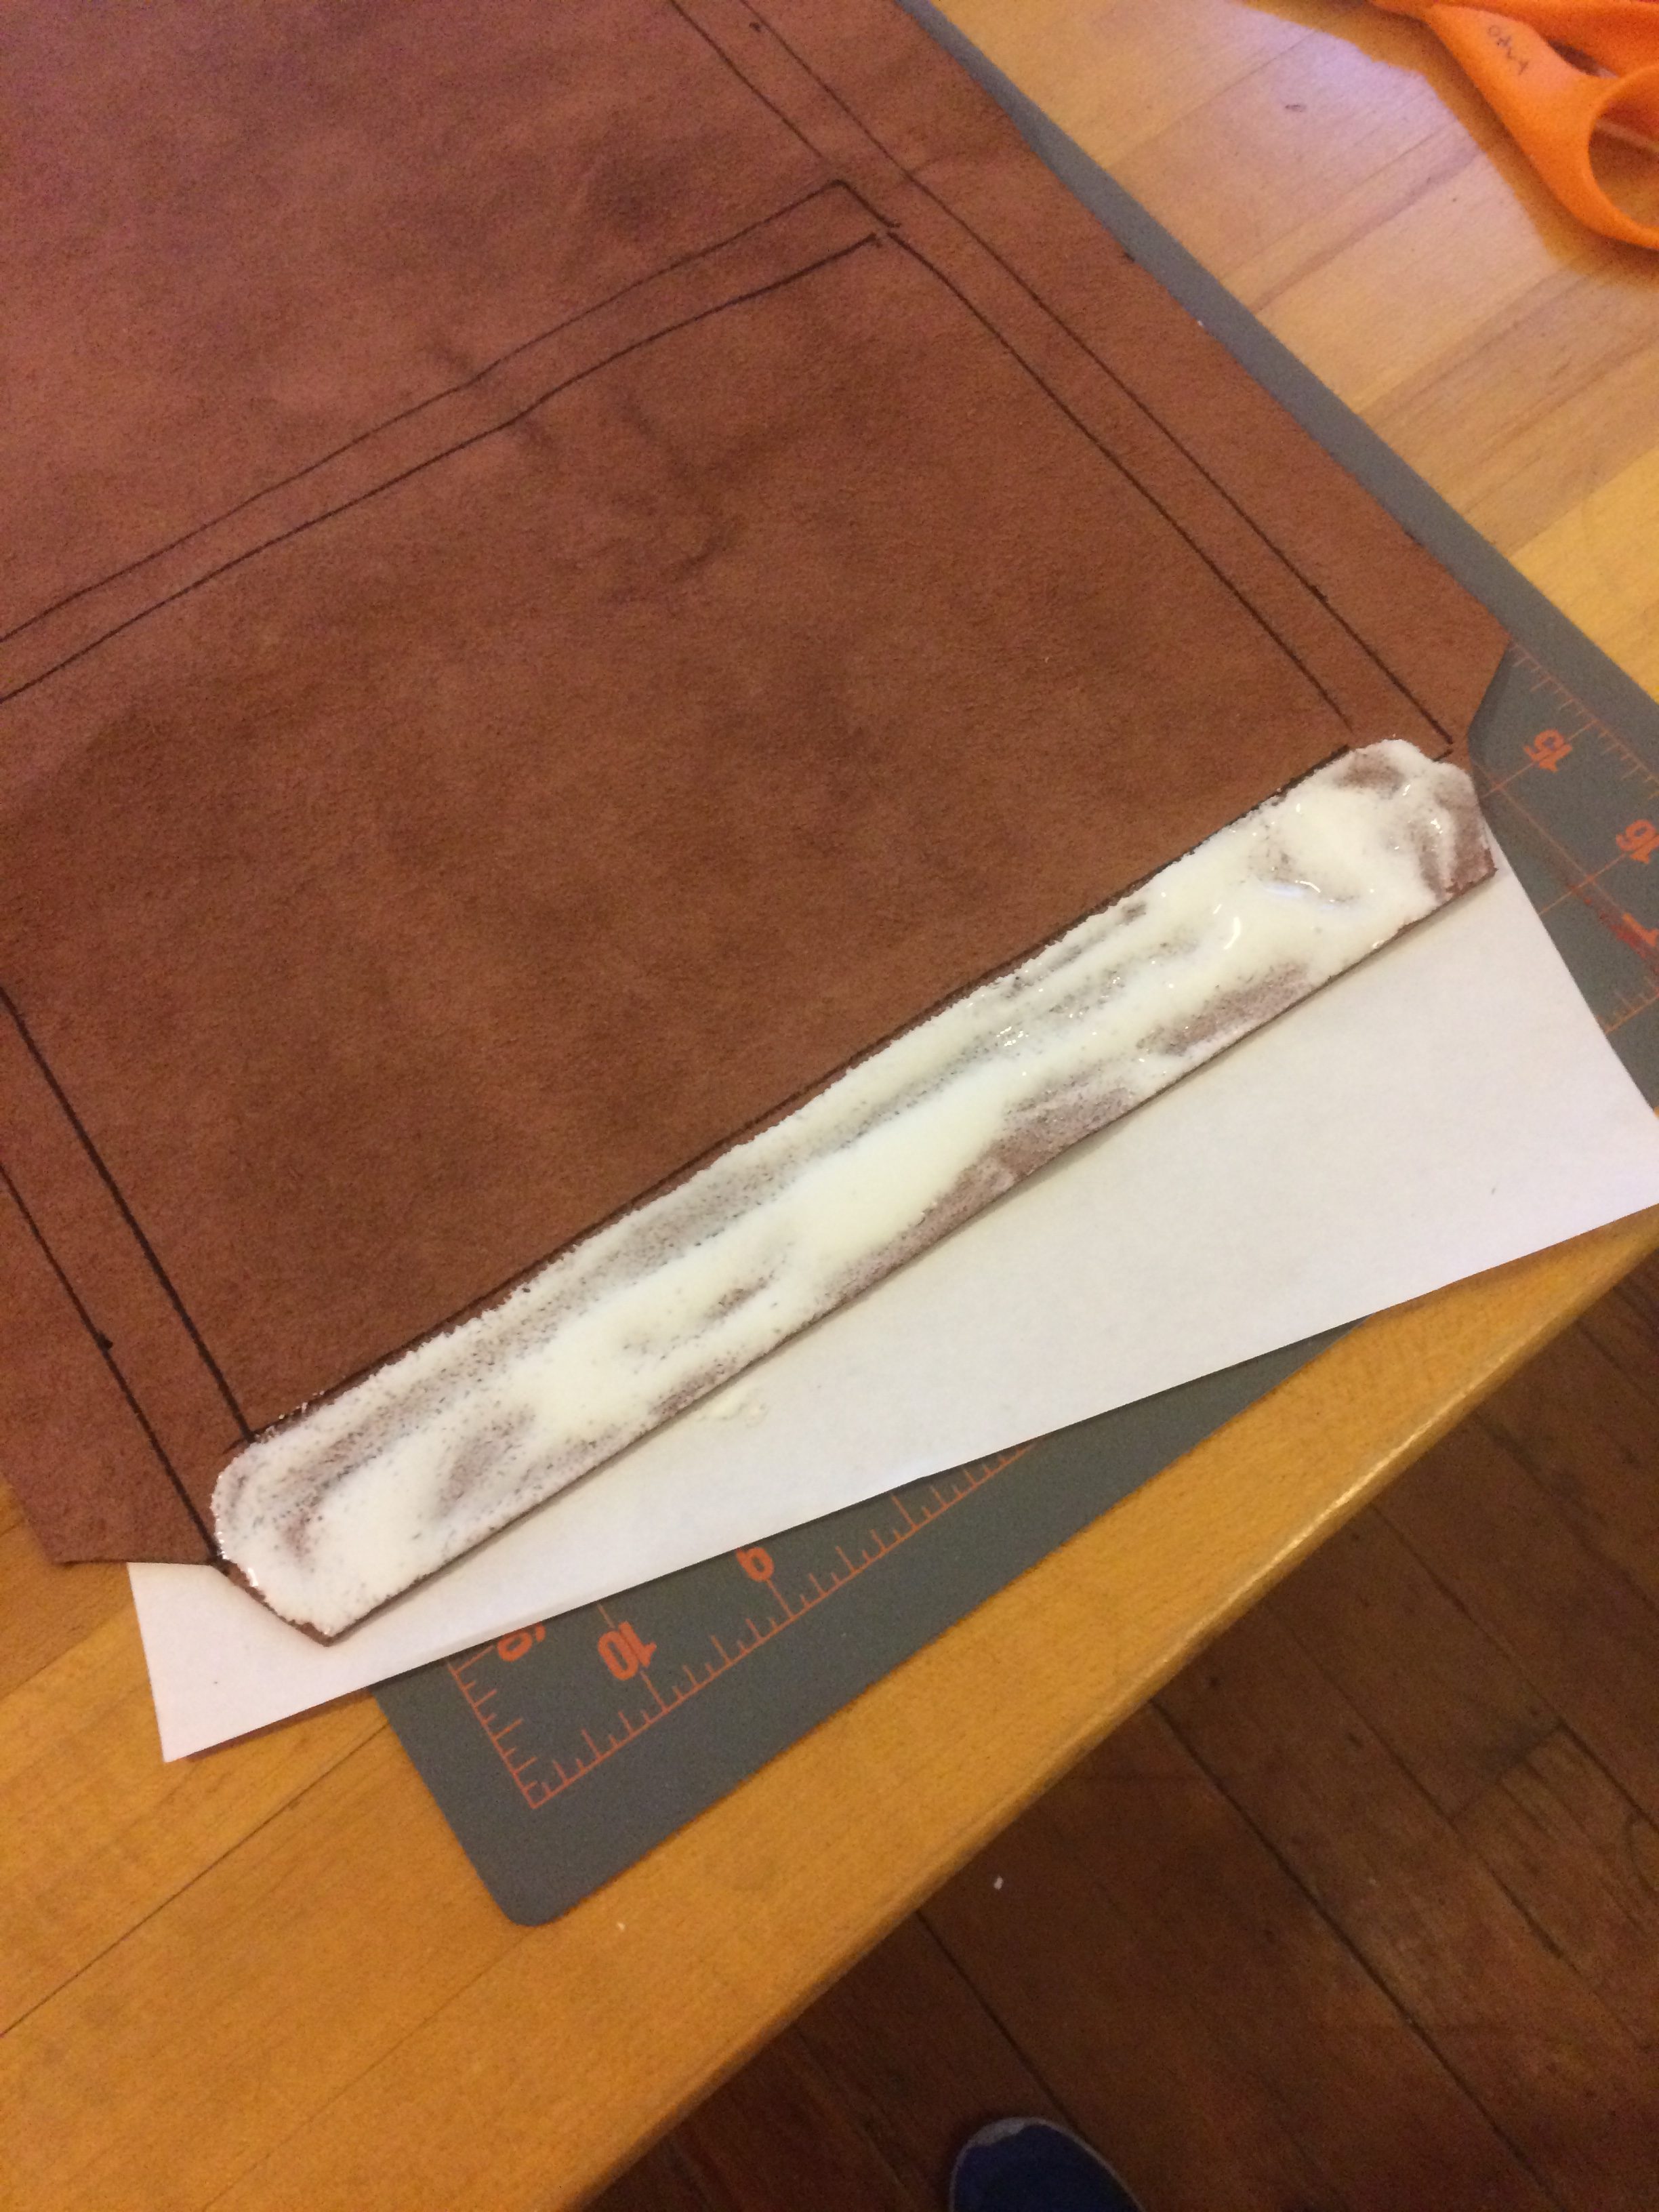
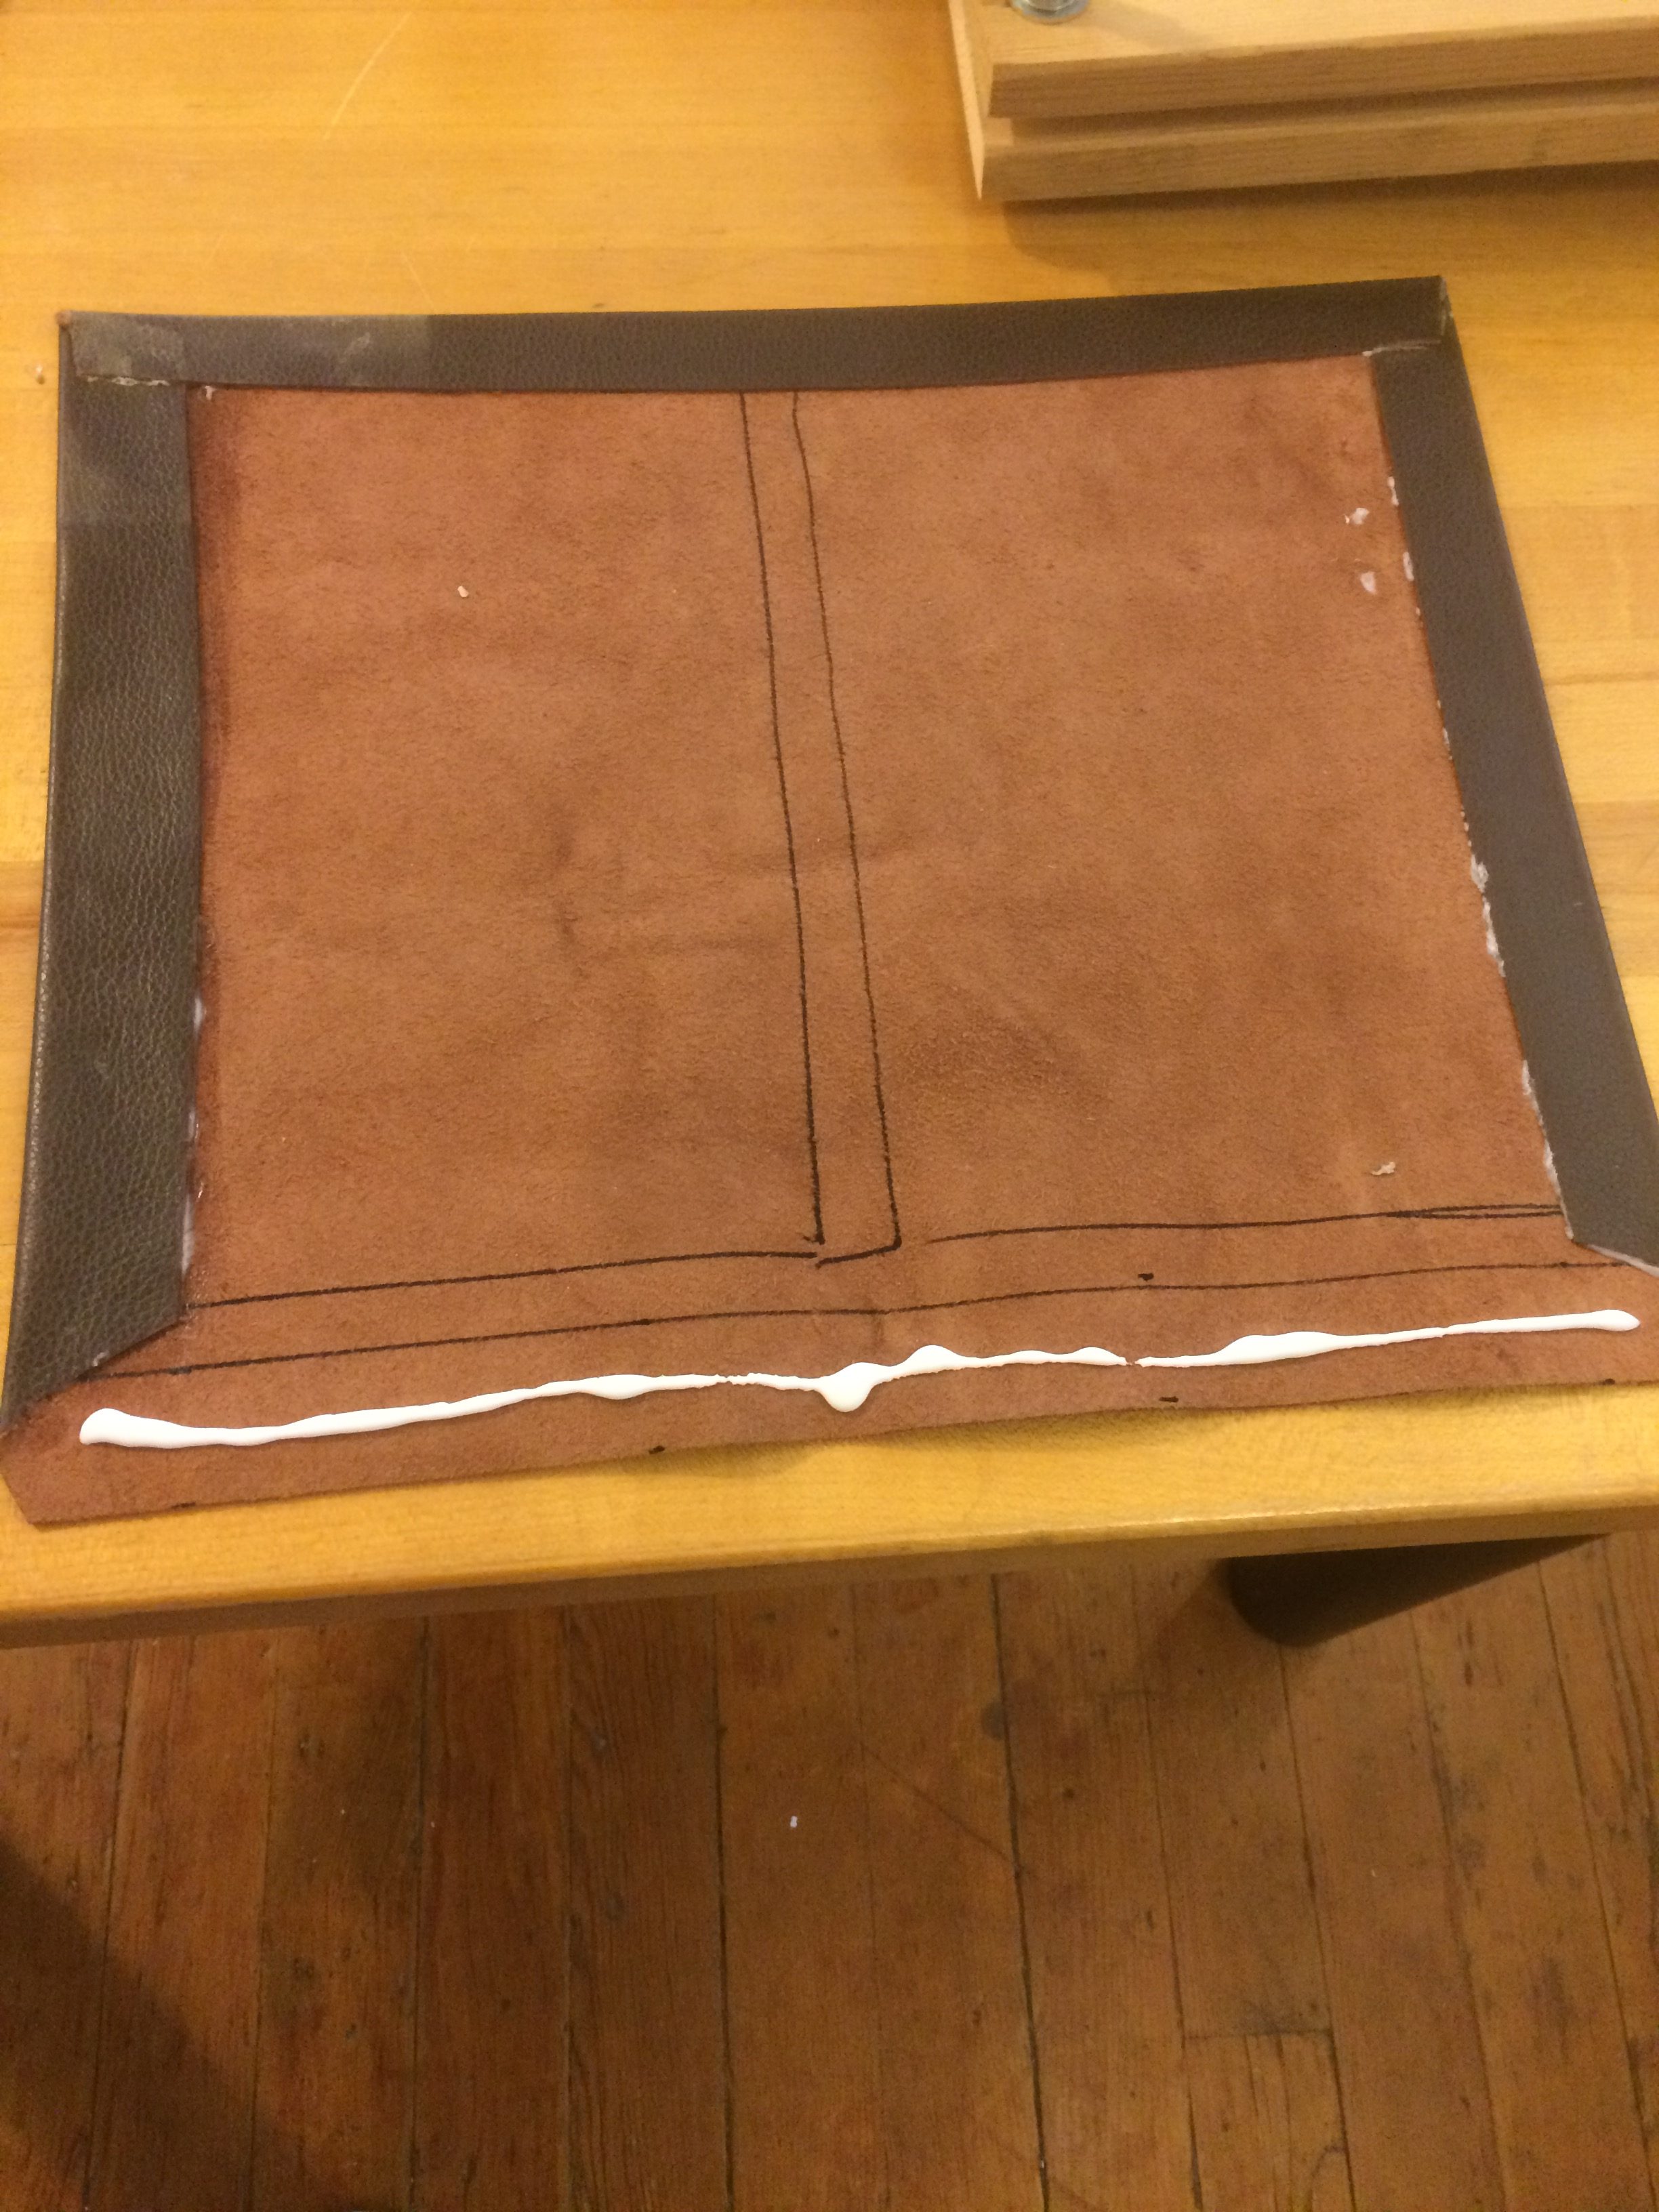
Next I had to glue the parts of the cover to fold over. In the video, the person used hot glue. I don’t have a hot glue gun, so I just used the pva glue I had been using. In the photo below, I can tell you that I used WAY too much glue. It made a big mess.
Since the leather was sort of thick, I tried putting my weights on the edge to hold it down.
That really didn’t work, so I got a board and some clamps and used them. This worked much better.
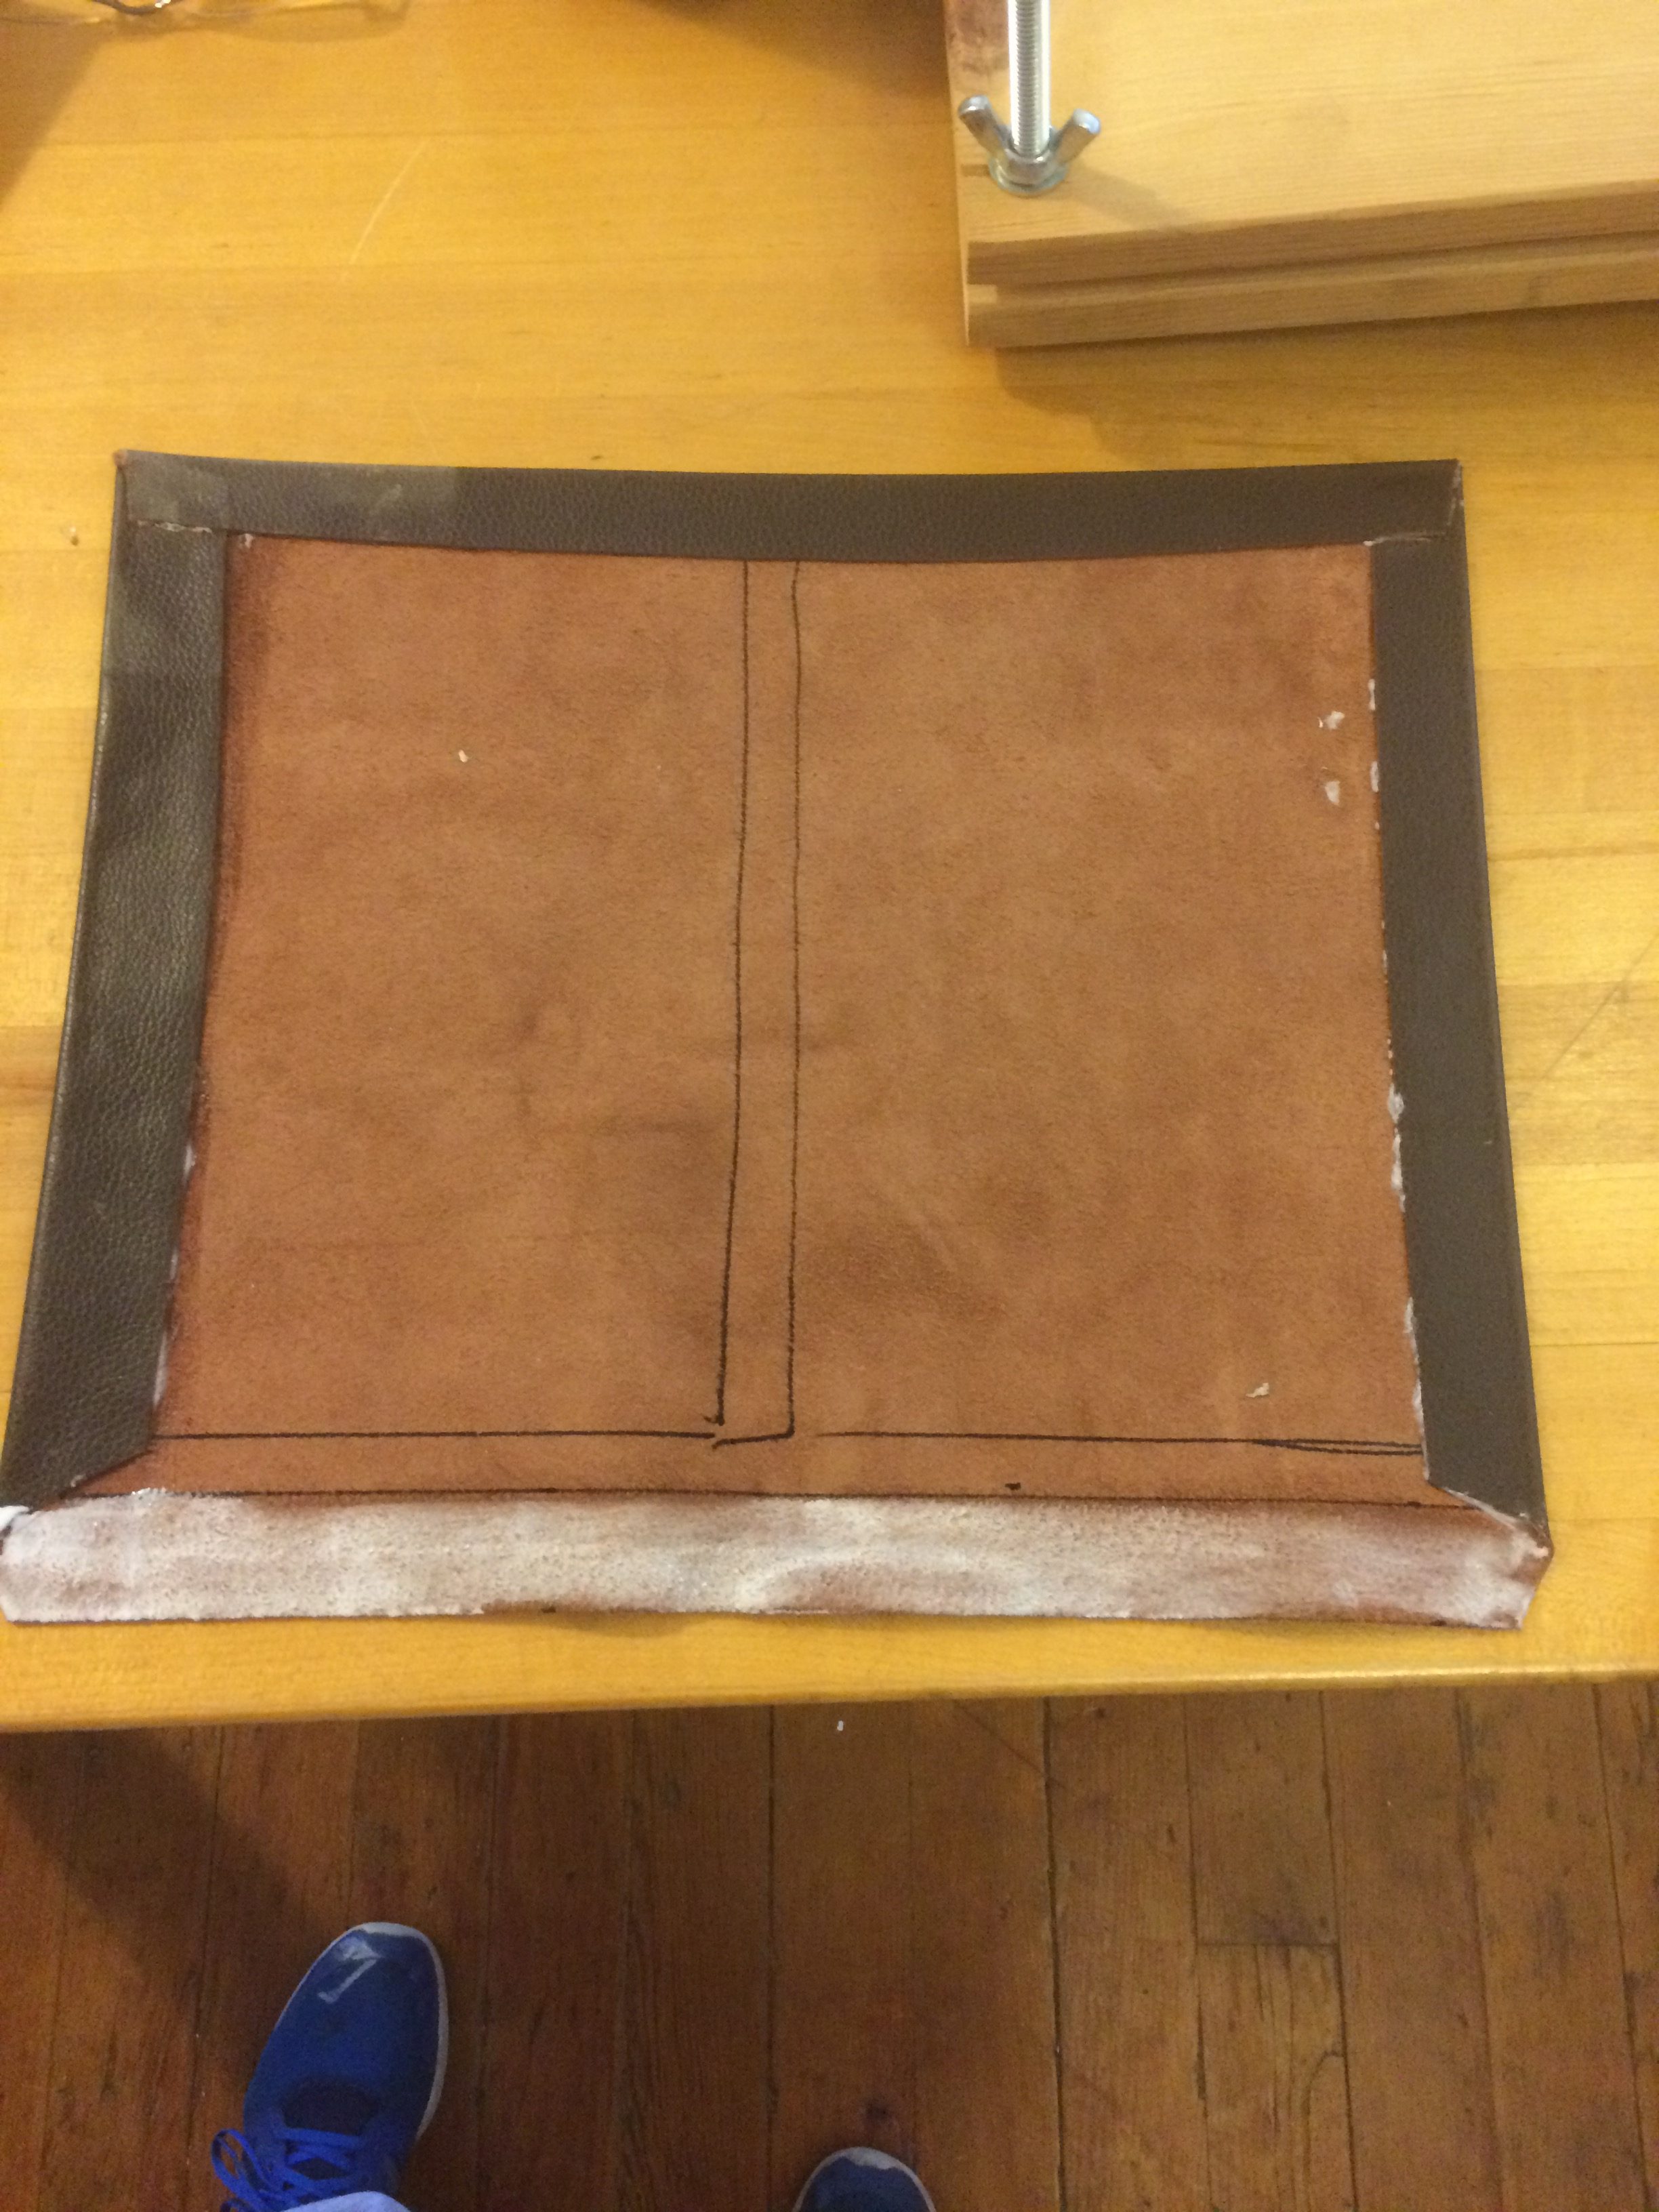
On the last edge, I finally figured out how much glue I should be putting down. Below shows how much I squeezed out of the jar and then how it looked after I smoothed it with my finger.
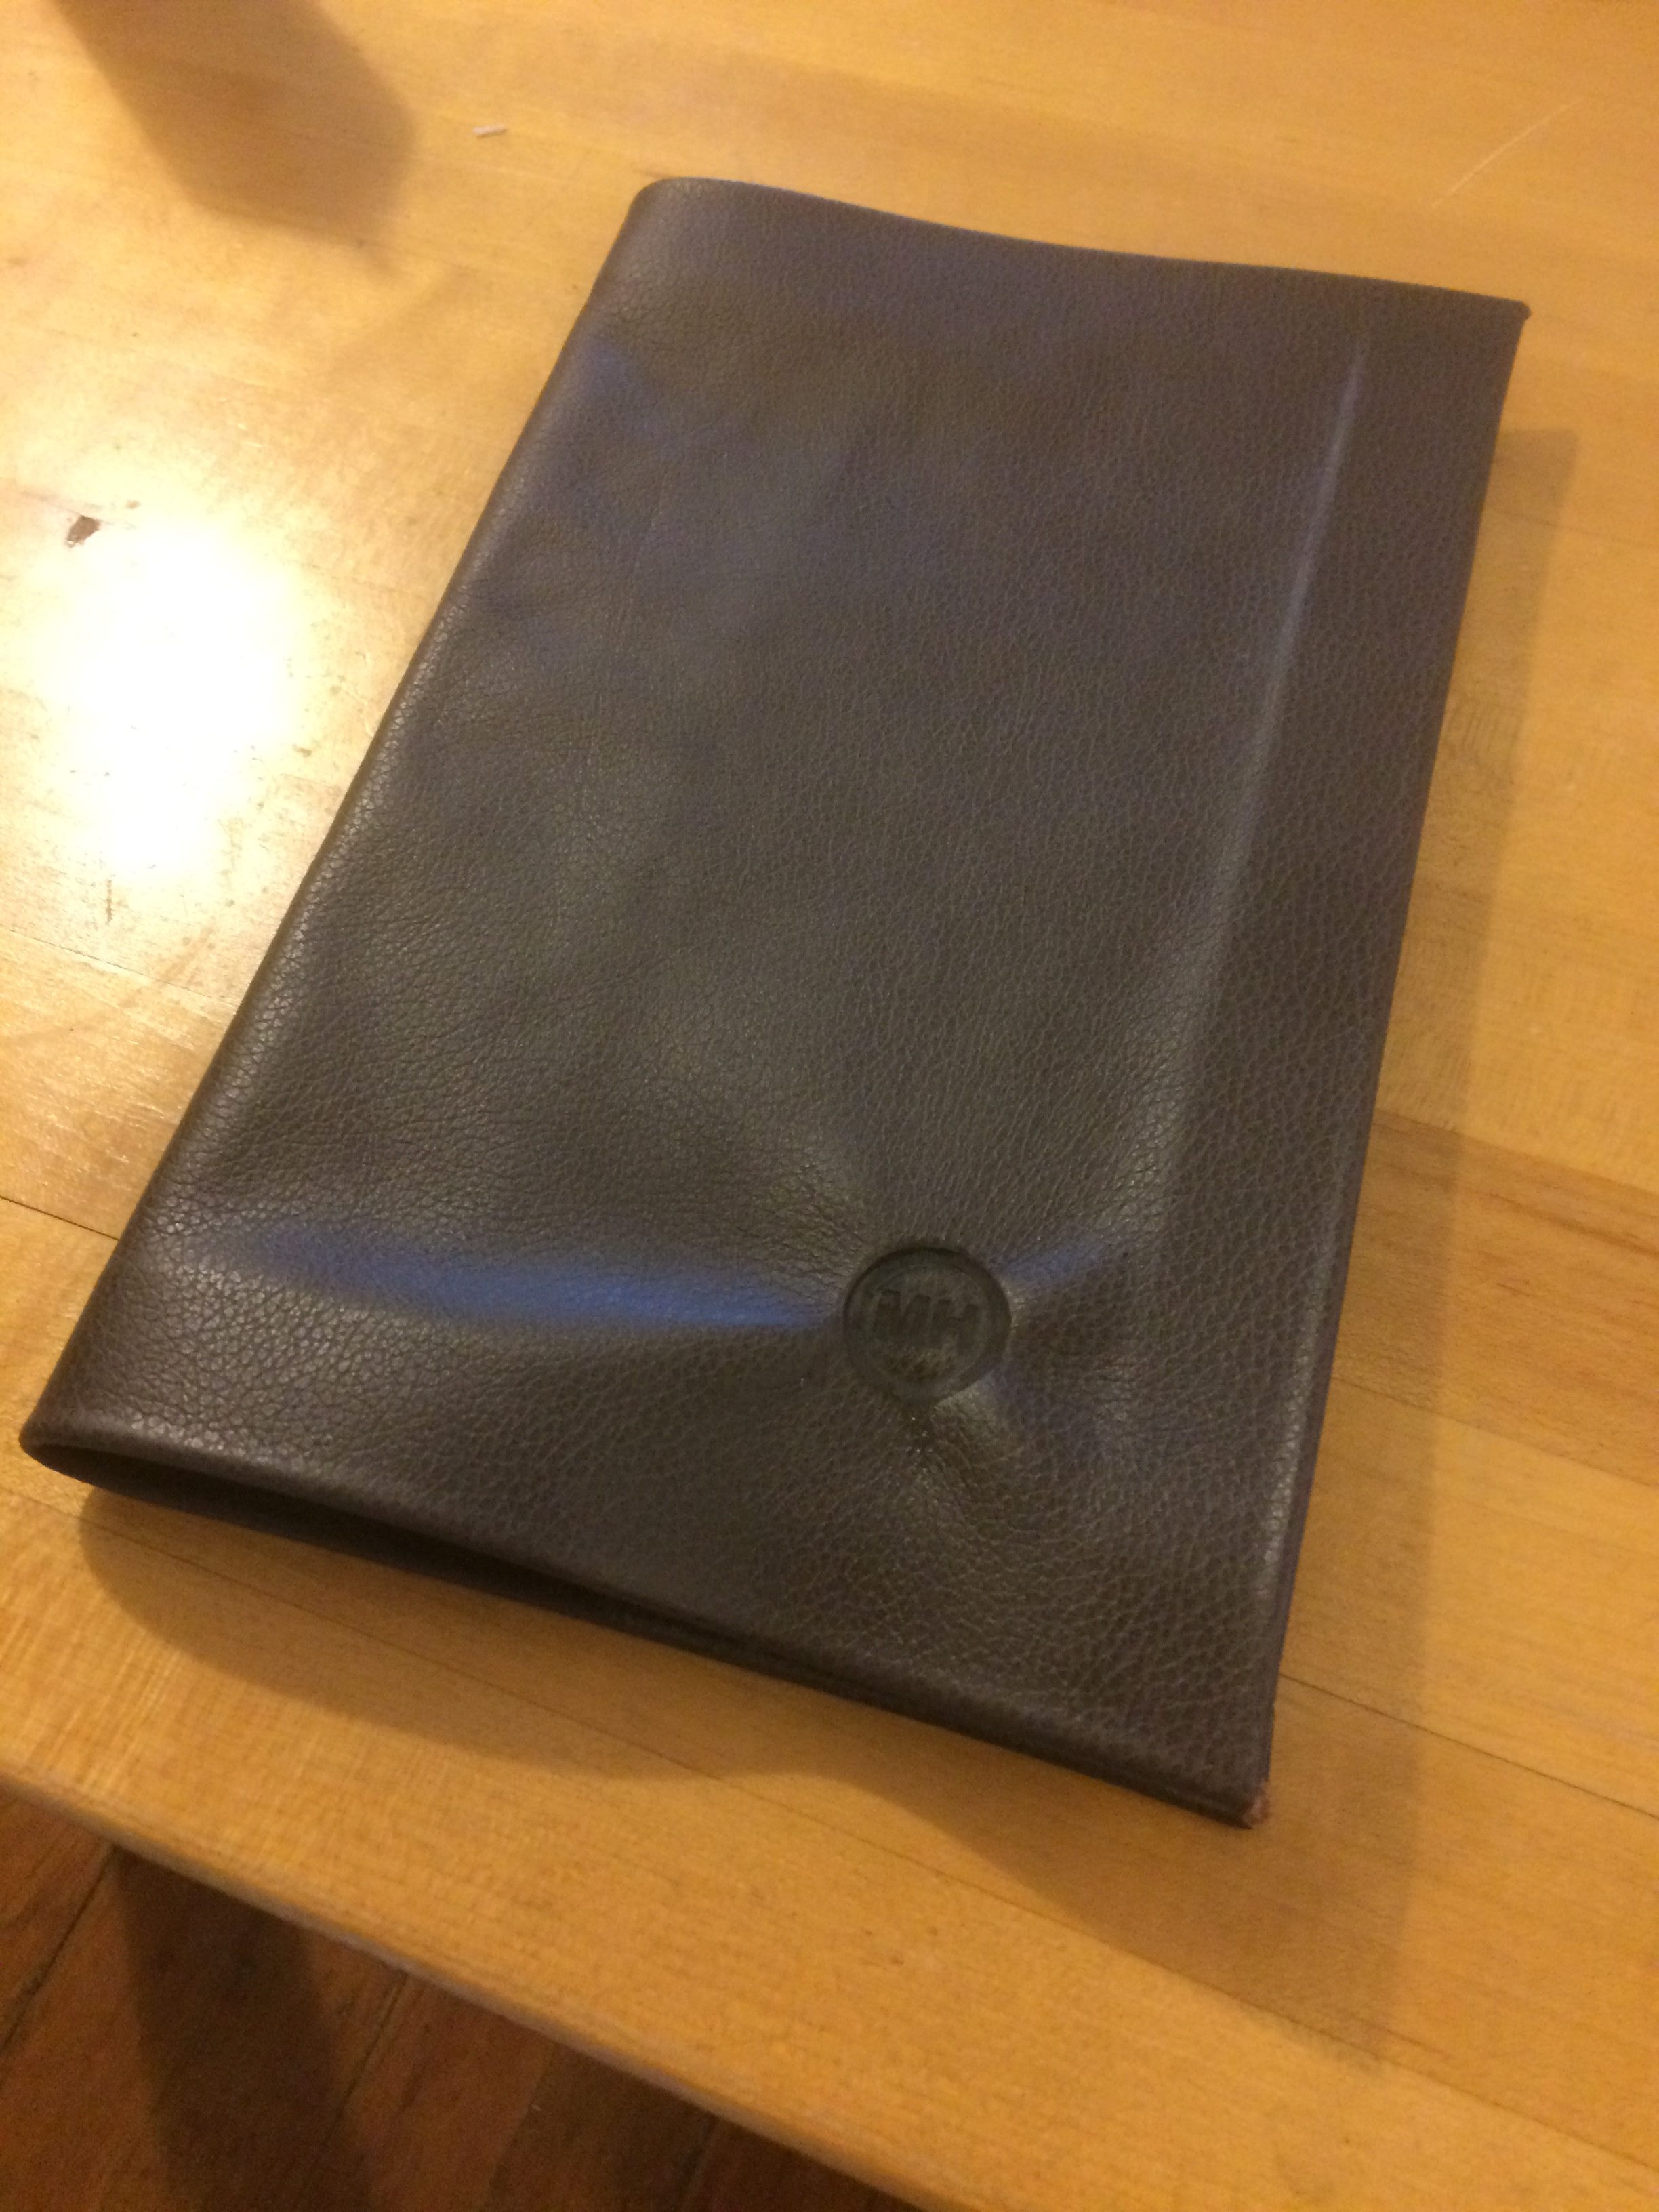
And here is my final cover. Note that the corners are not near square, which fits with my inability to make anything square. But it’s not horrible for my first attempt ever.
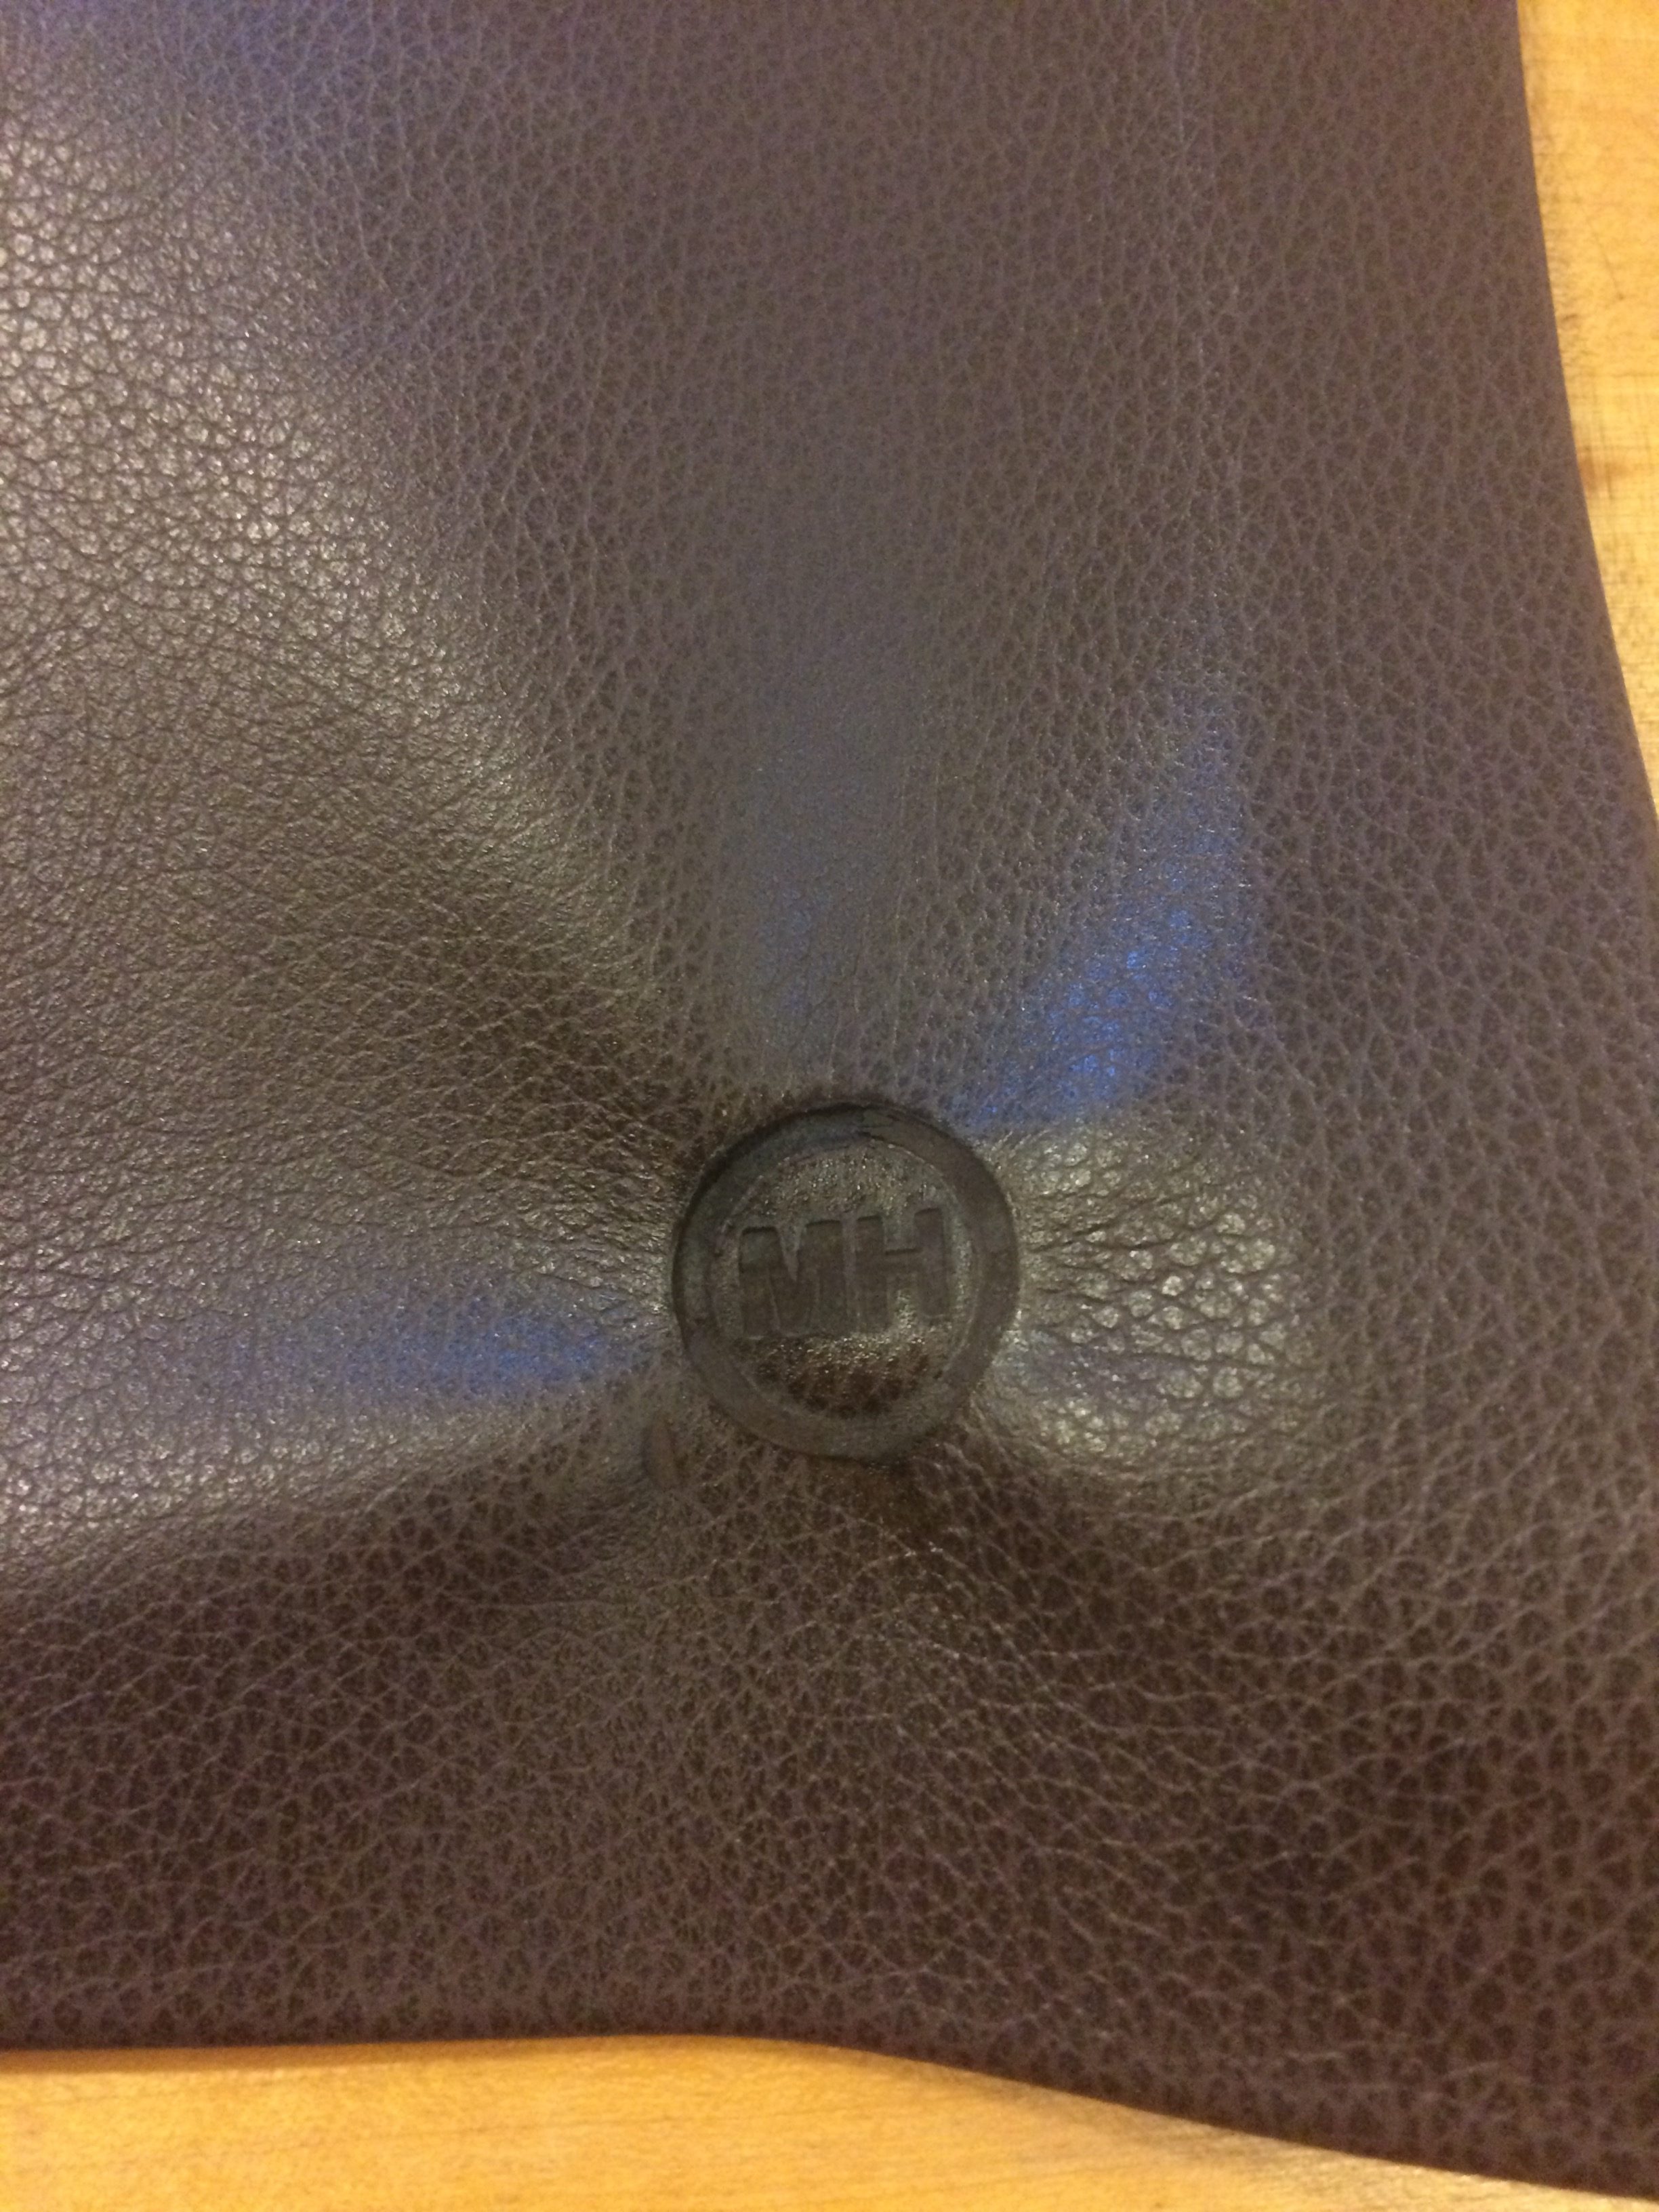
Now, because I’m just like Cowboy X from Sesame Street, I had to use my brand.
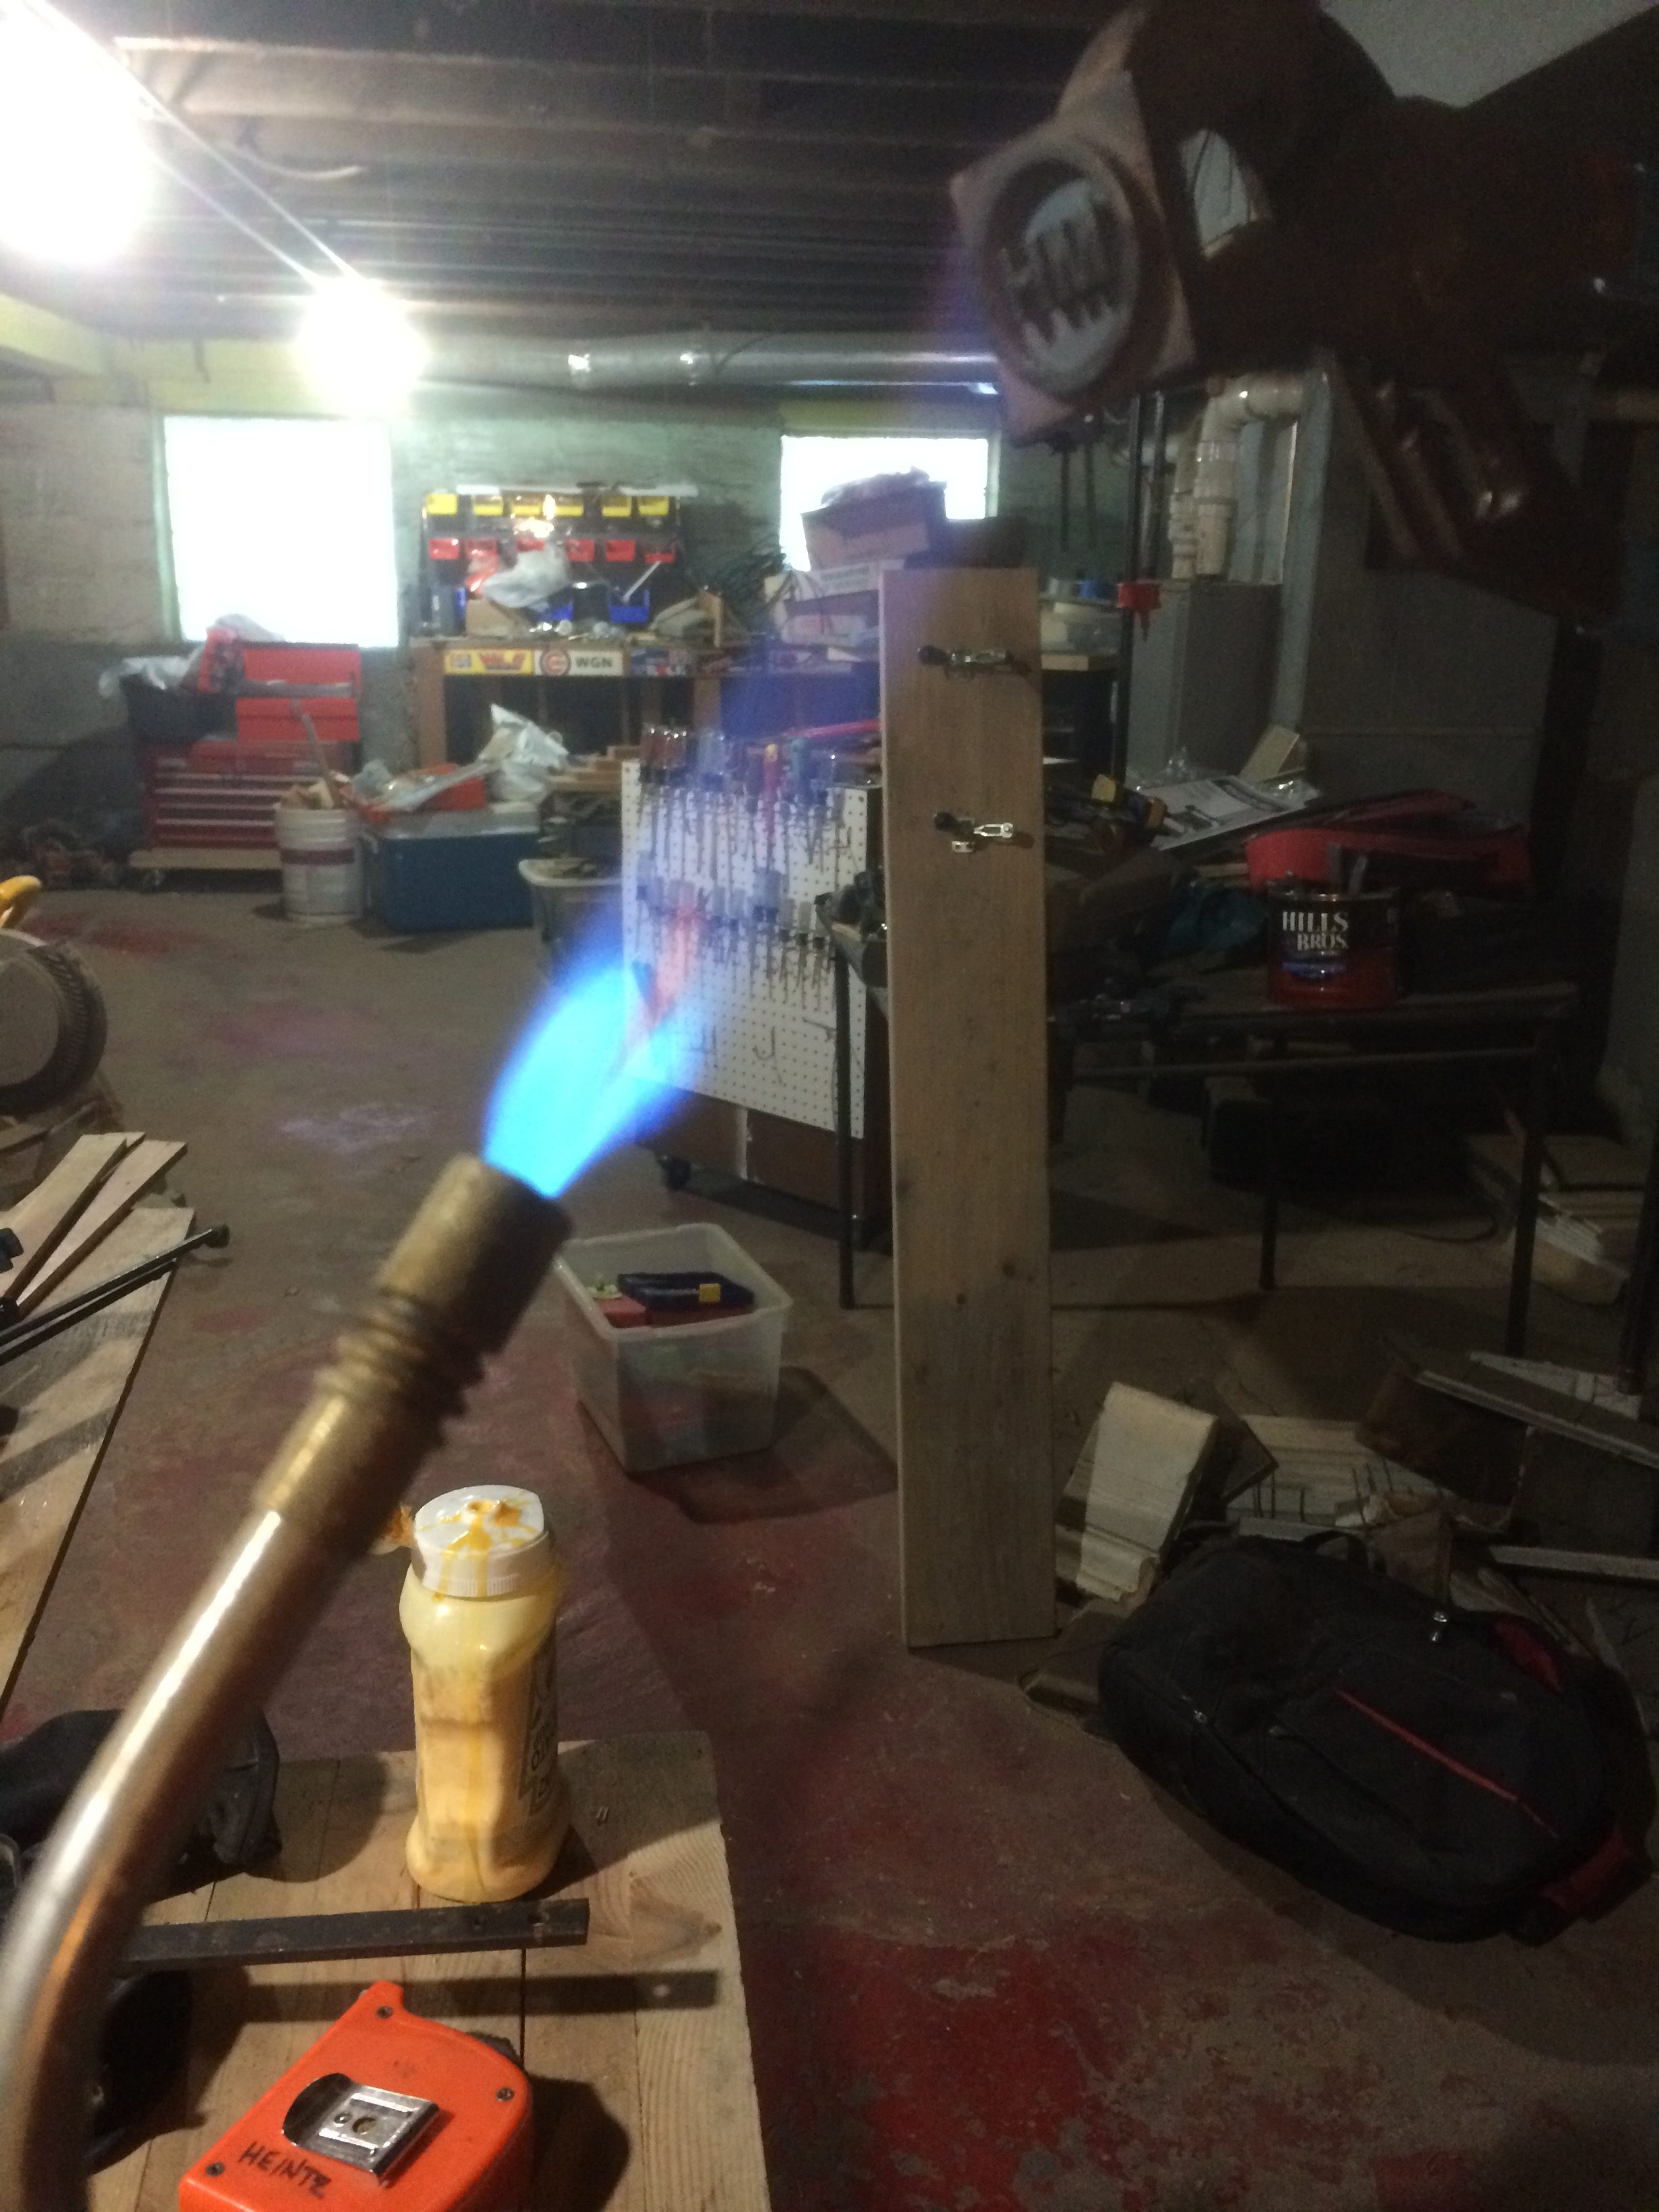
Based on the horrible smell that the brand made on the leather, I never want to be on a farm when they are branding cows.
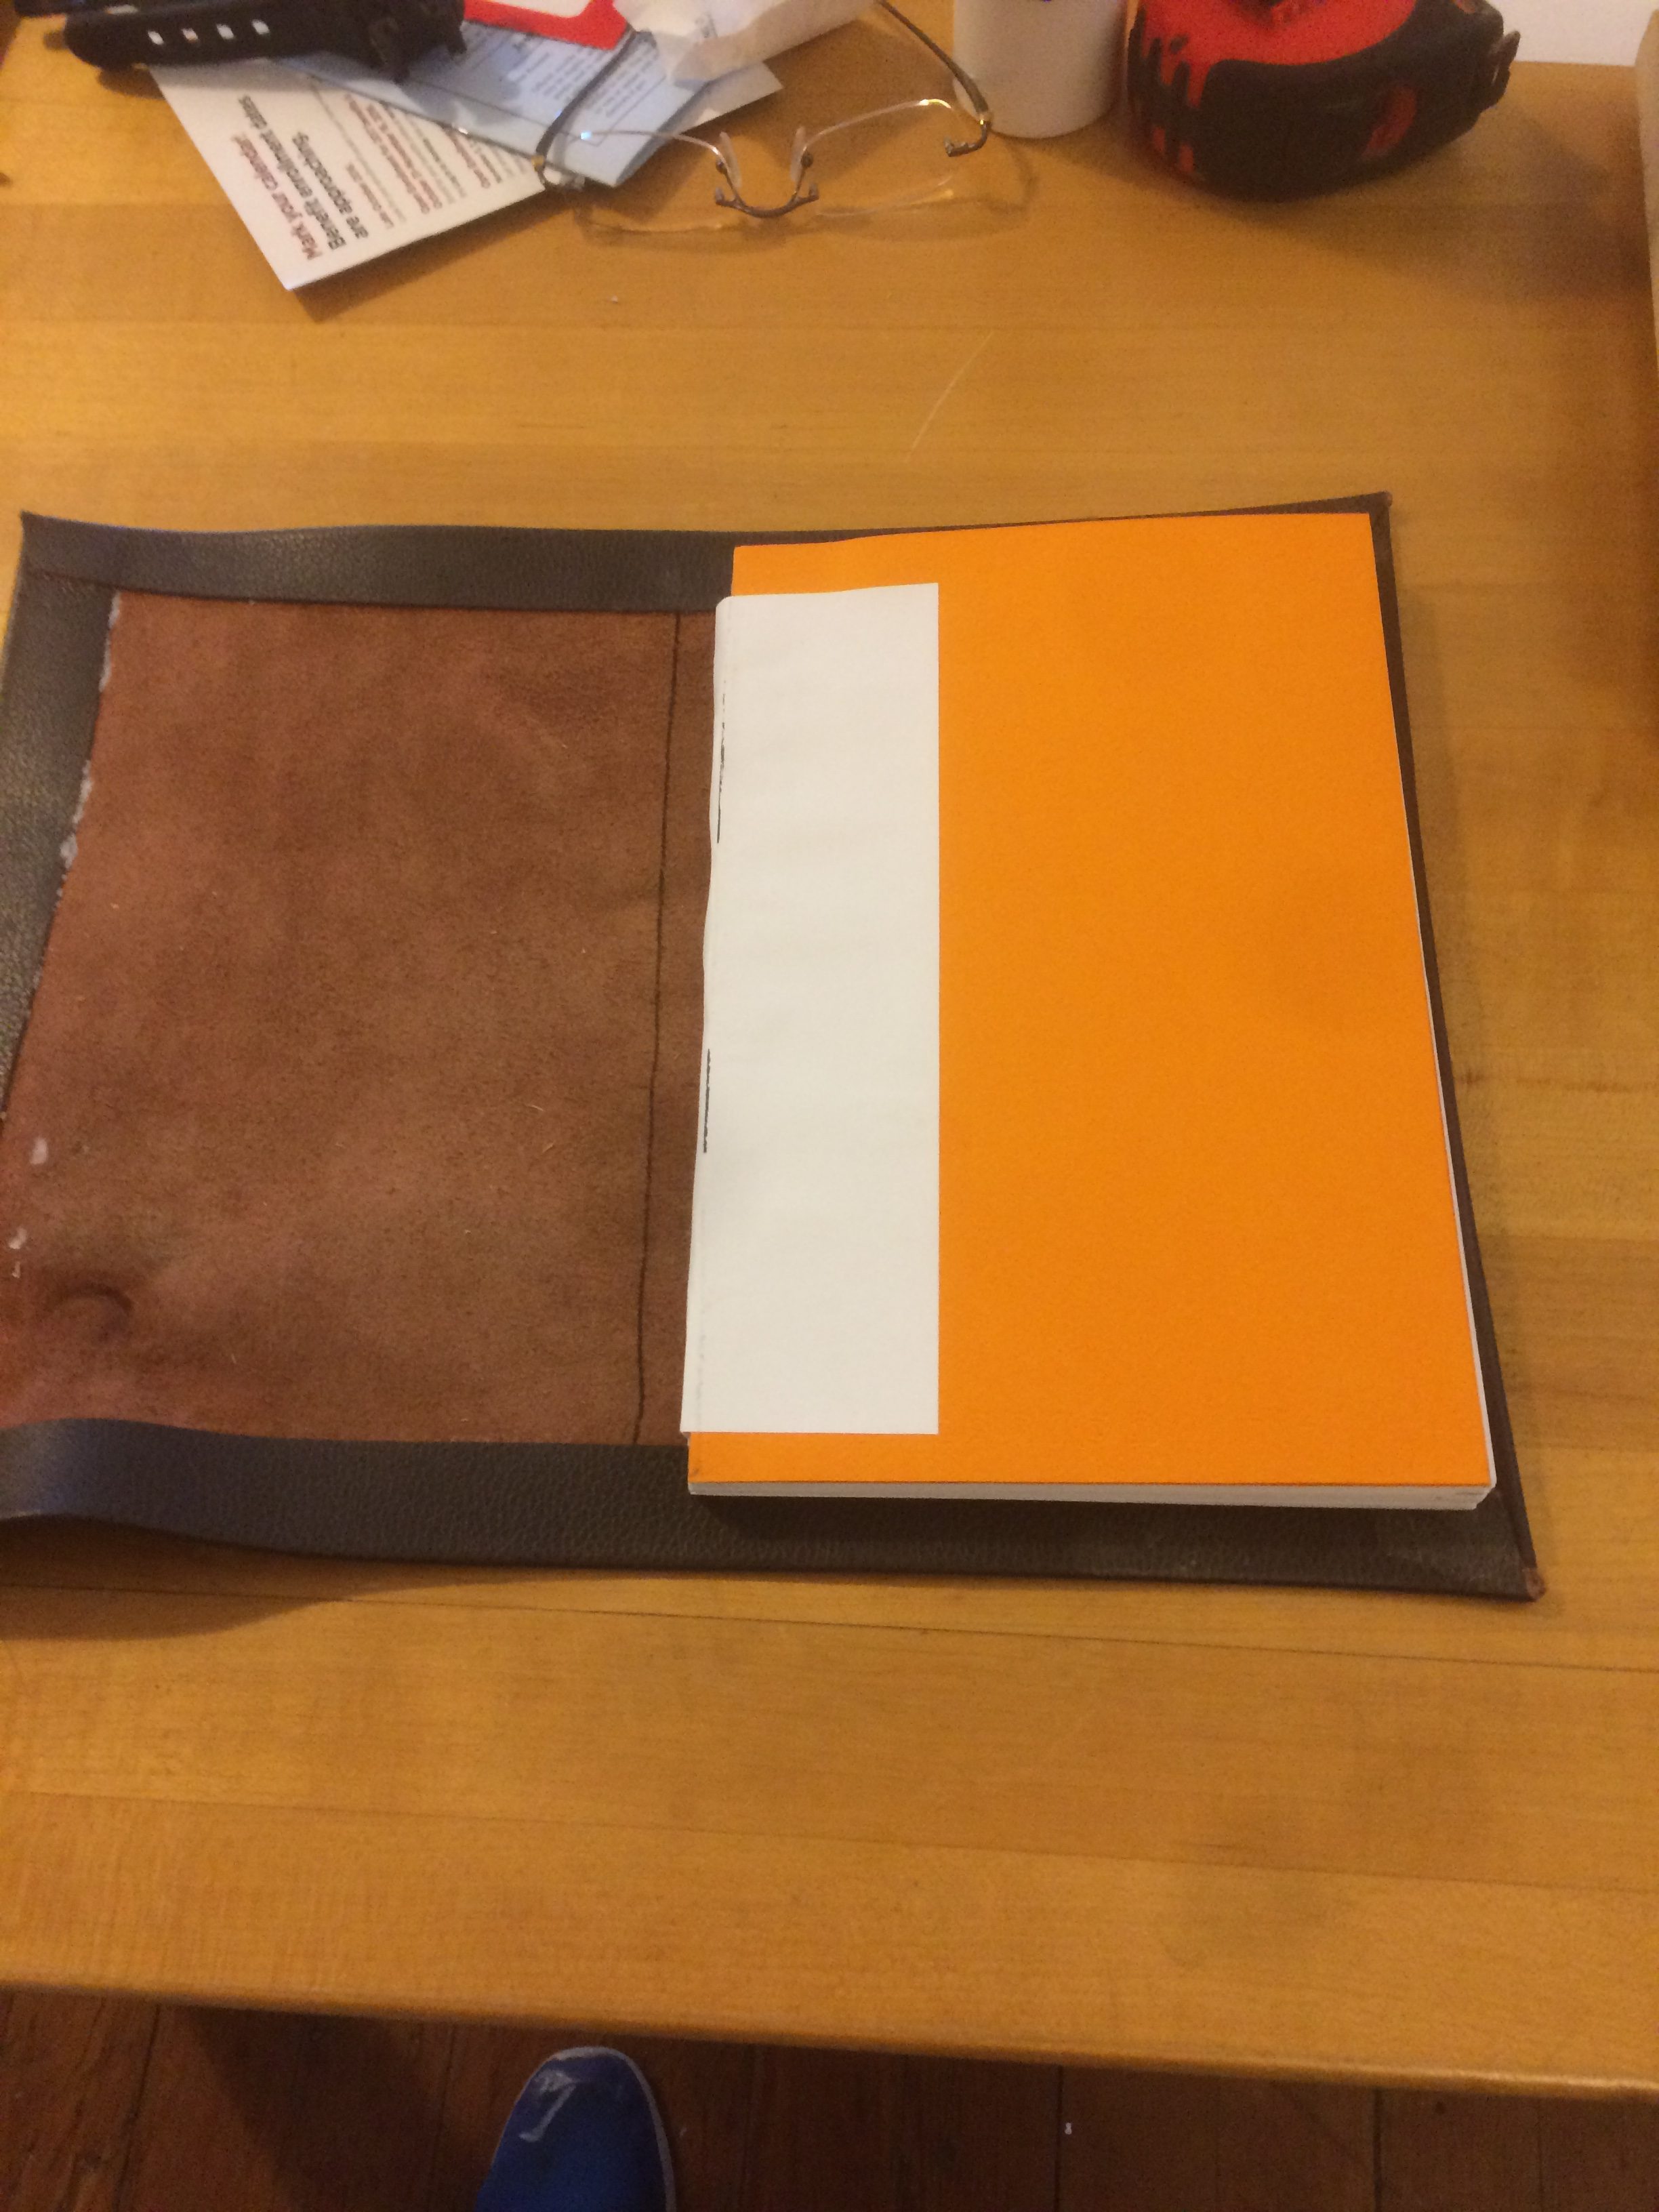
Now the last step is to glue the text block to the cover. Here I’m laying it out to make sure I know where to put glue and where to put down the text block.
I didn’t take a picture of it with the glue on it, but here’s how it looked before putting it in the press.
And here it is, drying in the press. I added a couple more clamps to try to make it as smooth as possible.
I’ll leave it to dry overnight and see how it all turns out tomorrow. Fingers crossed that it’s not too horrible.
Along with the YouTube video I posted yesterday for how to create the text block, I also referenced these videos.