Can't Believe It Worked
I’ve been very slowly trying to learn more electronics for a few years. Recently, one of my brothers let me know that he’s getting into electronic synth music and showed me a bunch of youtube videos of different projects. One of them looked to be something that I thought I could do. So I ordered a bunch of parts, some bench equipment and decided to give it a go. I’m writing this post because today I finished the oscillator and it actually works. I’m quite amazed that it works, but it’s giving me a huge amount of confidence to try to do more things with electronics.
The first thing I did was to connect everything on a breadboard and see if I got any sound out of it at all. I have done projects on a breadboard in the past and you have to be really careful about plugging things in the right locations and making sure the wires are all good. My first bit of excitement came when I got it all together and it actually made a buzzing sound.
I was happy about that, but knew that my biggest challenge lie ahead. I have never really soldered things that well. I have done a little bit of simple things at work, but soldering on a stripboard would be a new challenge. But I dove in, put all the parts and wires on, powered it up and got nothing.
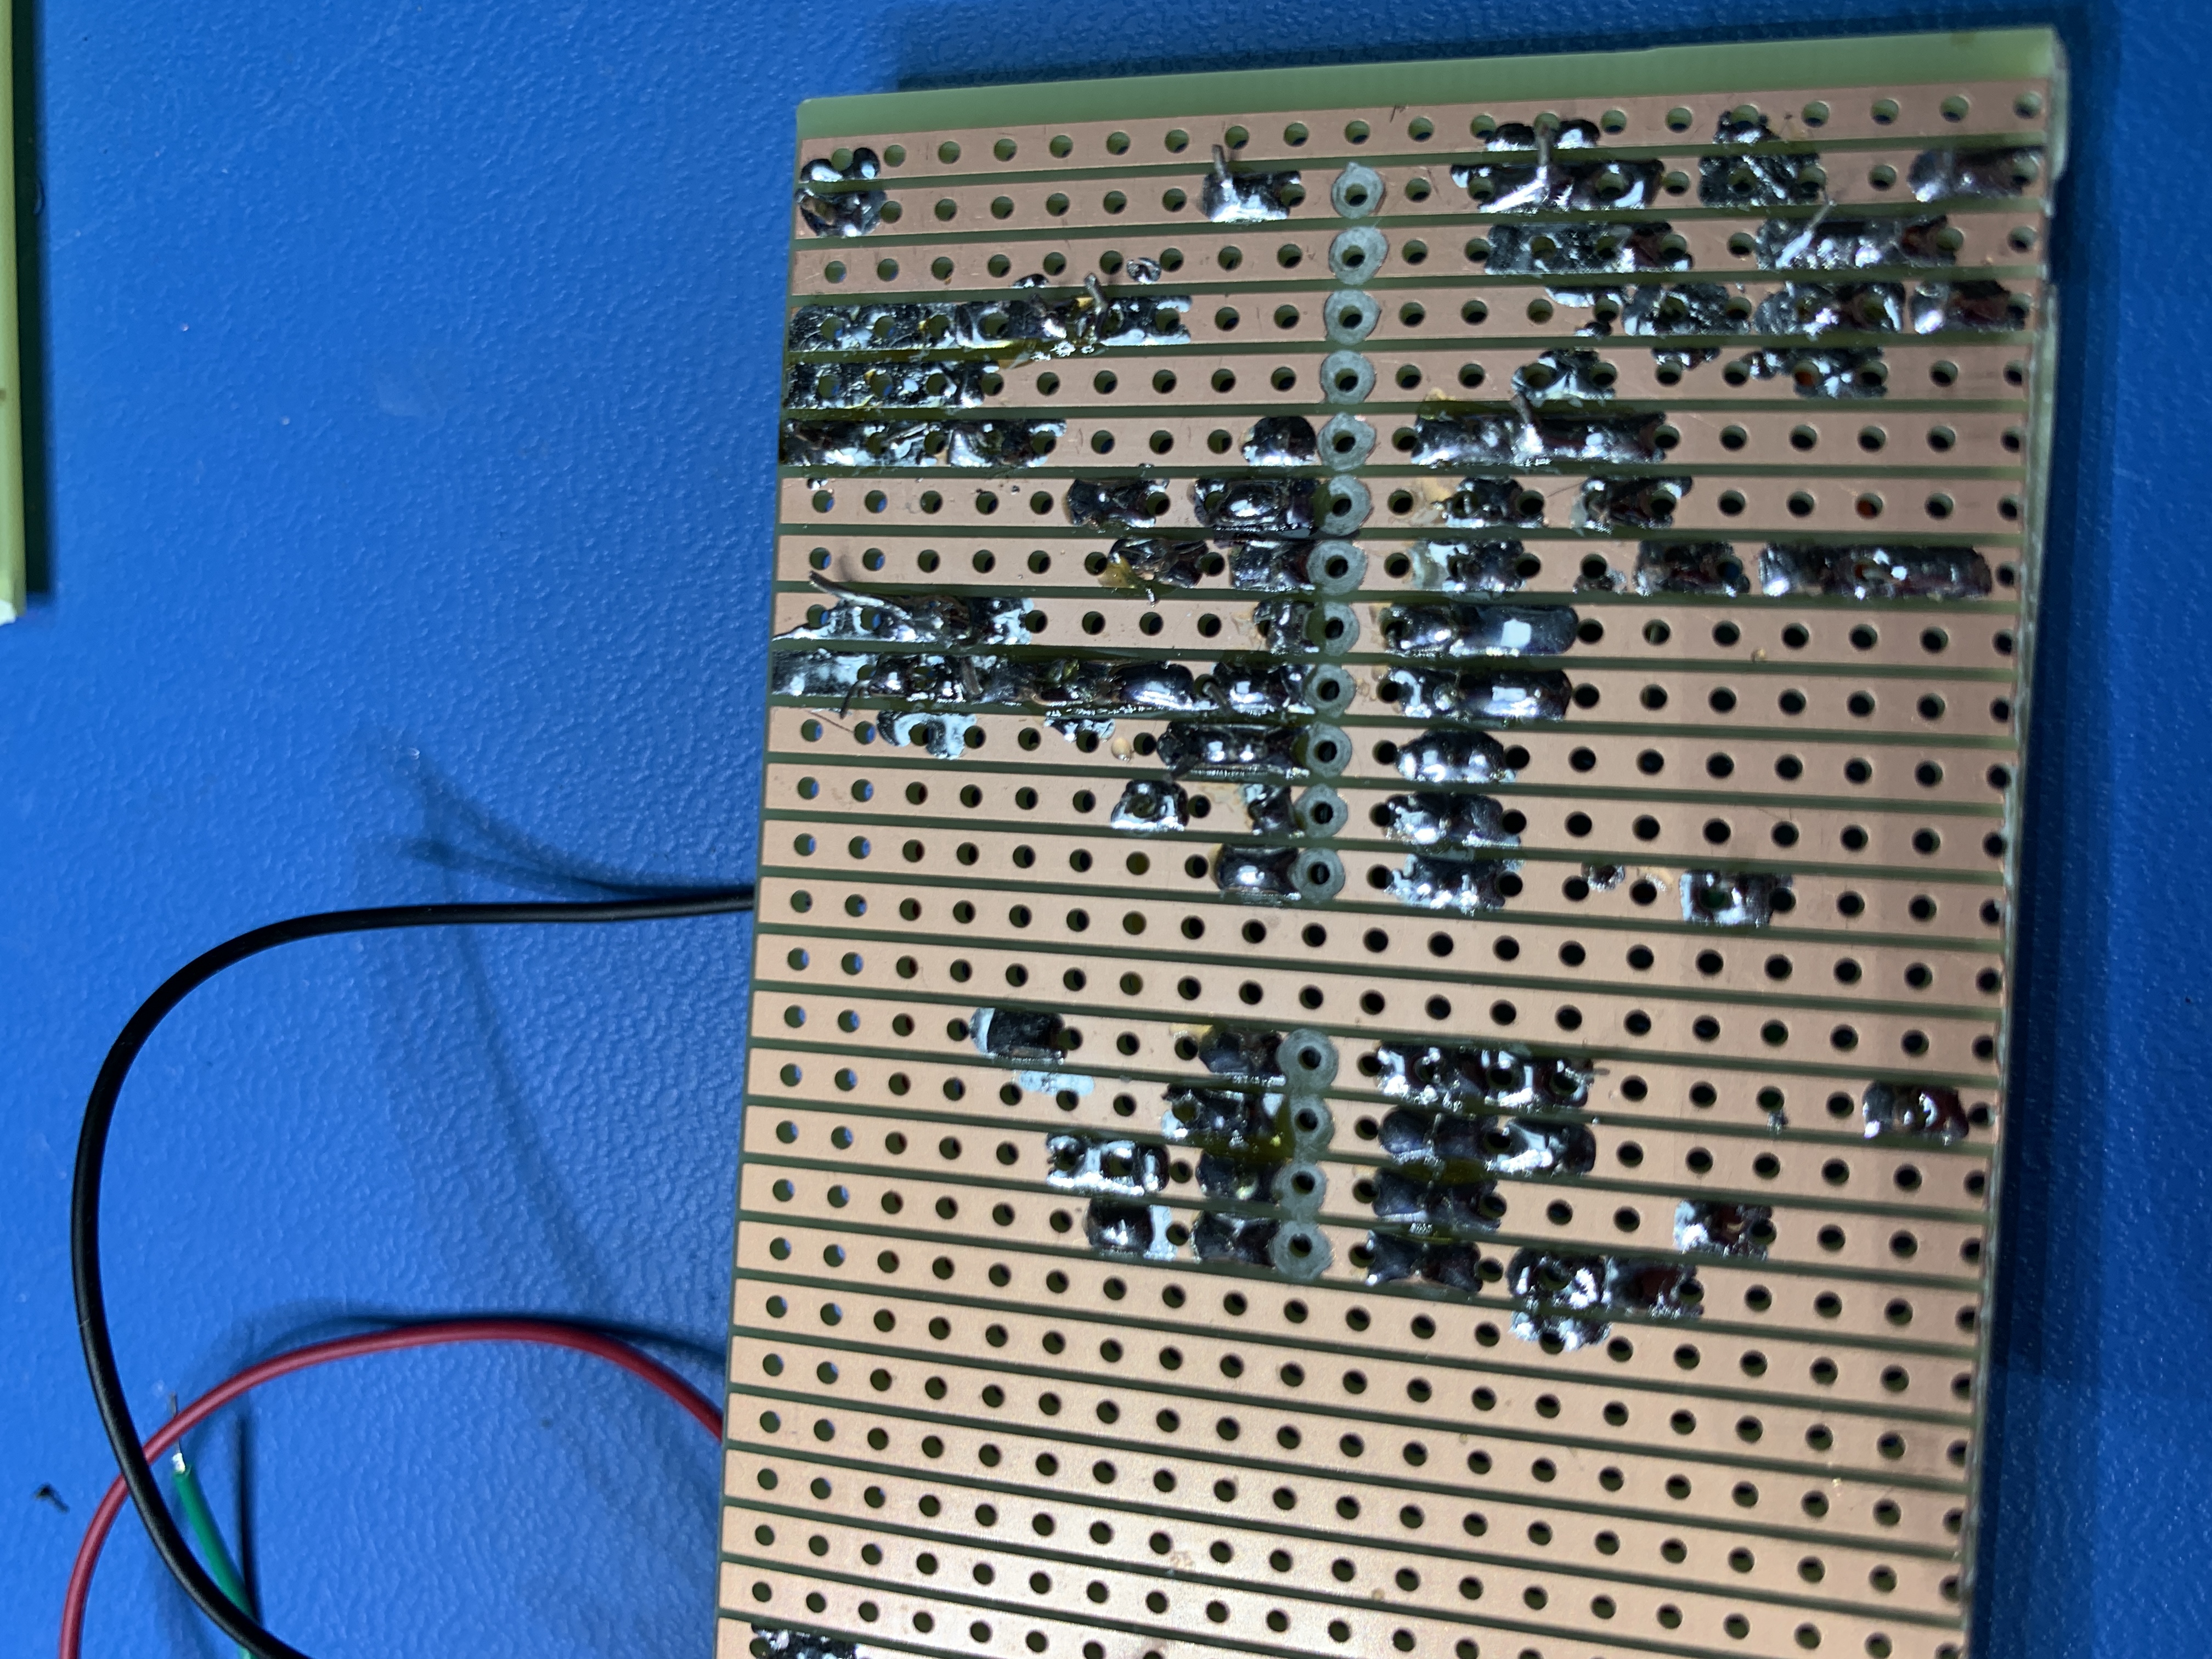
This was not entirely unexpected. I tried troubleshooting for a while, but couldn’t get anything to work. When I was buying parts, I made sure to get enough parts for three attempts. So I left my first attempt and got on with #2.
I was much more careful with #2 and I now understood the importance of putting on parts in order and using a marker to lay out where things should go. I also tried to test every part that I soldered on to make sure the connections were good. Since I was already getting better with soldering, I got all the parts on attempt #2 on in a couple of hours. I attached the potentiometer and jack on using pins (more on that later) and plugged it in. The sound was there and I was pretty amazed. (Heck it’s hours later and I’m still amazed that it worked.) And I even hooked up my oscilloscope and got the sawtooth wave that I was trying to make.
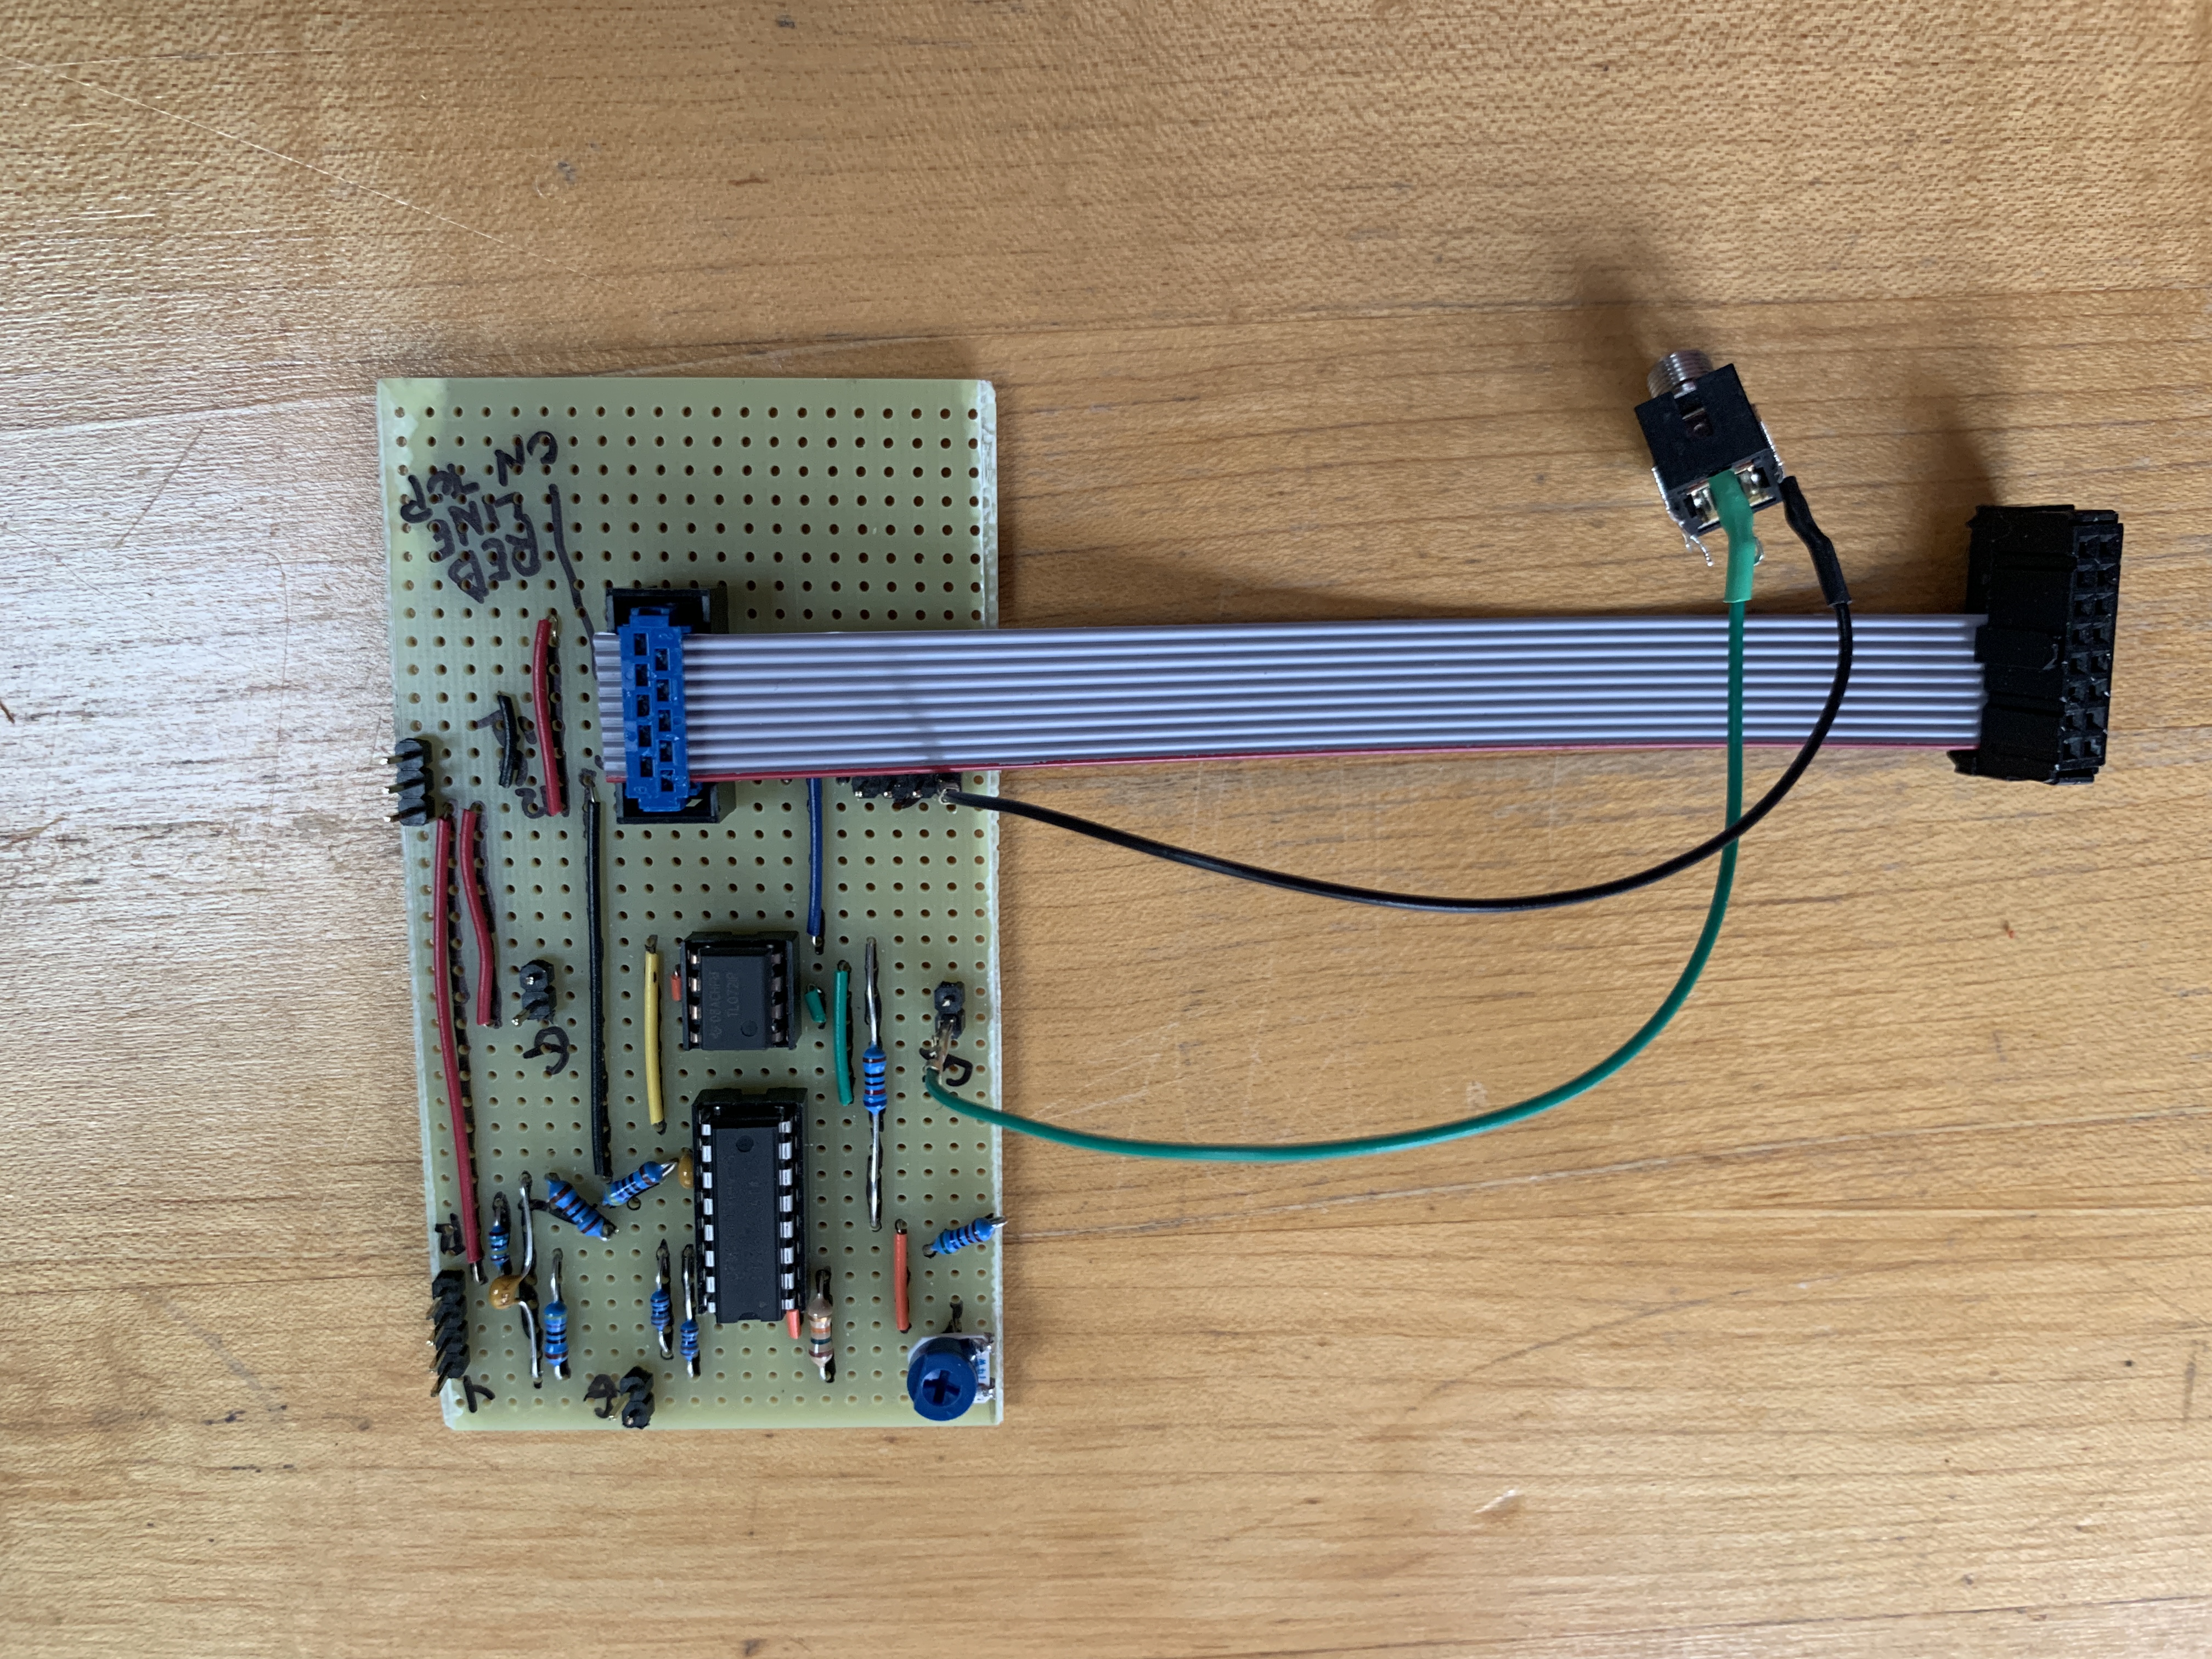

Next came things that I hadn’t really thought about at all because they weren’t going to matter until I was actually getting sound. How should I attach the jacks, how to make a faceplate, how to connect the stripboard to the faceplate, etc. These things were suddenly important. My first thought was to put header pins on the board and then attach female plugs to the cables on the jacks to make plugging them in pretty easy. I should have known this, but there are thousands of choices here. I already had some pin connectors and headers, so I decided to use them. The stuff I had came from Pololu and was very inexpensive. However, I still can’t attach the pins to the wires properly, even with the crimping tool that I bought. I need to do a bit more research on what I’m doing wrong. The pins don’t seem to stay on and then definitely don’t snap into the housings. Something to work on in the future.
I also wasn’t sure how to hook my board up to the power supply in the rack. I should mention that the standard I was following was for Eurorack, which is very common and thankfully pretty simple to understand. I bought some 10-pin and 16-pin headers and connectors and didn’t have too much trouble with the cable. I also had some other modules that my brother bought that I could look at closely to see how they made their cable.
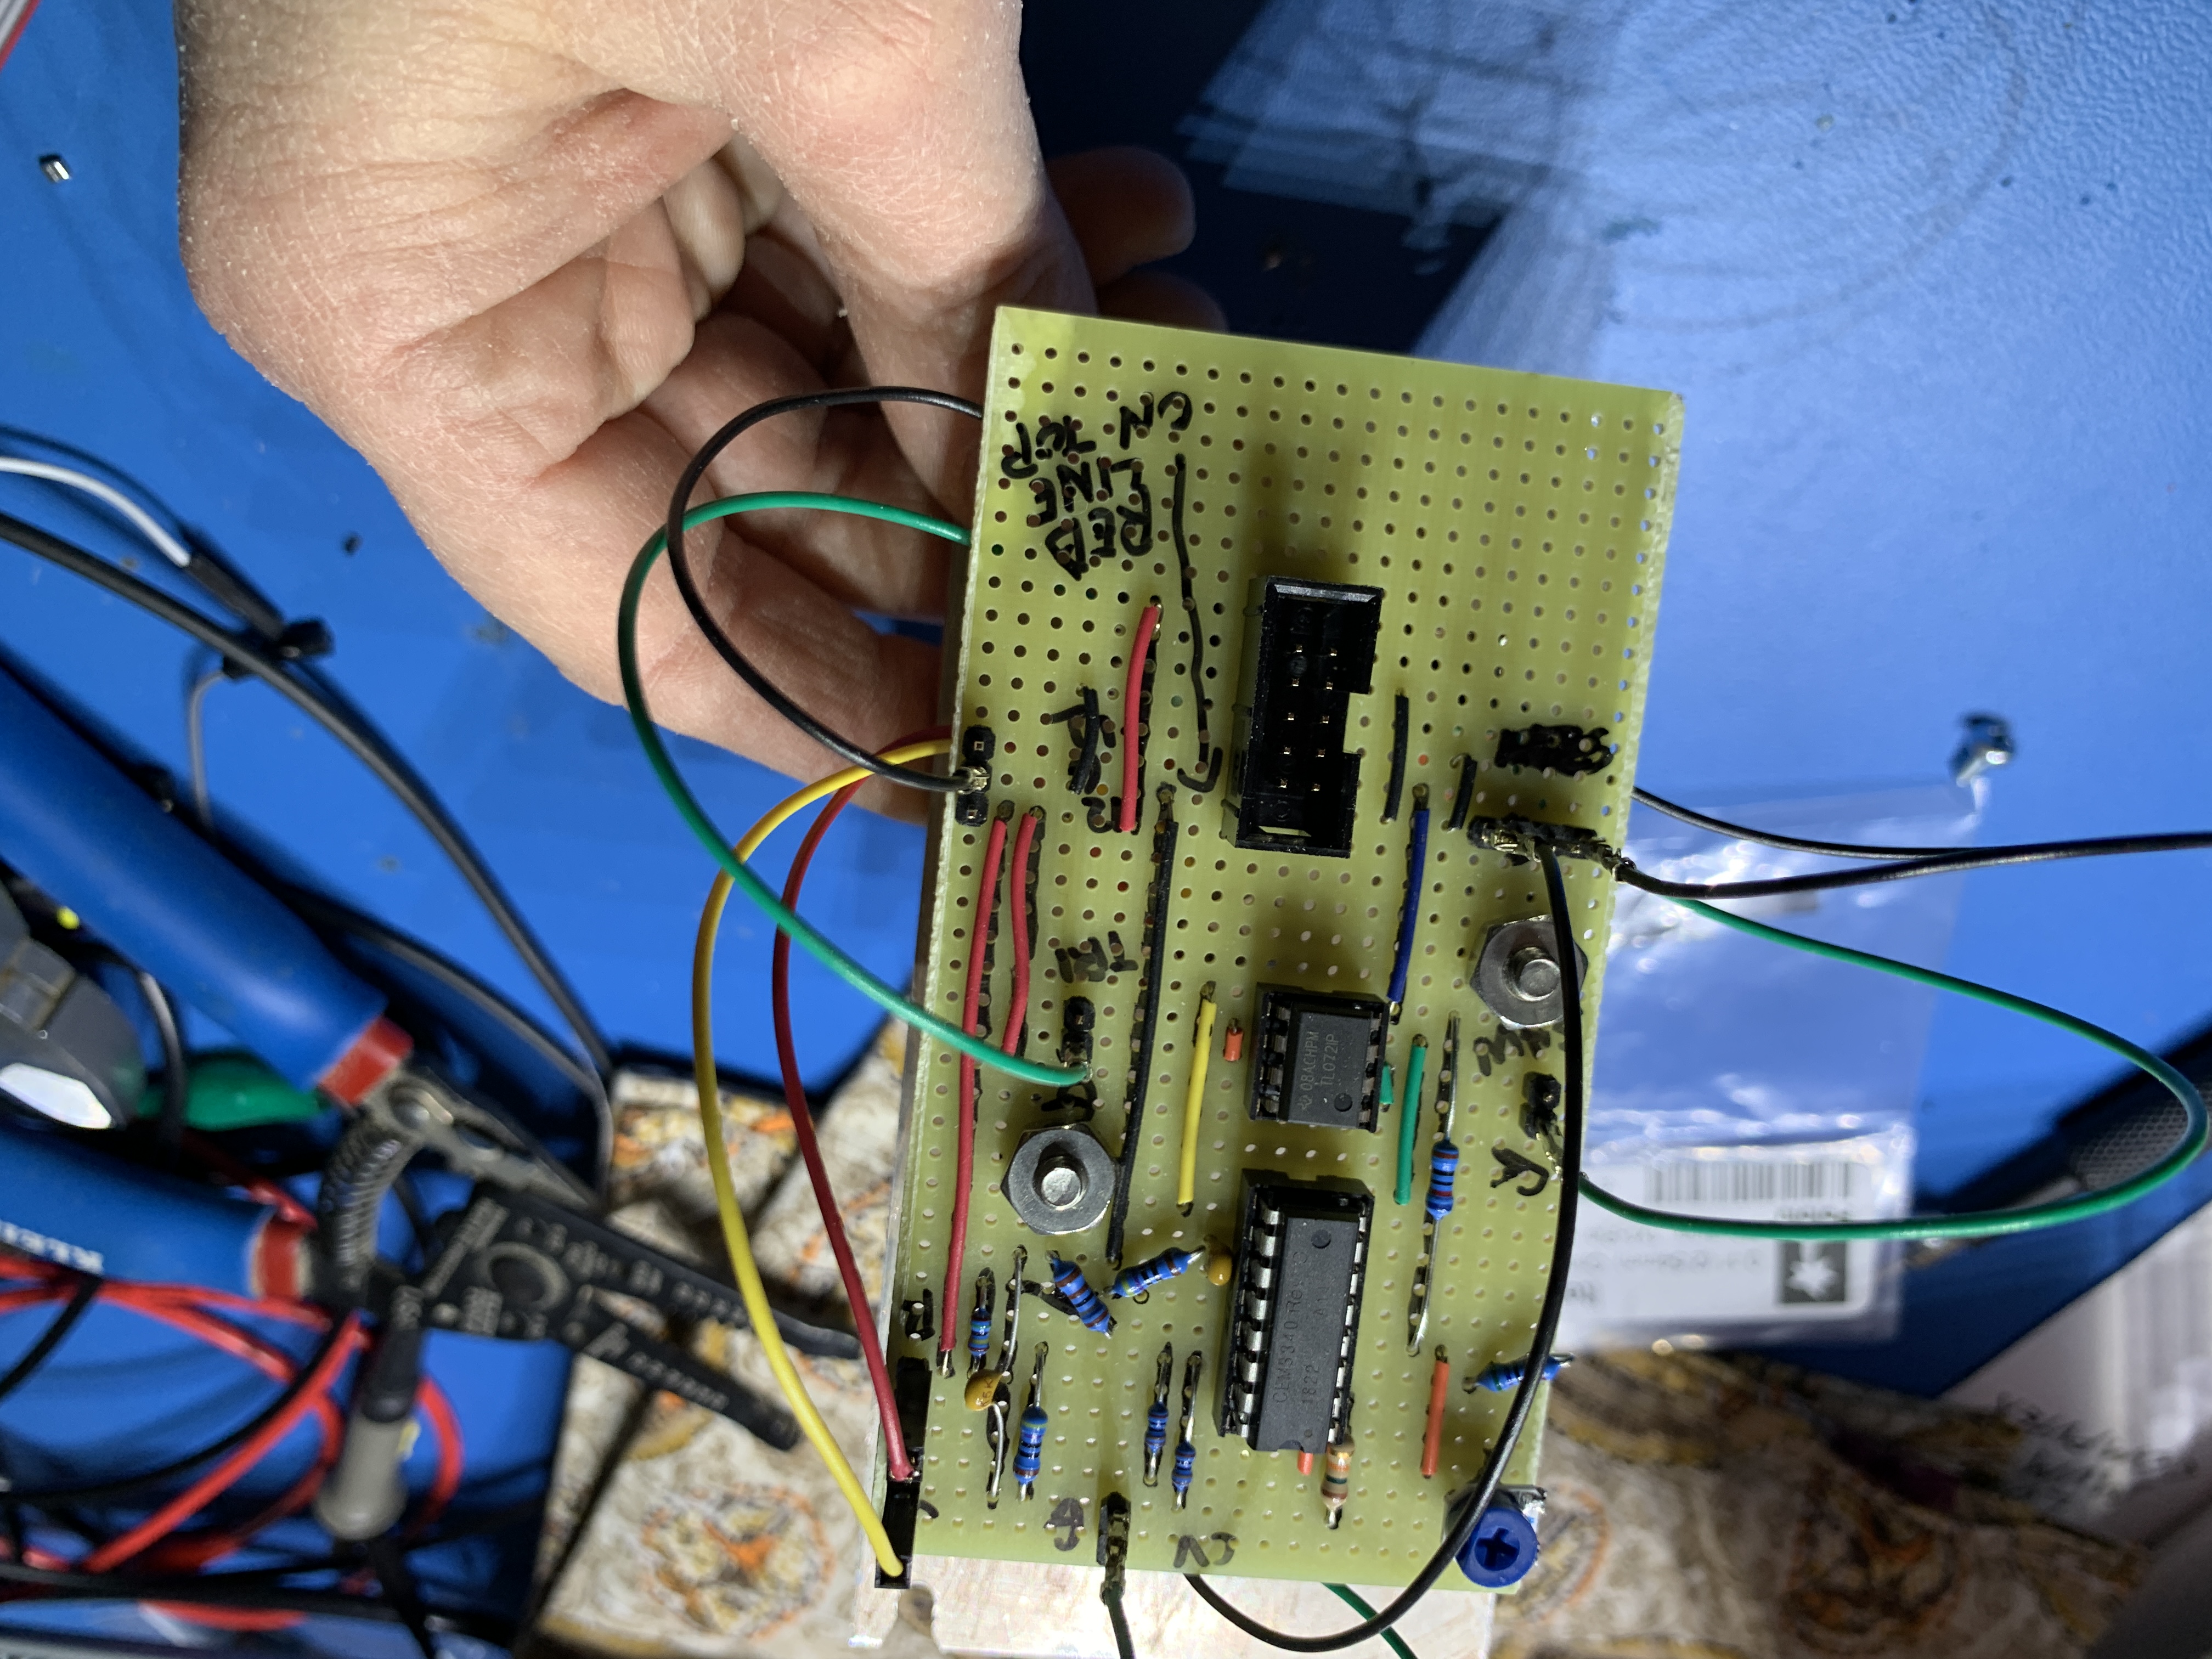
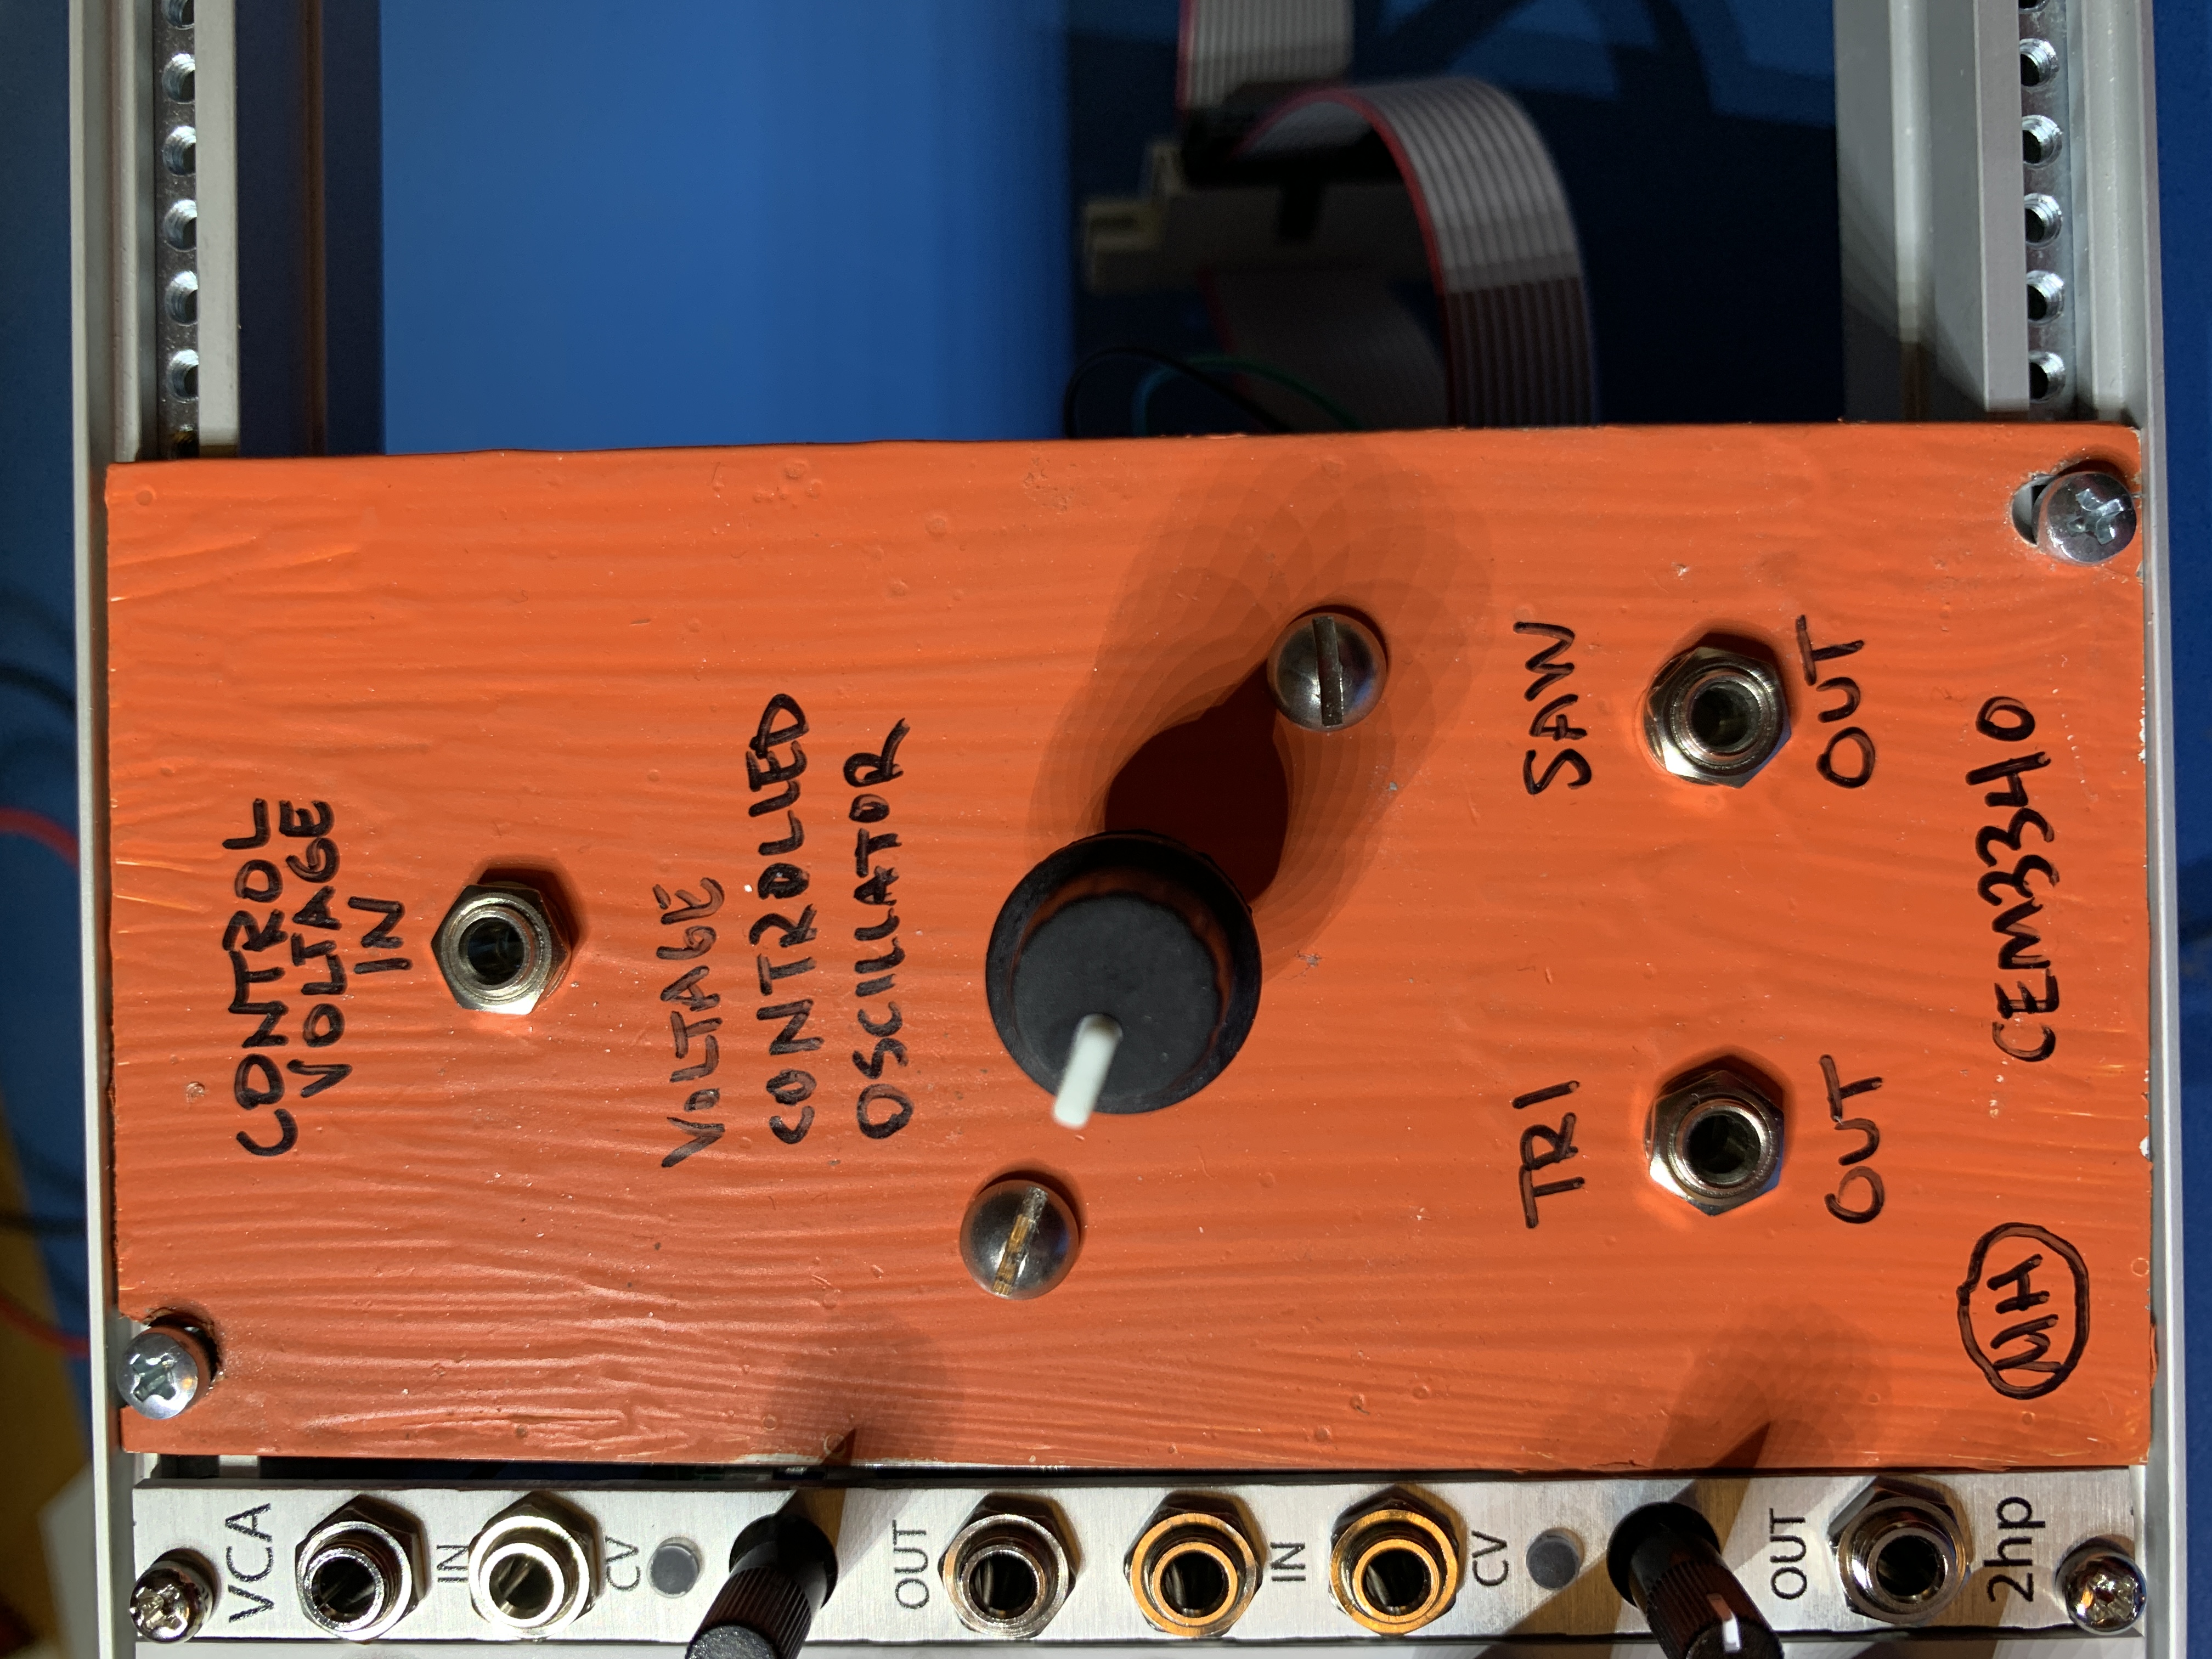
Once I had the cable made I hooked my card up to the rack, though didn’t yet install it, just to see if I was still getting sound. With that successful test, I moved on to the faceplate. I had bought a piece of aluminum sheet and cut it to the size I needed. I also drilled holes (though the mounting holes didn’t quite line up) and painted it. It does not look professional at all, but I’m still proud of it. I didn’t have any standoffs to mount the board to the faceplate, but I did have some long screws and nuts, so I sort of made some standoffs which worked fine.
Overall, it definitely looks amateurish, which is fine because I am an amateur. Howver, it works and I’m super happy about it.
And here’s a final video of it installed into my brother’s rack with all his other modules and him using it.